
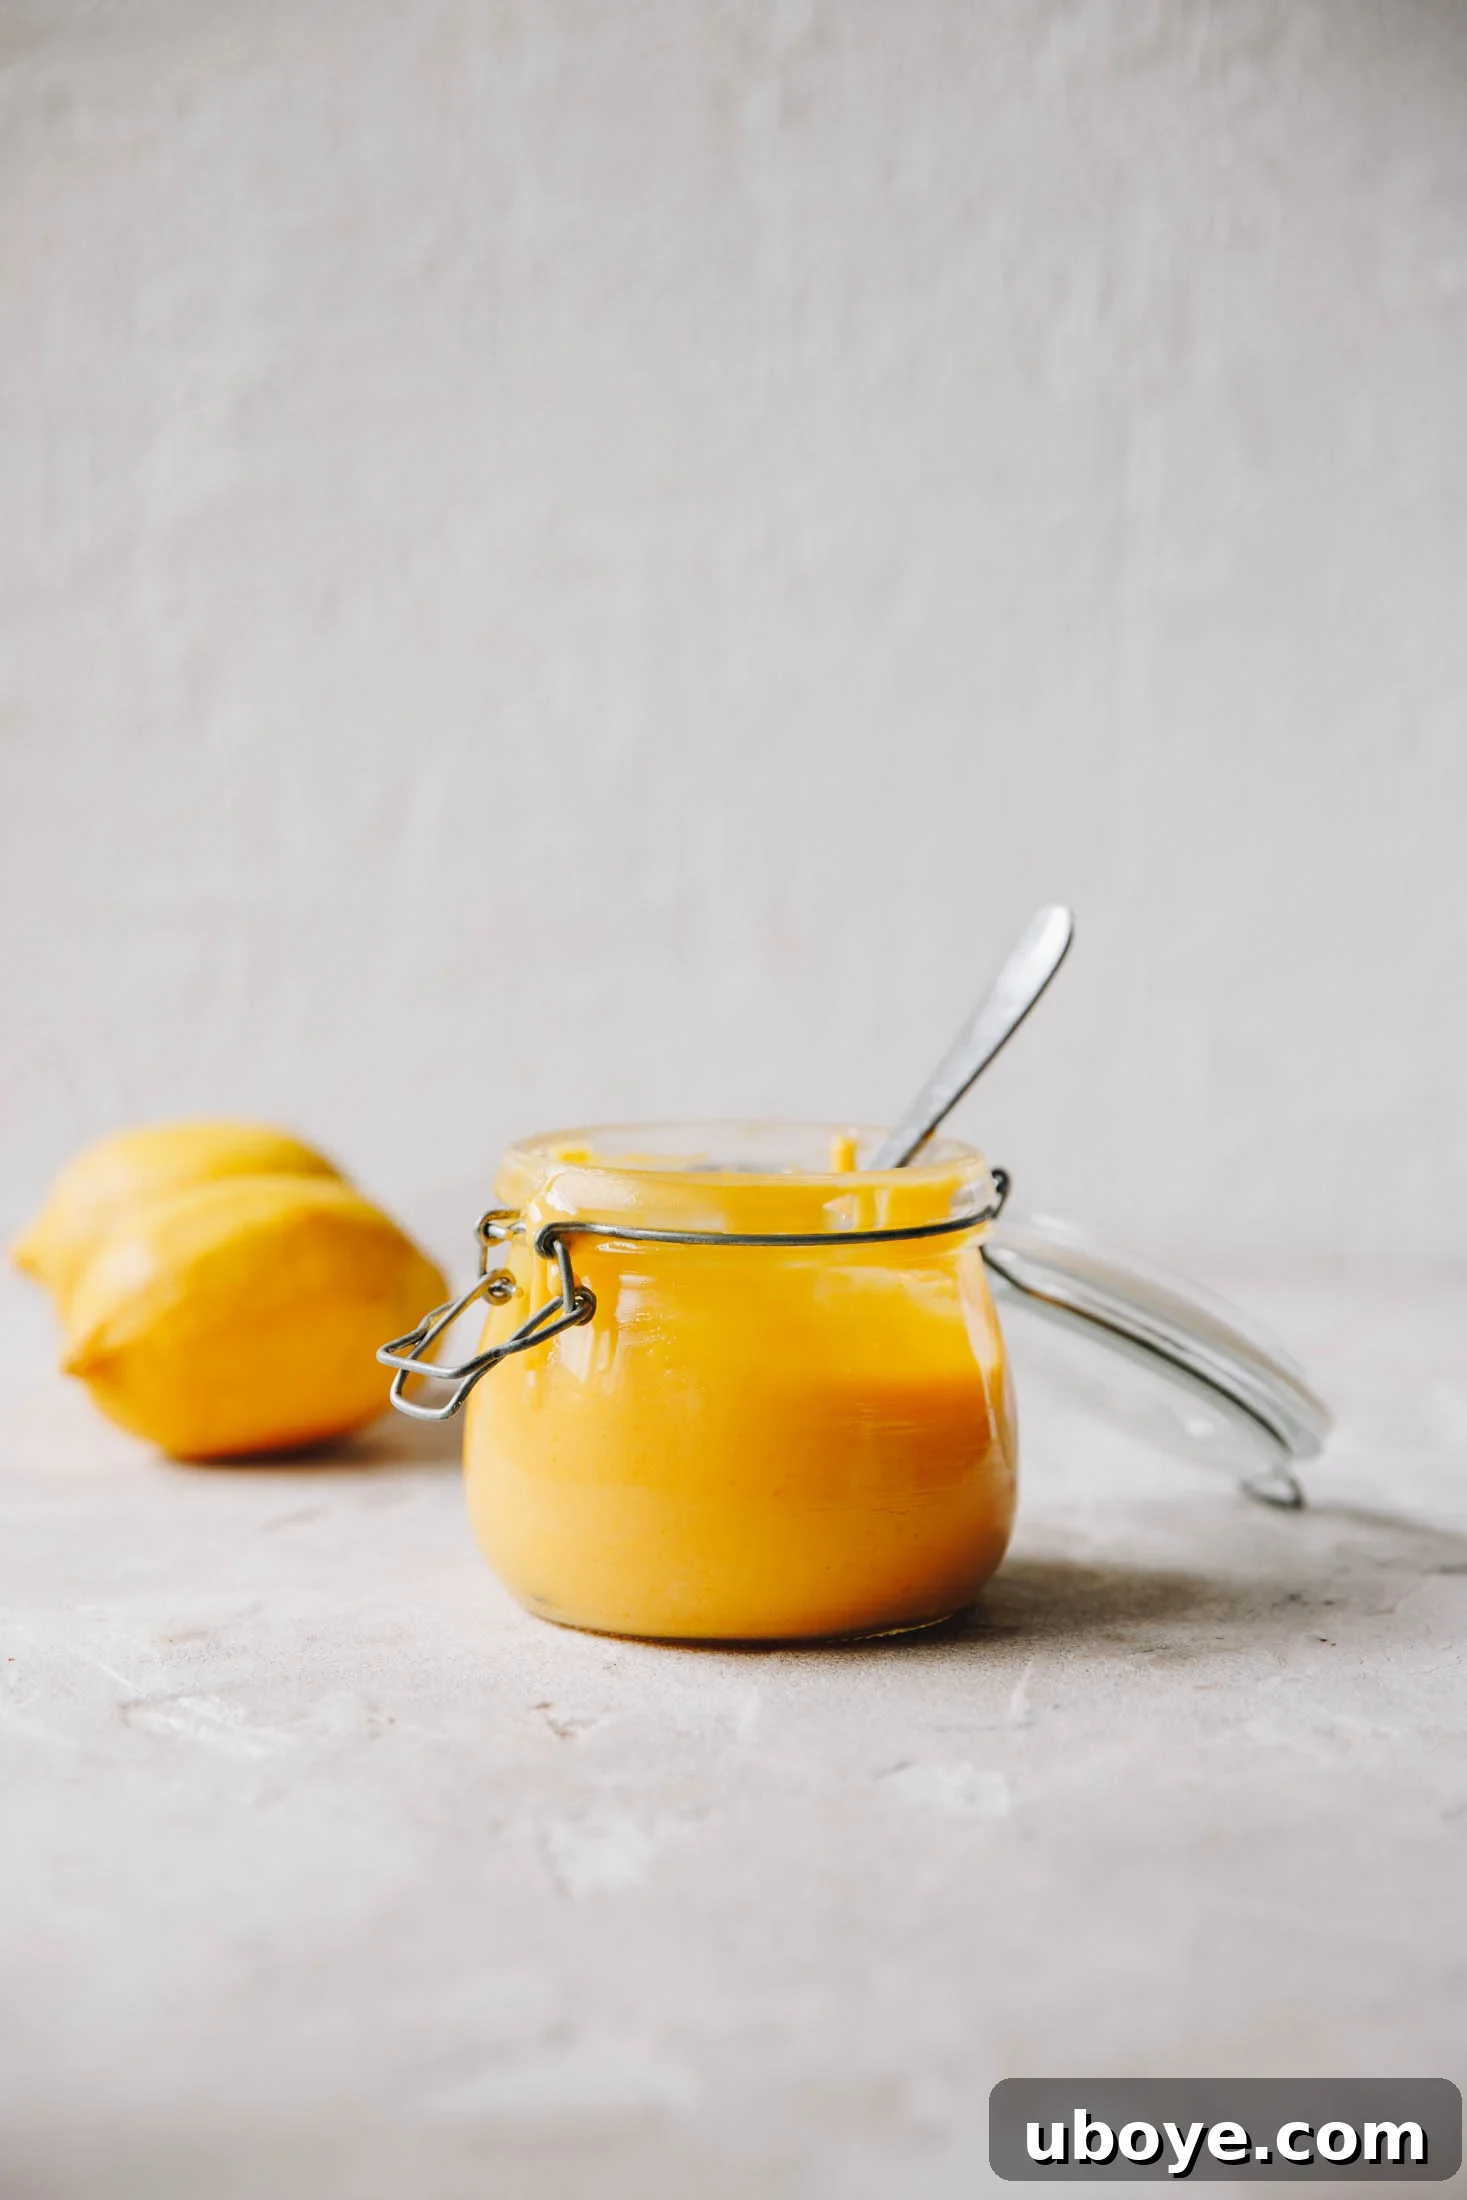
Homemade Lemon Curd: Your Zesty, Creamy Sunshine in a Jar
Imagine a sweet, tangy, and incredibly vibrant spread that elevates everything it touches. That’s precisely what homemade lemon curd offers. Far superior to any store-bought alternative, this bright and zesty delight is crafted with just four simple ingredients, transforming humble lemons into a luxurious, silken experience. Perfect for a myriad of culinary applications, from drizzling over delicate desserts to enriching your morning toast, a jar of this golden goodness is a staple that you’ll want to keep stocked in your fridge year-round. Get ready to unlock the secrets to creating the most delectable lemon curd that will surely become your new kitchen obsession.
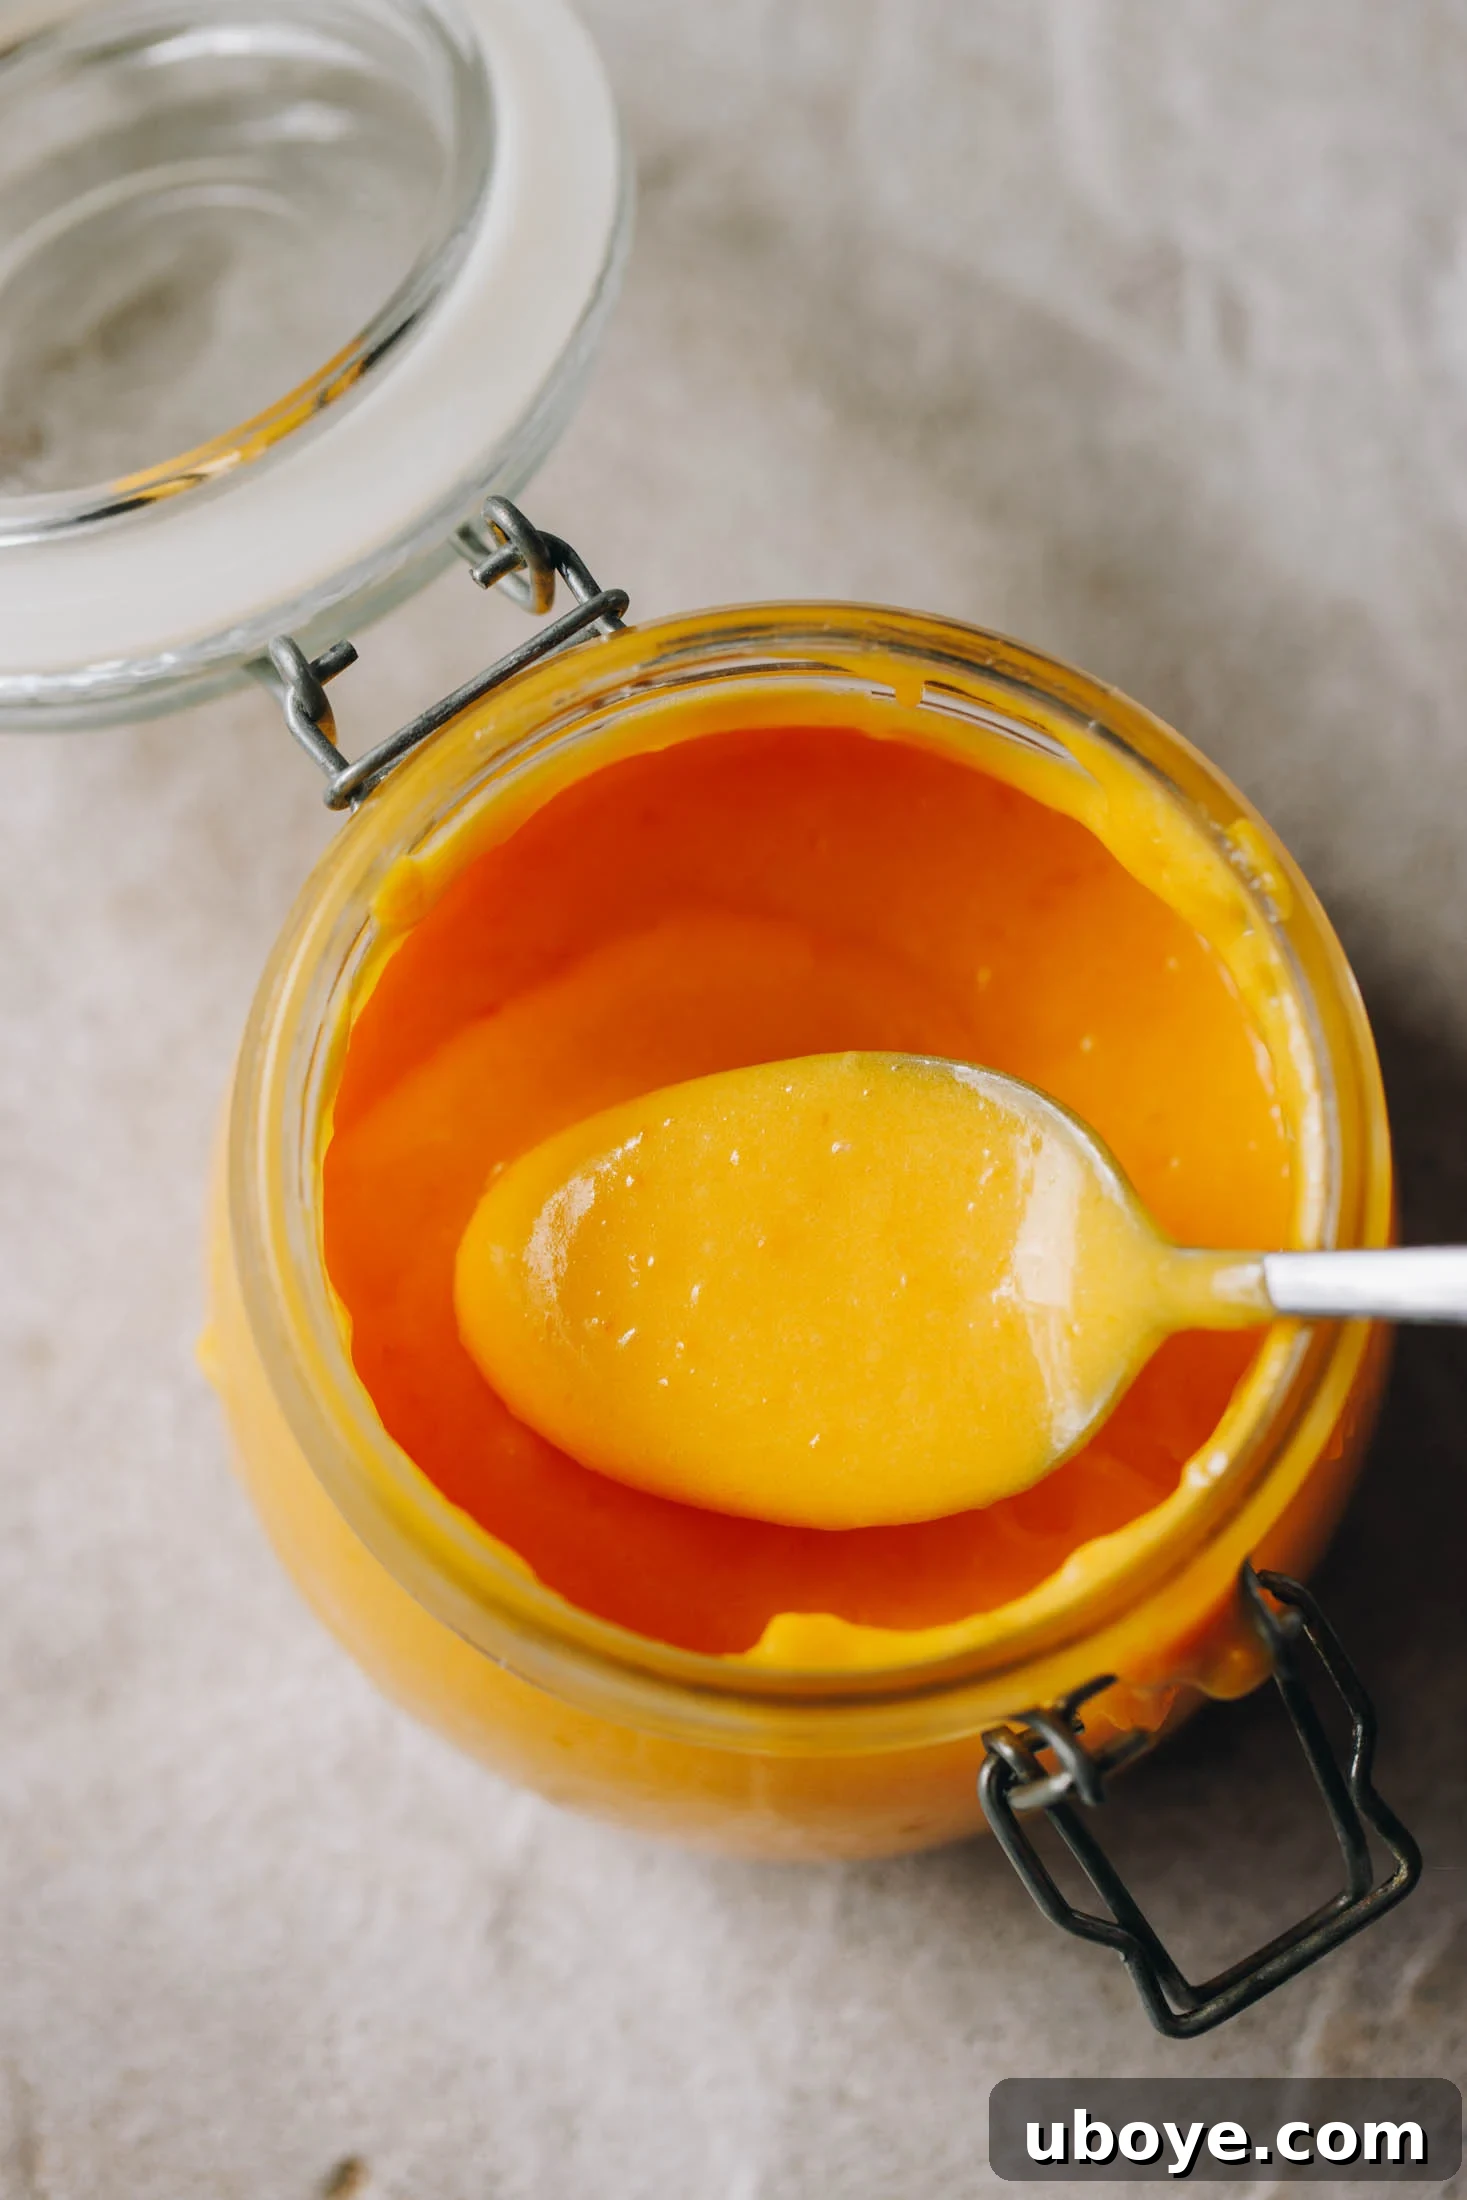
Why You’ll Fall in Love with This Lemon Curd Recipe

Making homemade lemon curd might sound intimidating, but with this foolproof recipe, it truly couldn’t be simpler. Forget complicated techniques, special equipment like a double boiler, or the worry of ending up with scrambled eggs. This method is designed for ease and guaranteed success, even for novice bakers. The result is a sweet, tangy, and exquisitely smooth lemon curd that utterly outshines anything you’ll find in a supermarket aisle.
This vibrant, sunshine-yellow spread is incredibly versatile. Its bright flavor instantly enlivens desserts, breakfast dishes, and even savory treats. Imagine it generously drizzled over a stack of fluffy pancakes, swirled into creamy yogurt, or serving as the star filling for a lemon curd meringue roulade. It’s also fantastic when spooned onto a freshly baked cake or used to add a gourmet touch to a simple lemon butter cake. Its fresh, invigorating taste is truly addictive!
Beyond its incredible flavor, one of the best aspects of this recipe is its zero-waste nature. It’s a fantastic way to utilize leftover egg yolks from other recipes, such as meringue, custards, or ice creams. By giving these yolks a delicious new purpose, you’re not only creating a delightful treat but also embracing a more sustainable approach in your kitchen. It’s a win-win!
The Essential Ingredients for Perfect Homemade Lemon Curd
Creating this rich and zesty lemon curd requires only four fundamental ingredients, most of which you likely already have in your pantry or fridge. The magic truly lies in the quality of these simple components and how they come together to form a truly extraordinary spread.
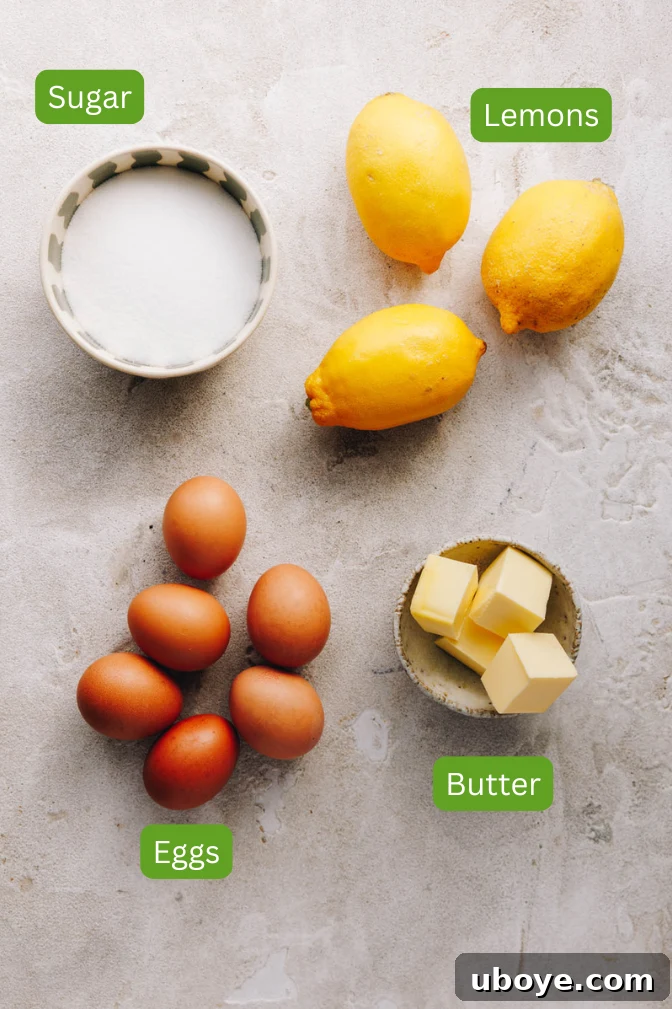
- Lemons: These are the star of the show! We harness both the vibrant zest and the tangy juice from fresh lemons to infuse our curd with an unparalleled, bright citrus flavor. For the best results, opt for organic lemons if possible, as you’ll be using their peel. Always zest your lemons before juicing them – it makes the process significantly easier.
- Eggs: For this recipe, we exclusively use egg yolks. These yolks are crucial for the curd’s rich color, silky smooth texture, and its ability to thicken beautifully. Don’t discard those egg whites! They’re perfect for making meringues (perhaps even for that lemon curd meringue roulade!), fluffy omelets, or adding to other protein-rich dishes.
- Butter: Butter is the secret to achieving that wonderfully creamy, luxurious consistency that sets great lemon curd apart. It emulsifies with the other ingredients, adding richness and a delightful mouthfeel. You can use either unsalted or salted butter; if using salted, you might slightly reduce any additional salt in other recipes where the curd is used, but for the curd itself, it rarely makes a significant difference. Ensure your butter is good quality, as its flavor will shine through.
- Sugar: Fine granulated sugar, such as caster sugar, is ideal for lemon curd. Its fine crystals dissolve quickly and evenly, ensuring a smooth texture without any grittiness. Sugar not only provides sweetness, balancing the tartness of the lemons, but also contributes to the curd’s structure and preservation.
A complete list of ingredients with precise measurements can be found in the detailed recipe card below, ensuring you have everything you need to begin your lemon curd journey.
Crafting Perfection: A Step-by-Step Guide to Homemade Lemon Curd
Making this luscious lemon curd is incredibly straightforward. The beauty of this recipe lies in its simplicity: all ingredients are combined and gently cooked in a single saucepan until they reach a beautiful, custard-like consistency. Follow these easy steps to create your own batch of liquid sunshine.
Step 1: Prepare and Combine the Base. Begin by separating your egg yolks from the whites. In a large, heatproof bowl, combine the fresh egg yolks, finely grated lemon zest, and sugar. Whisk these ingredients together thoroughly, either by hand with a sturdy whisk or using an electric mixer on a low speed. Continue whisking until the mixture becomes notably pale in color and smooth in texture, but avoid over-whisking to the point of frothing. This initial whisking helps to gently break down the sugar crystals and integrate the lemon zest, creating a homogenous base for your curd.
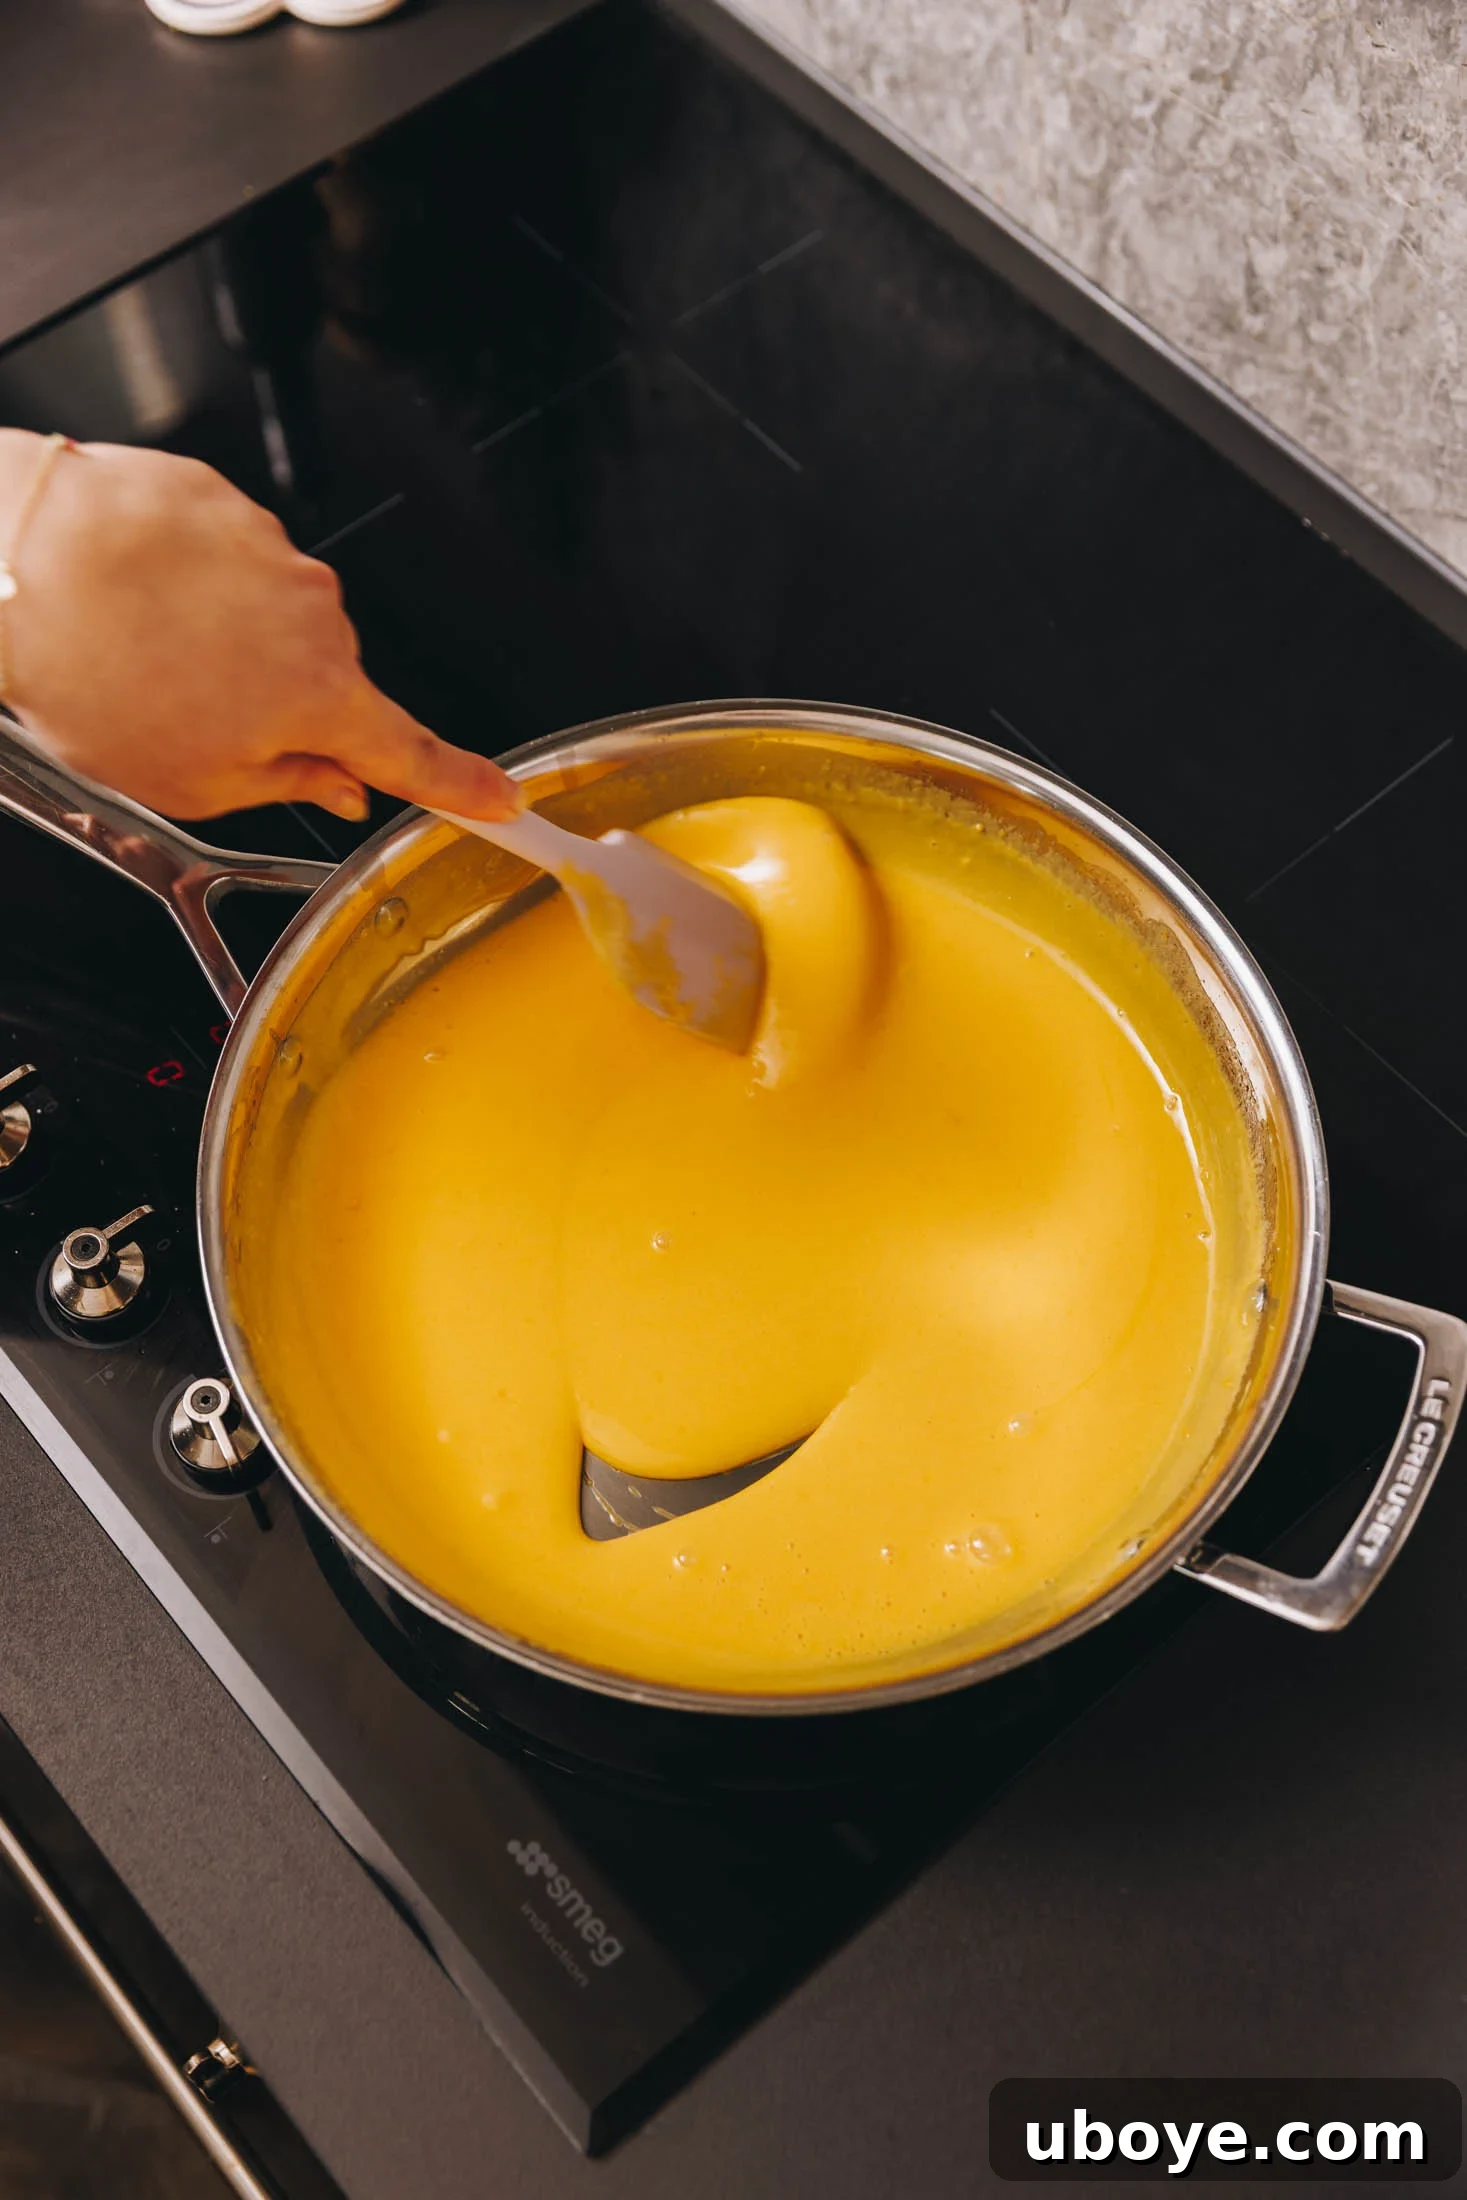
Next, in a medium-sized saucepan, melt the butter over a very low heat. It’s crucial to keep the heat gentle to prevent the butter from browning too quickly. Once the butter is fully melted and just beginning to foam slightly, add the freshly squeezed lemon juice to the pan and stir it through to combine. Immediately follow by adding the egg yolk and sugar mixture into the saucepan. Maintain a low heat throughout the cooking process. Using a rubber spatula or a wooden spoon, stir the mixture constantly and gently for about 7 to 10 minutes. This continuous stirring is vital to ensure even cooking and prevent the eggs from curdling or scrambling against the bottom of the hot pan. As you stir, you’ll notice the curd gradually thickening and transforming into a beautiful, deep yellow, custard-like consistency. It should be thick enough to coat the back of your spoon, and if you run your finger across the spoon, it should leave a clear path.
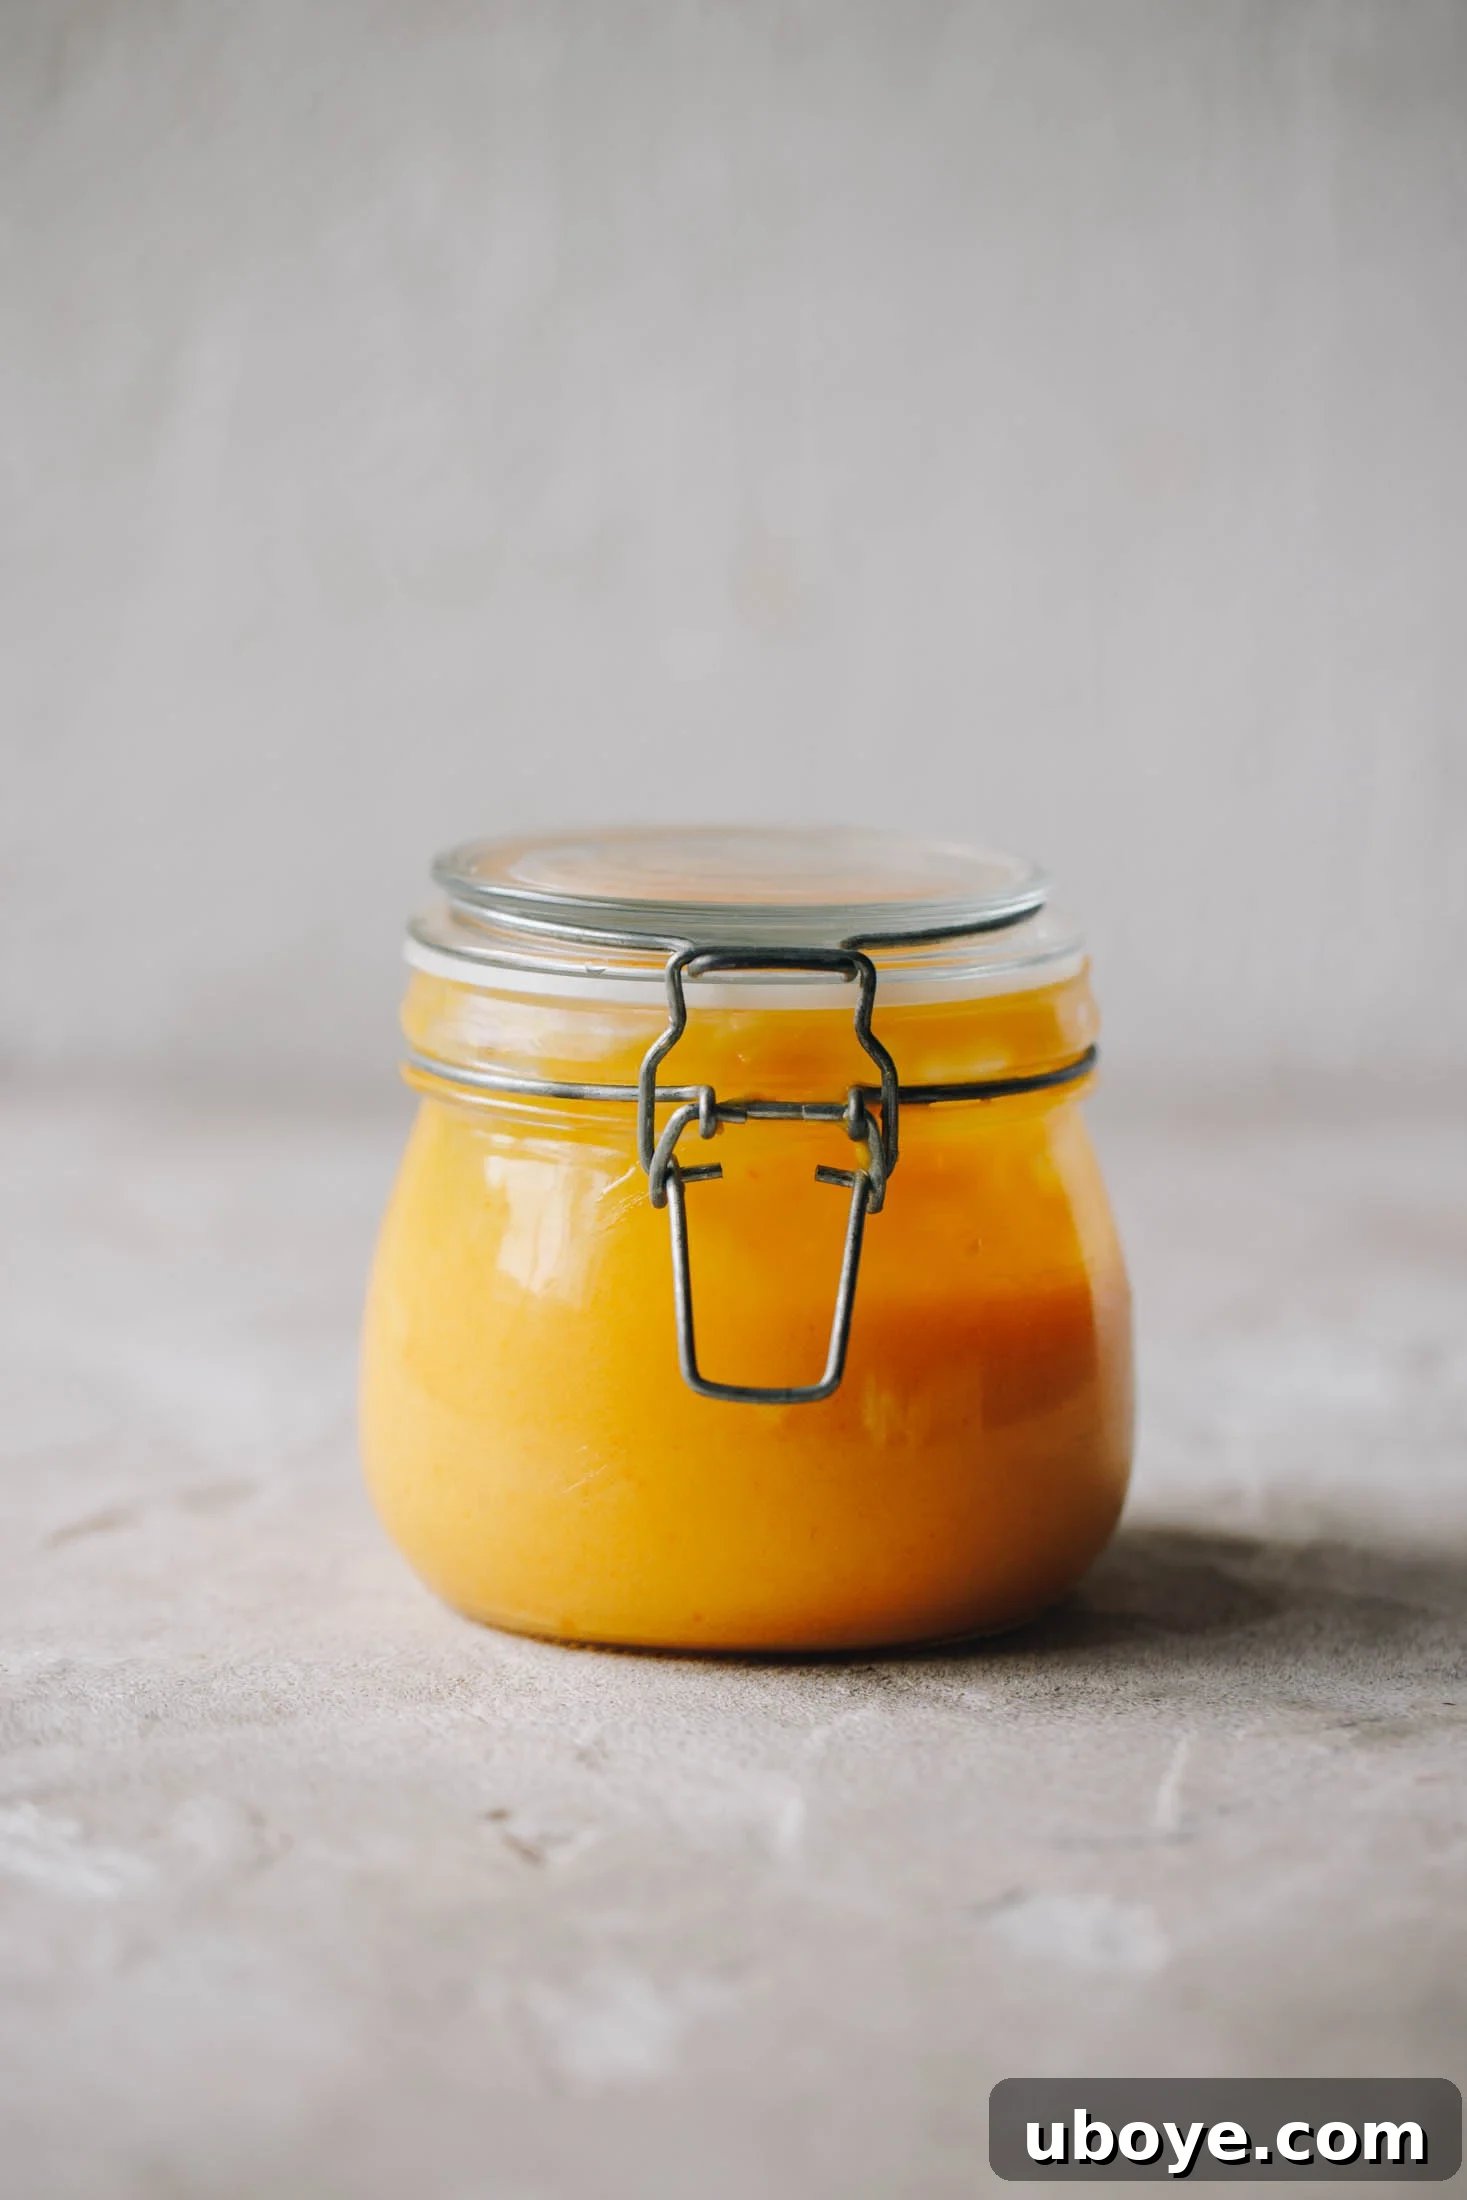
Step 2: Cool and Store Your Golden Curd. Once your lemon curd has reached the desired thickness and consistency, immediately remove the saucepan from the heat. It’s important to let the curd cool completely at room temperature before transferring it. As it cools, the curd will continue to thicken further, achieving its perfect set. Once cooled, carefully transfer the lemon curd into a clean, sterilized jar. Ensure the jar is airtight to maintain freshness. Once jarred, place it directly into the fridge. Your homemade lemon curd will stay beautifully fresh and delicious for up to 2 weeks, ready to be enjoyed in all your favorite ways.
Mastering Lemon Curd: Tips for Achieving Perfection
While this recipe is designed to be straightforward, a few key tips can elevate your lemon curd from good to absolutely outstanding:
- Low and Slow is the Way to Go: The most crucial rule for perfect lemon curd is to cook it over consistently low heat. High heat is the enemy, as it can quickly scramble the egg yolks. Patience is key; a gentle simmer and constant stirring ensure a smooth, creamy result.
- Continuous Stirring: Never stop stirring the curd while it’s on the heat. This prevents the bottom from cooking too quickly and helps distribute the heat evenly, leading to a perfectly smooth texture without lumps. Use a spatula that can scrape the bottom and sides of the pan effectively.
- The Spoon Test: Knowing when your curd is done is simple. Dip a spoon into the curd and lift it. If the curd coats the back of the spoon and you can draw a clear line with your finger across it without the curd running back together, it’s ready. You don’t need a thermometer for this!
- For Ultra-Smooth Curd: If you prefer a completely smooth curd without any lemon zest bits, or if you’re worried about any tiny scrambled egg particles (though unlikely with this method), you can strain the finished curd through a fine-mesh sieve into your jar before cooling. This step is optional but ensures a truly silken texture.
- Adjusting Sweetness/Tanginess: This recipe offers a balanced flavor. However, feel free to adjust the sugar amount slightly to suit your preference. A little more sugar will yield a sweeter curd, while a touch less will highlight the lemon’s tartness.
- What to Do with Leftover Egg Whites: Since this recipe uses only yolks, you’ll have whites left over. Don’t waste them! They’re excellent for making meringues, pavlovas, angel food cake, or simply for an egg white omelette. You can also freeze them for later use.
Frequently Asked Questions About Homemade Lemon Curd
When stored properly in a clean, airtight jar, homemade lemon curd will remain fresh and delicious in the refrigerator for up to 2 weeks. Always ensure your jar is sterilized to maximize its shelf life.
Absolutely! Lemon curd freezes exceptionally well. You can store it in freezer-safe containers for up to 3 months. When you’re ready to use it, simply thaw it overnight in the fridge. Give it a good stir before serving to restore its smooth consistency.
Lemon curd naturally thickens significantly as it cools. If it still appears runny even after being thoroughly chilled, it likely needed a little more cooking time over that gentle heat. Don’t despair; you can often gently reheat it and cook for a few more minutes, stirring constantly, until it reaches the correct thickness. Remember the spoon test!
Curdling or scrambling is almost always a result of the heat being too high during the cooking process. The key to preventing this is to always cook lemon curd “low and slow” and to stir it constantly without interruption. If it does curdle slightly, quickly remove it from the heat and whisk vigorously, or even blend it with an immersion blender. Sometimes, straining it through a fine-mesh sieve can also help rescue a slightly curdled batch.
Yes, absolutely! As mentioned in our tips, the “spoon test” is your best indicator. The curd is ready when it is thick enough to coat the back of a spoon, and when you run your finger through the coating, it leaves a clear, distinct line without running back together. This visual and tactile cue is perfectly reliable.
For the best flavor, use fresh, bright yellow, unblemished lemons. Meyer lemons are a fantastic choice if available, offering a slightly sweeter and less acidic flavor profile. However, regular Eureka or Lisbon lemons work perfectly and are more commonly found. Always ensure you have enough zest and juice from fresh lemons for optimal taste.
Beyond Breakfast: Creative Ways to Enjoy Your Homemade Lemon Curd
The versatility of homemade lemon curd is one of its most appealing qualities. Once you have a jar of this golden delight, the possibilities are endless for incorporating its bright, tangy sweetness into various dishes:
- Drizzled over Desserts: A spoonful or generous drizzle of lemon curd instantly elevates simple desserts. Imagine it cascading over creamy vanilla ice cream, rich gelato, or even a classic panna cotta.
- Cake and Loaf Fillings: Spread it generously between layers of freshly baked cakes, cupcakes, or loaf cakes. It adds a burst of moisture and zesty flavor that perfectly complements almost any sweet bread or pastry.
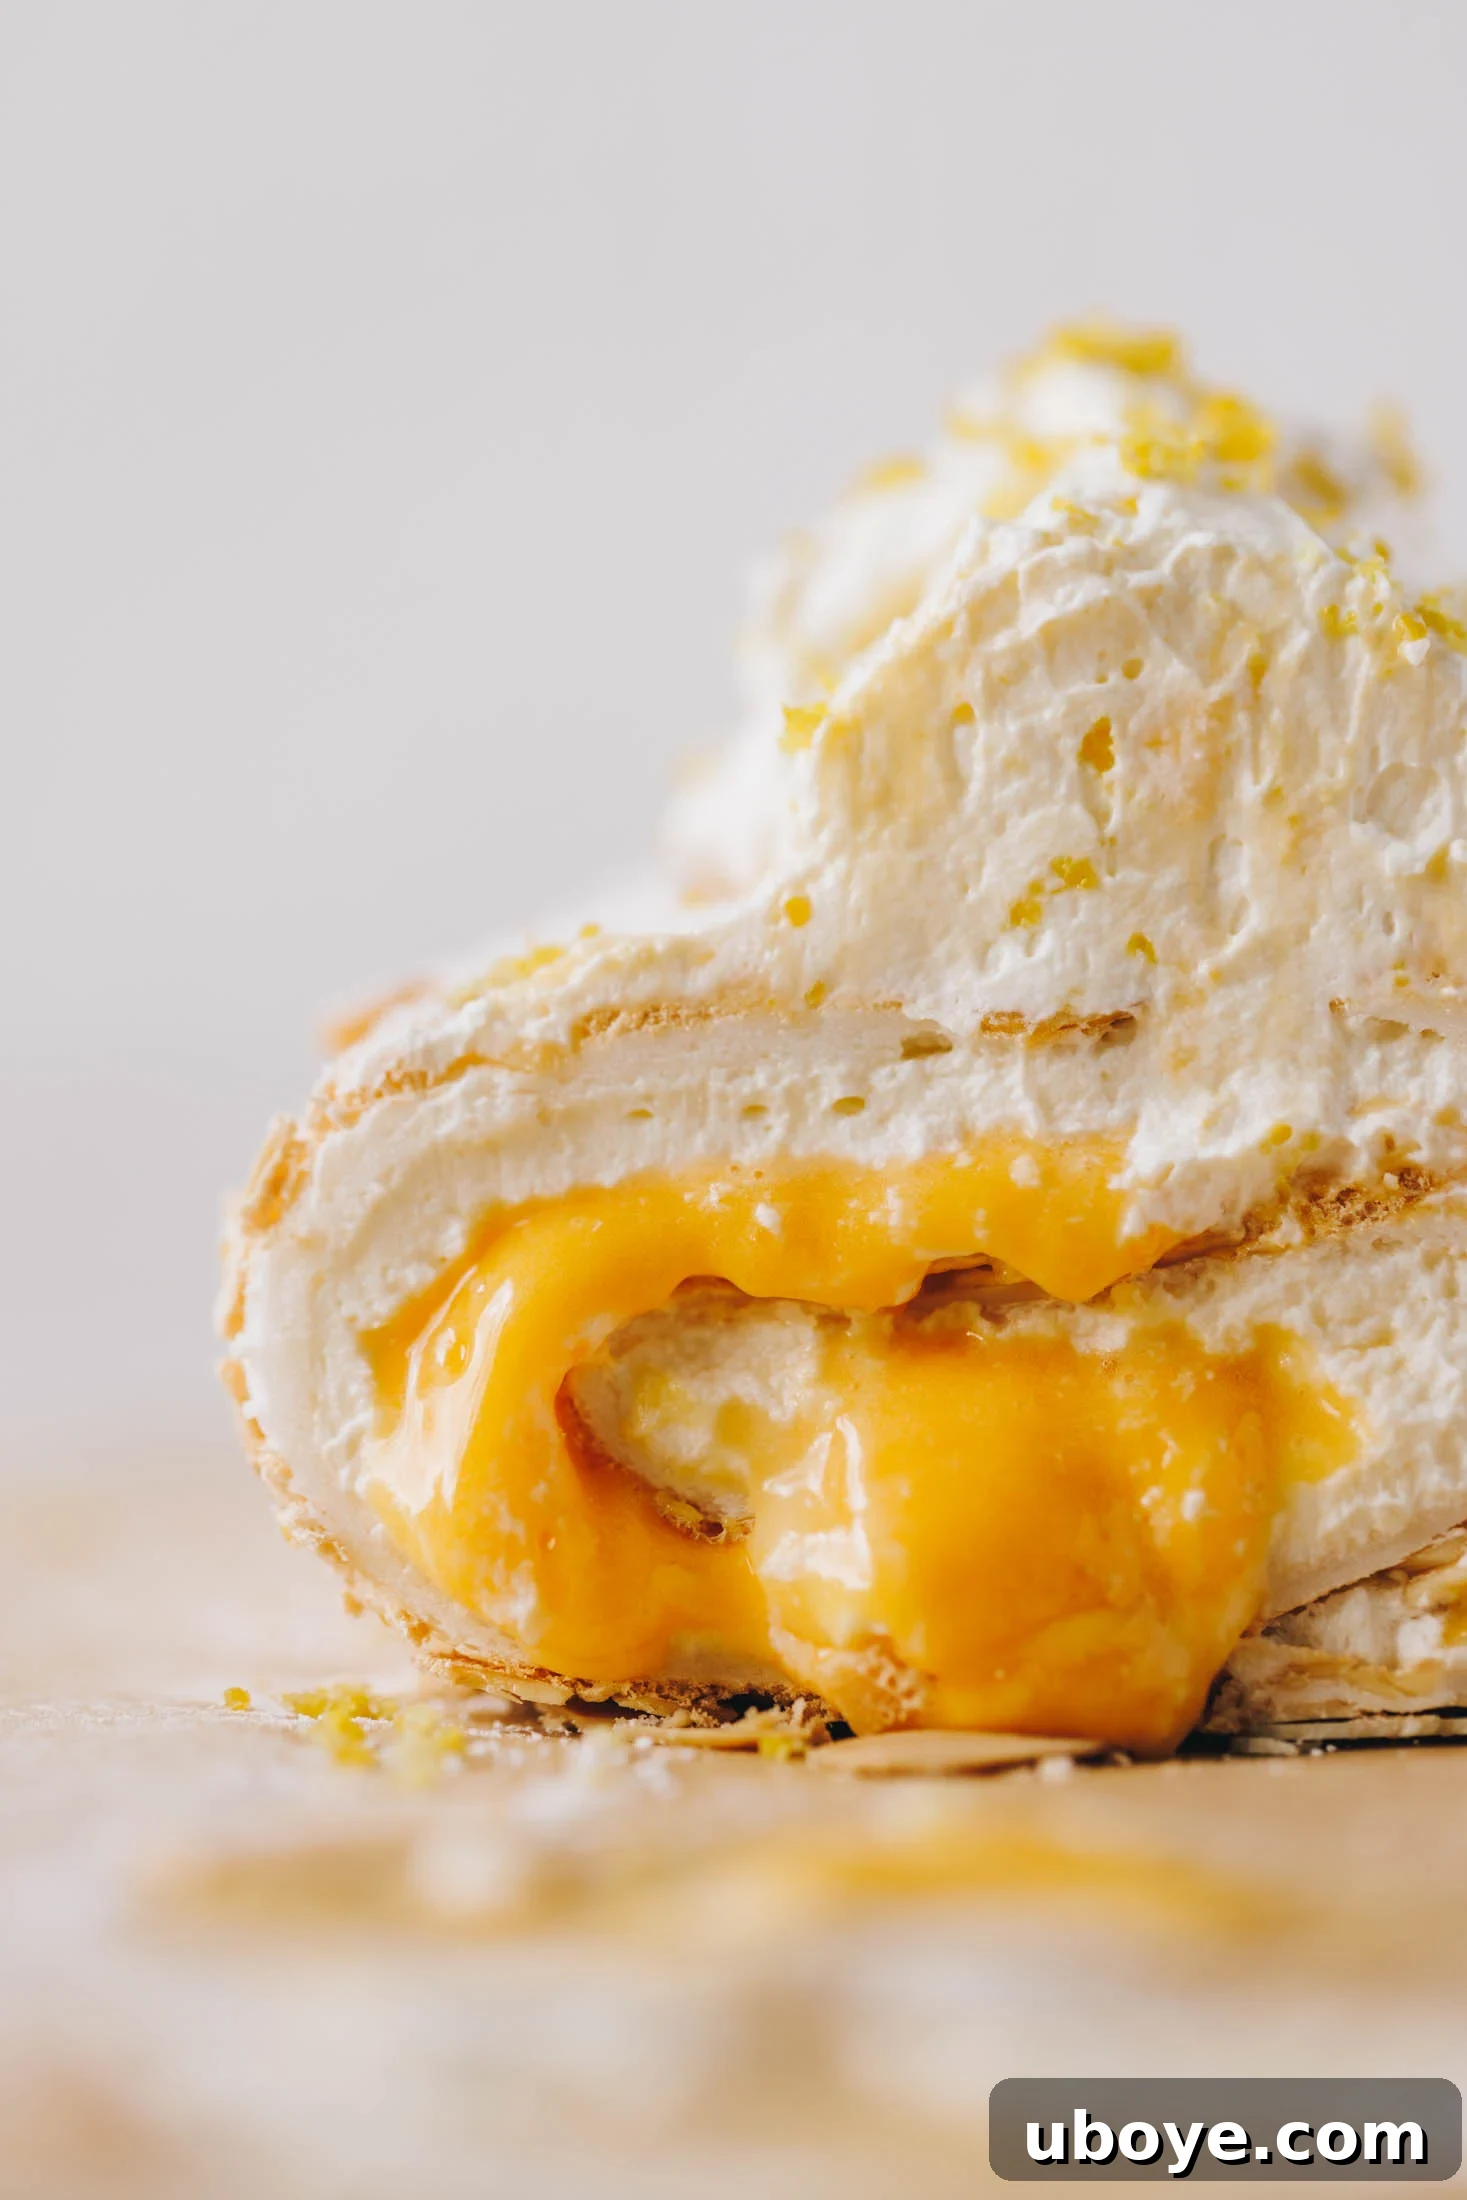
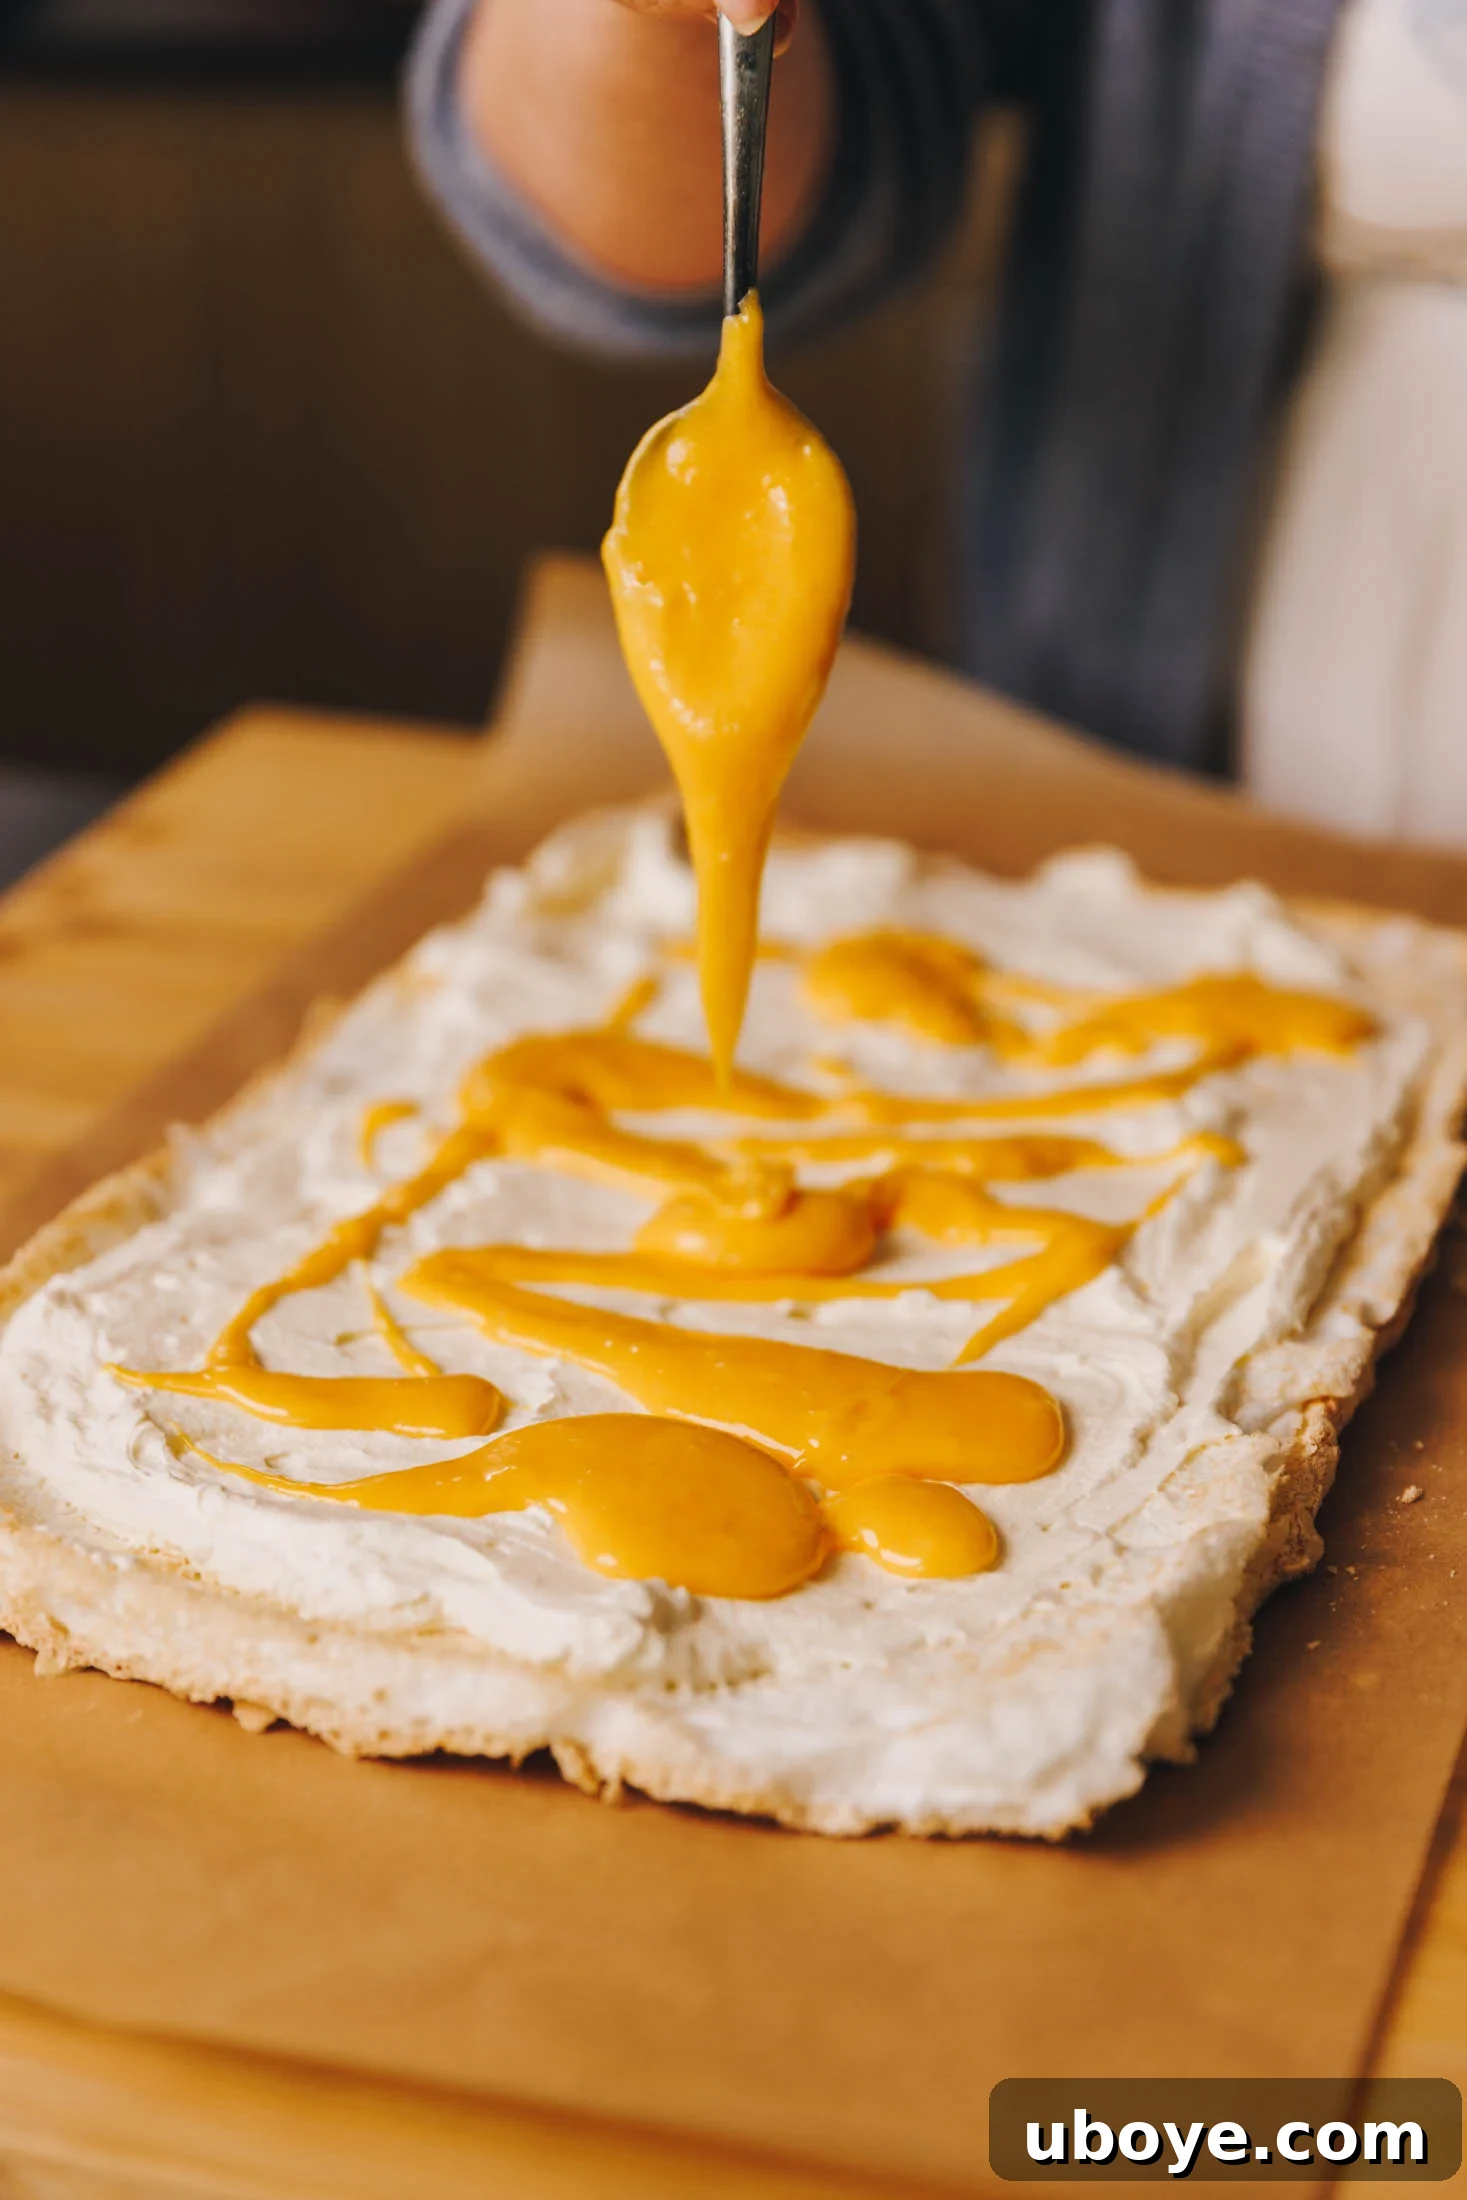
- Star of a Roulade: It’s the quintessential filling for a light and airy lemon curd meringue roulade, offering a beautiful contrast of textures and flavors.
- Creamy Swirls: Fold it into freshly whipped cream for a lemon chantilly, or swirl it through Greek yogurt for a refreshing and indulgent breakfast or snack.
- Unexpected Pairings: Don’t limit yourself to sweet applications! Try spreading it onto a slice of freshly baked sweet focaccia or brioche for a delightful and unconventional treat.
- Layered Creations: Use it as a vibrant layer in elaborate trifles, elegant parfaits, fruit tarts, or even our no-bake cheesecakes for a tangy counterpoint.
- Breakfast and Brunch Delights: Serve it alongside fluffy pancakes, crisp waffles, French toast, or a warm slice of banana bread. It’s also delicious simply spread on toast or scones with clotted cream.
- Fruit Enhancer: Dollop it over fresh berries, sliced peaches, or any seasonal fruit for an instant upgrade.
Storage and Longevity: Keeping Your Homemade Lemon Curd Fresh
Proper storage is essential to maintain the exquisite flavor and smooth texture of your homemade lemon curd. Follow these guidelines to ensure your curd stays fresh and delicious for as long as possible:
- Cool Completely: Always allow your lemon curd to cool down to room temperature entirely before transferring it to storage. Placing warm curd directly into the fridge can cause condensation, which can affect its texture and shelf life.
- Sterilized Jars are Key: For optimal freshness and to prevent bacterial growth, transfer the cooled lemon curd into a clean, sterilized glass jar or an airtight container. Sterilizing jars is a simple process involving washing them thoroughly, then heating them in boiling water or an oven before use.
- Refrigeration: Once transferred to a sterilized, airtight container, store your lemon curd in the refrigerator. It will keep beautifully for up to 2 weeks. The cold temperature helps to preserve its quality and prevent spoilage.
- Always Use a Clean Spoon: To further extend its freshness and prevent contamination, always use a clean spoon each time you dip into your jar of lemon curd. This simple habit can significantly prevent the introduction of bacteria.
- Freezing for Extended Storage: If you’ve made a large batch or want to enjoy your lemon curd for longer, it freezes exceptionally well. Spoon the cooled curd into freezer-safe containers, leaving a little headspace as it may expand slightly. Freeze for up to 3 months. To use, simply thaw overnight in the refrigerator and stir well before serving to restore its original smooth consistency.
More Sweet Indulgences for Your Sweet Tooth!
Sweets
Lemon Curd Meringue Roulade
Sweets
Refrigerator Strawberry Jam
Sweets
White Chocolate, Pistachio & Raspberry Olive Oil Cake
Sweets
Lemon Olive Oil Cake
We absolutely adore seeing your culinary creations! If you make this homemade lemon curd, please share your masterpiece and tag us on Instagram, TikTok, or Pinterest. Your wonderful photos and feedback truly inspire us. If you have any questions about the recipe or would like to leave a review, please do so below! We always love hearing from you and answering all your food and recipe-related queries.
Pin
Homemade Lemon Curd
Ingredients
Lemon Curd
- 6 egg yolks
- 3/4 cup sugar (caster sugar recommended)
- 8 tbsp butter, unsalted or salted
- 1/2 cup lemon juice (freshly squeezed)
- 2 tbsp lemon zest (finely grated)
Instructions
Lemon Curd
-
Whisk the Base: In a large, heatproof bowl, combine the egg yolks, lemon zest, and sugar. Whisk thoroughly by hand or with an electric mixer until the mixture is pale in color and smooth, but not frothy. This ensures a consistent texture.
-
Gently Thicken: In a medium saucepan, melt the butter over low heat. Once the butter is fully melted and slightly foaming, add the lemon juice and stir to combine. Immediately add the prepared egg yolk and sugar mixture to the pan. Continue to stir constantly with a rubber spatula for 7 to 10 minutes. Maintain a low heat throughout this process to prevent the eggs from scrambling. The curd will gradually thicken to a beautiful deep yellow, custard-like consistency. It’s ready when it coats the back of a spoon and holds a clear line when you run your finger through it.
-
Cool and Store: Remove the saucepan from the heat and allow the lemon curd to cool completely at room temperature. As it cools, it will continue to thicken further. Once cooled, transfer the curd into a clean, sterilized, airtight jar. Store in the fridge for up to 2 weeks.
Notes
Serving Suggestions: Enjoy this luscious curd alongside ice cream, spread on toast, or as a delightful filling for tarts and roulades, such as our recommended meringue roulade.
Nutrition
Nutrition information is automatically calculated, so should only be used as an approximation.
 Like this? Leave a comment below!