
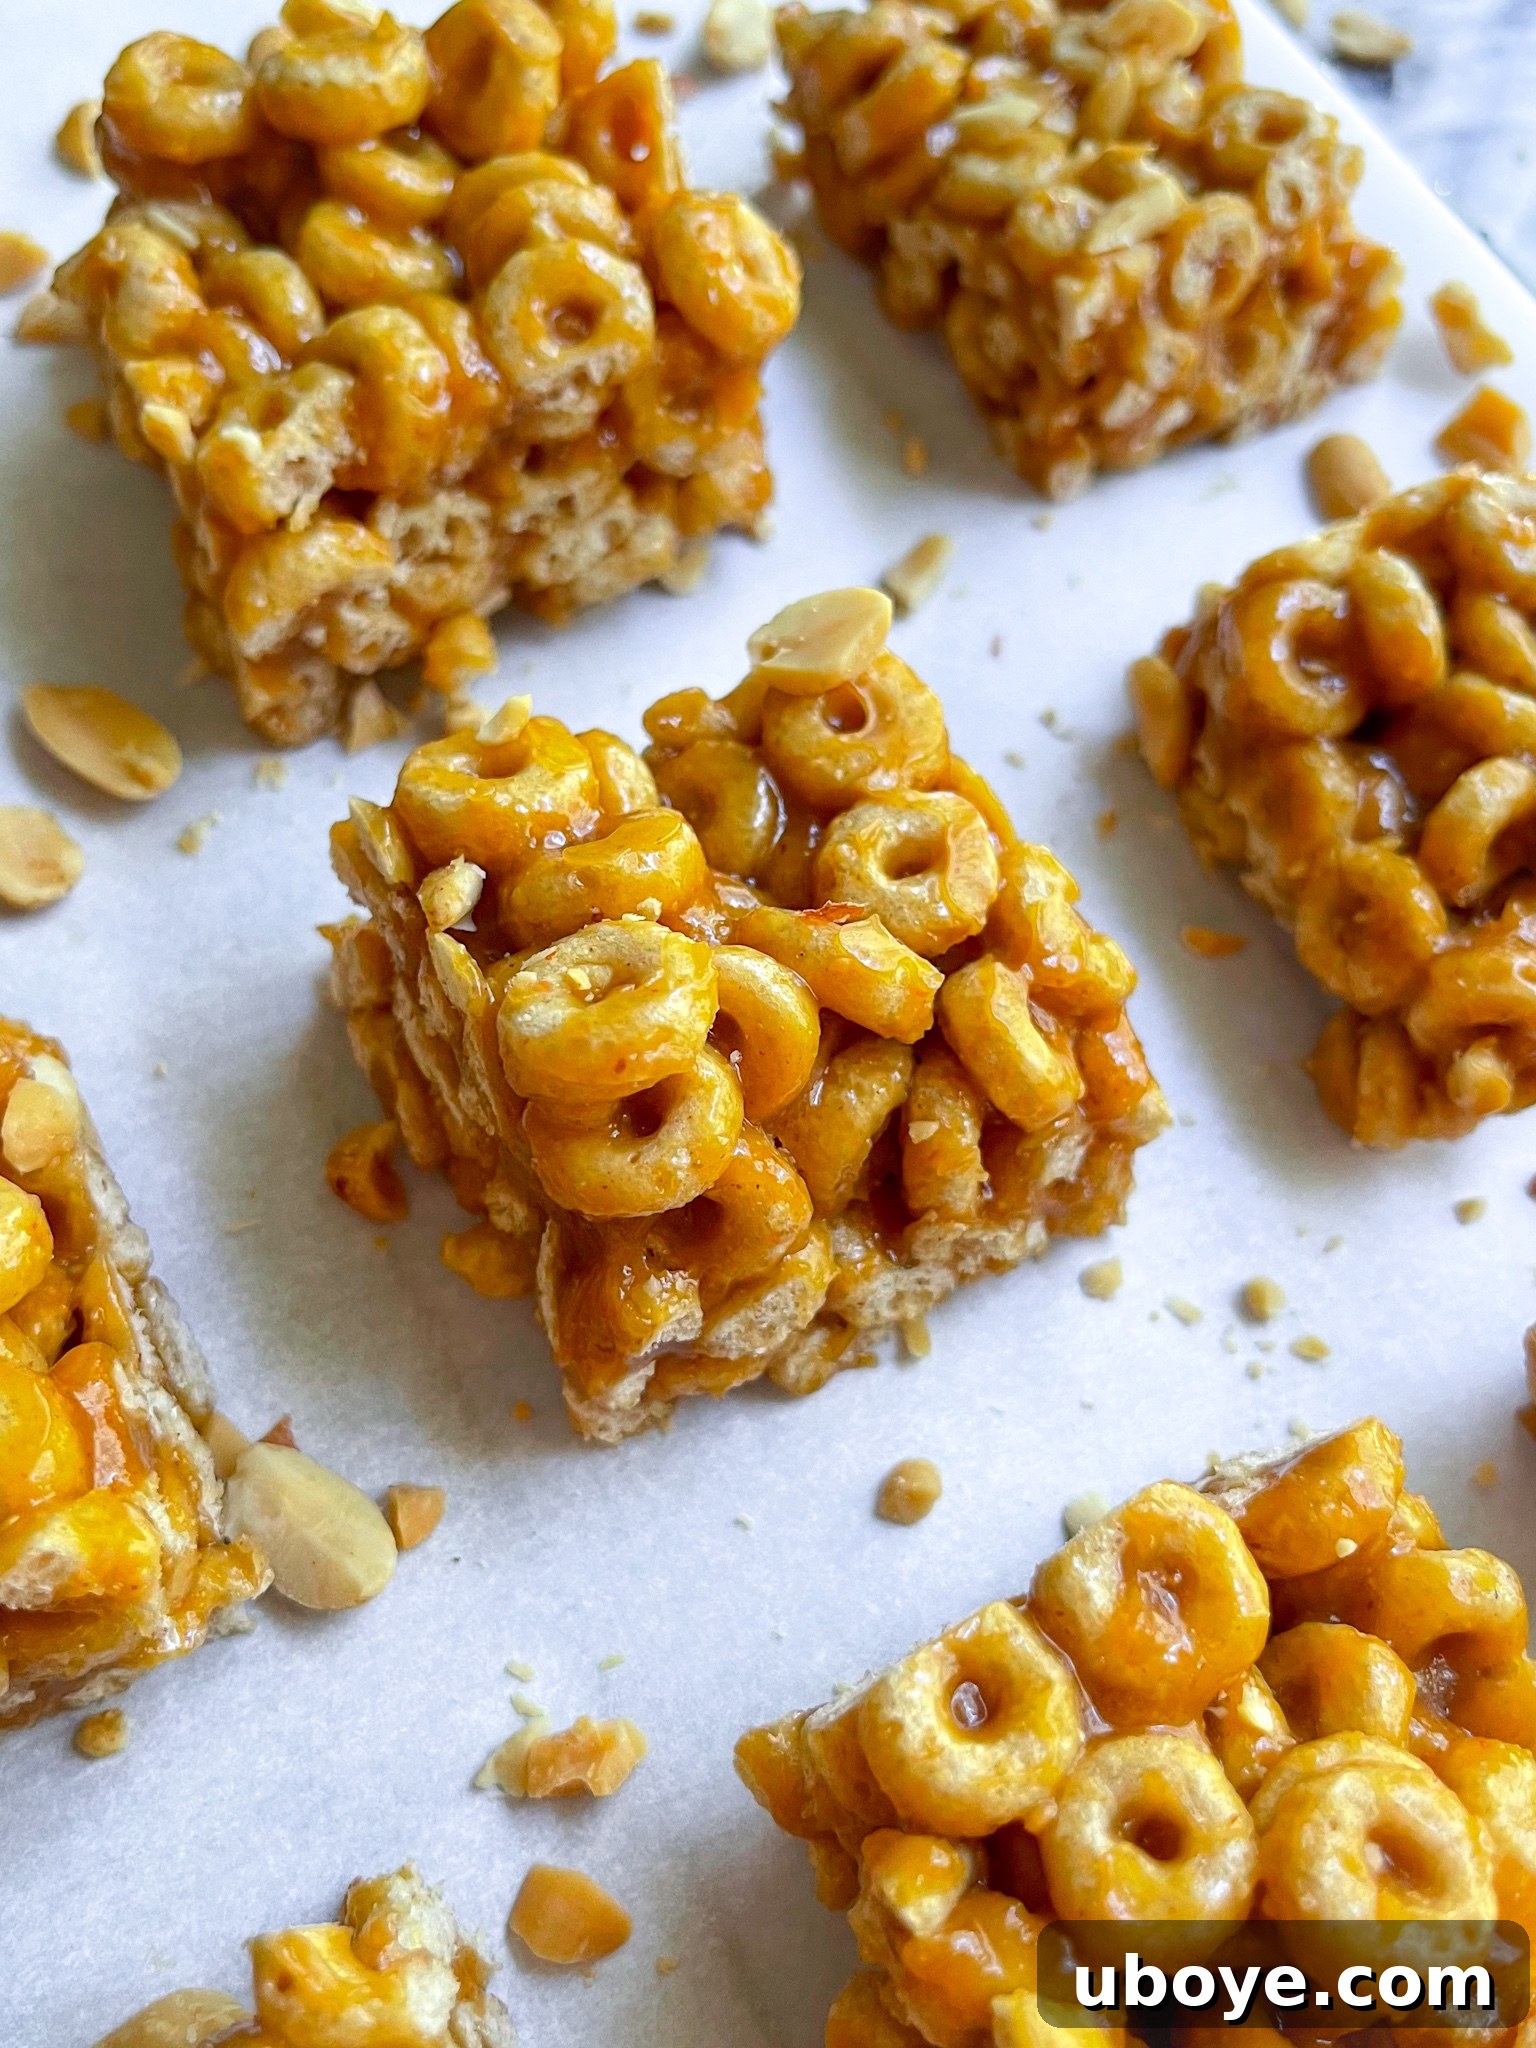
Step back in time to a simpler era with these delightful Honey Nut Cereal Bars. For many, these sweet and salty, crunchy treats evoke cherished childhood memories, representing the quintessential no-bake snack. Exceptionally easy to prepare and entirely vegan, this recipe transforms basic pantry staples into a nostalgic delight that captivates both young and old. With a simple mix of O-shaped cereal, creamy peanut butter, rich maple syrup, a hint of zesty lemon, and a splash of vanilla, you’re just moments away from pressing these into perfect bars.
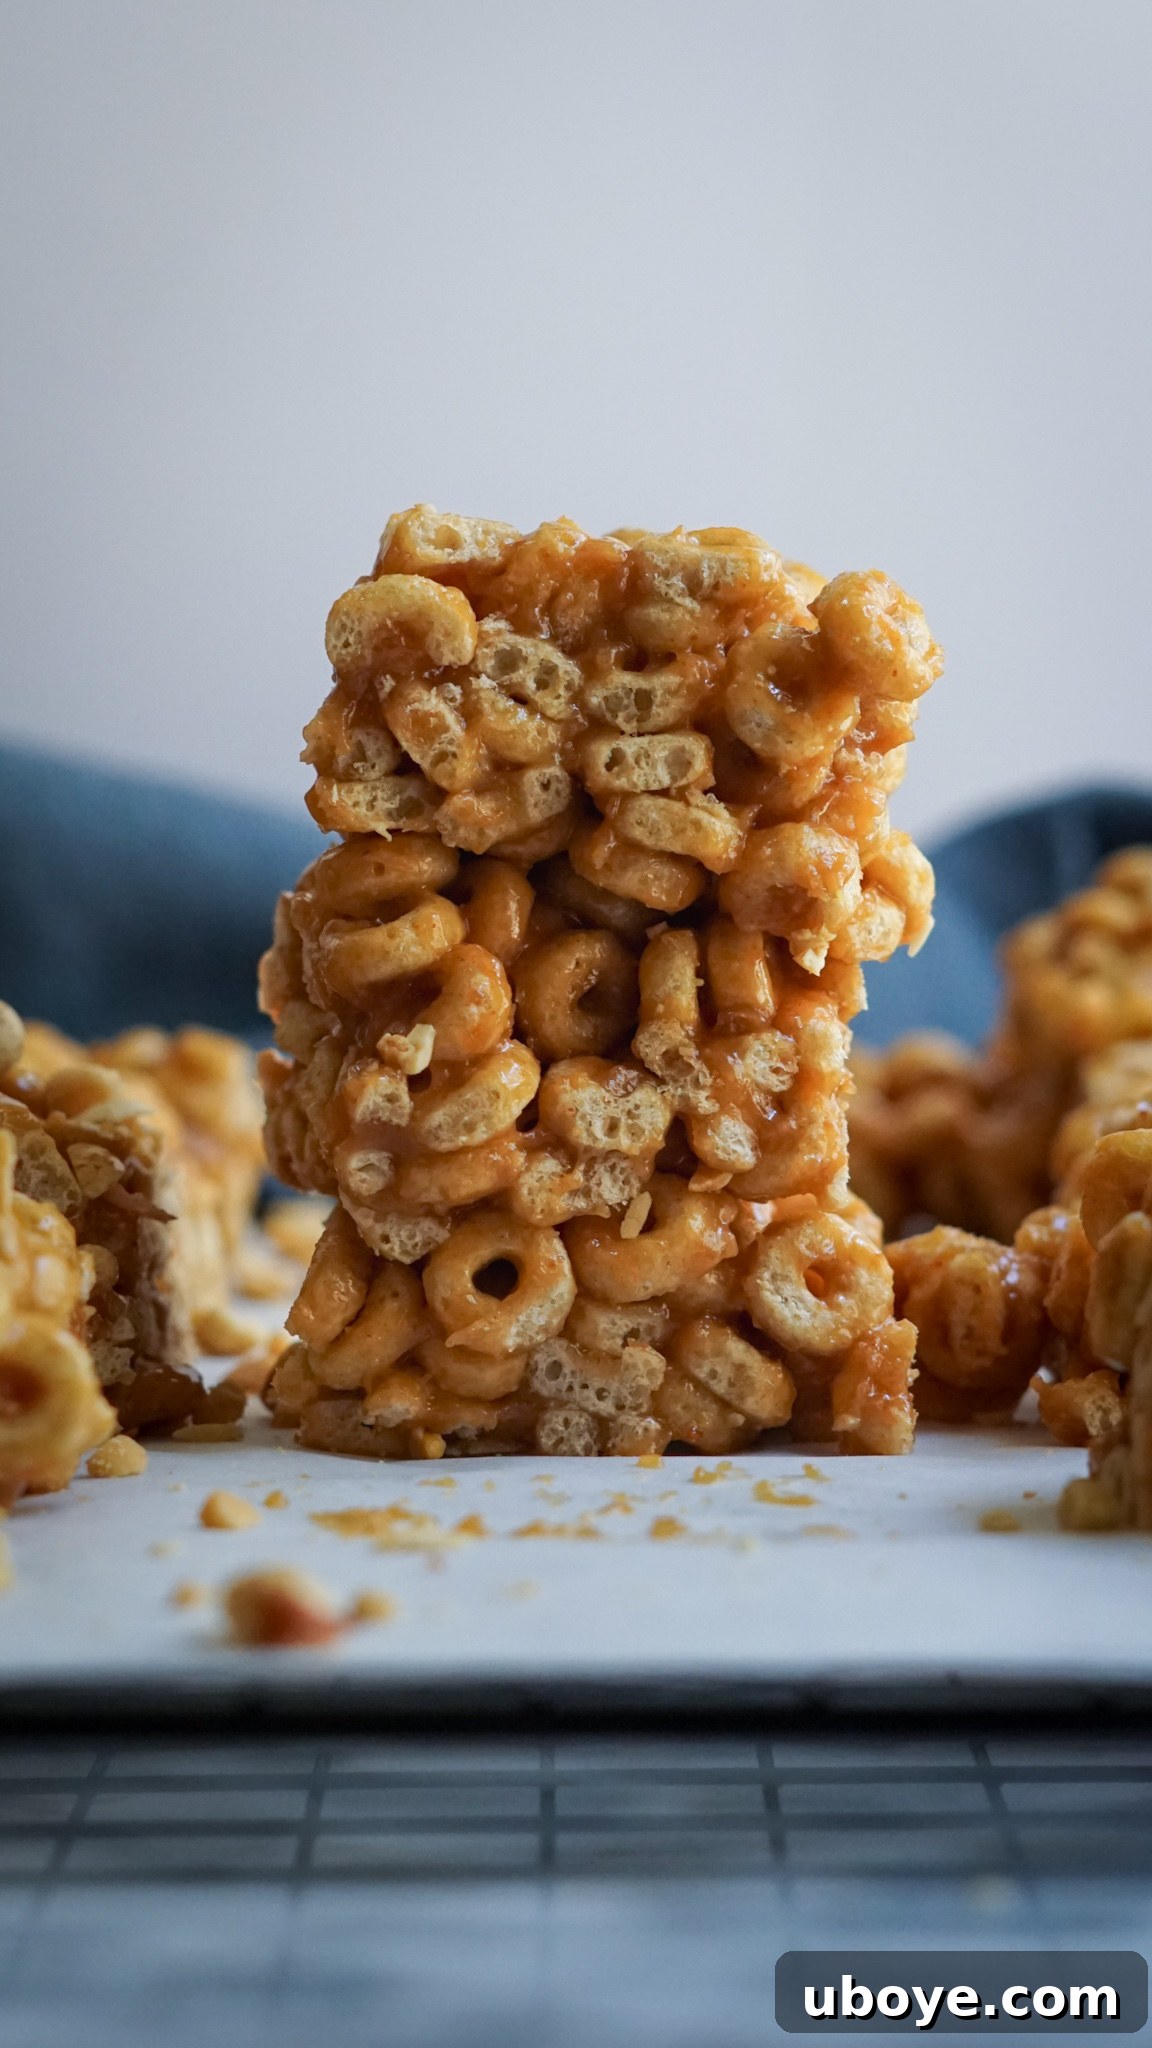
Growing up, these Honey Nut Cereal Bars held a special place, often championed as the “healthier” or “all-natural” alternative to traditional Rice Crispy Treats. My earliest culinary lessons included mastering these bars during daycare, a necessity born from my school’s strict no-candy and no-marshmallow policy. This meant the classic, marshmallow-laden Rice Krispies were off-limits. Instead, we learned to create these wonderful Honey Nut Cereal Bars, a recipe my sister and I have lovingly recreated countless times since.
The original, beloved recipe was incredibly simple, featuring just three core ingredients: O-shaped cereal, peanut butter, and honey. However, as dietary awareness evolved, it became clear that traditional Cheerios often contain animal-derived Vitamin D3, rendering them non-vegan, and honey itself is not a plant-based ingredient. This realization sparked a mission: to meticulously re-engineer the recipe into a vegan-friendly version that not only honored the sweet and nutty flavors we adored as children but also aligned perfectly with a plant-based lifestyle. This updated recipe delivers all the nostalgic taste without any animal products, making it accessible and enjoyable for everyone.
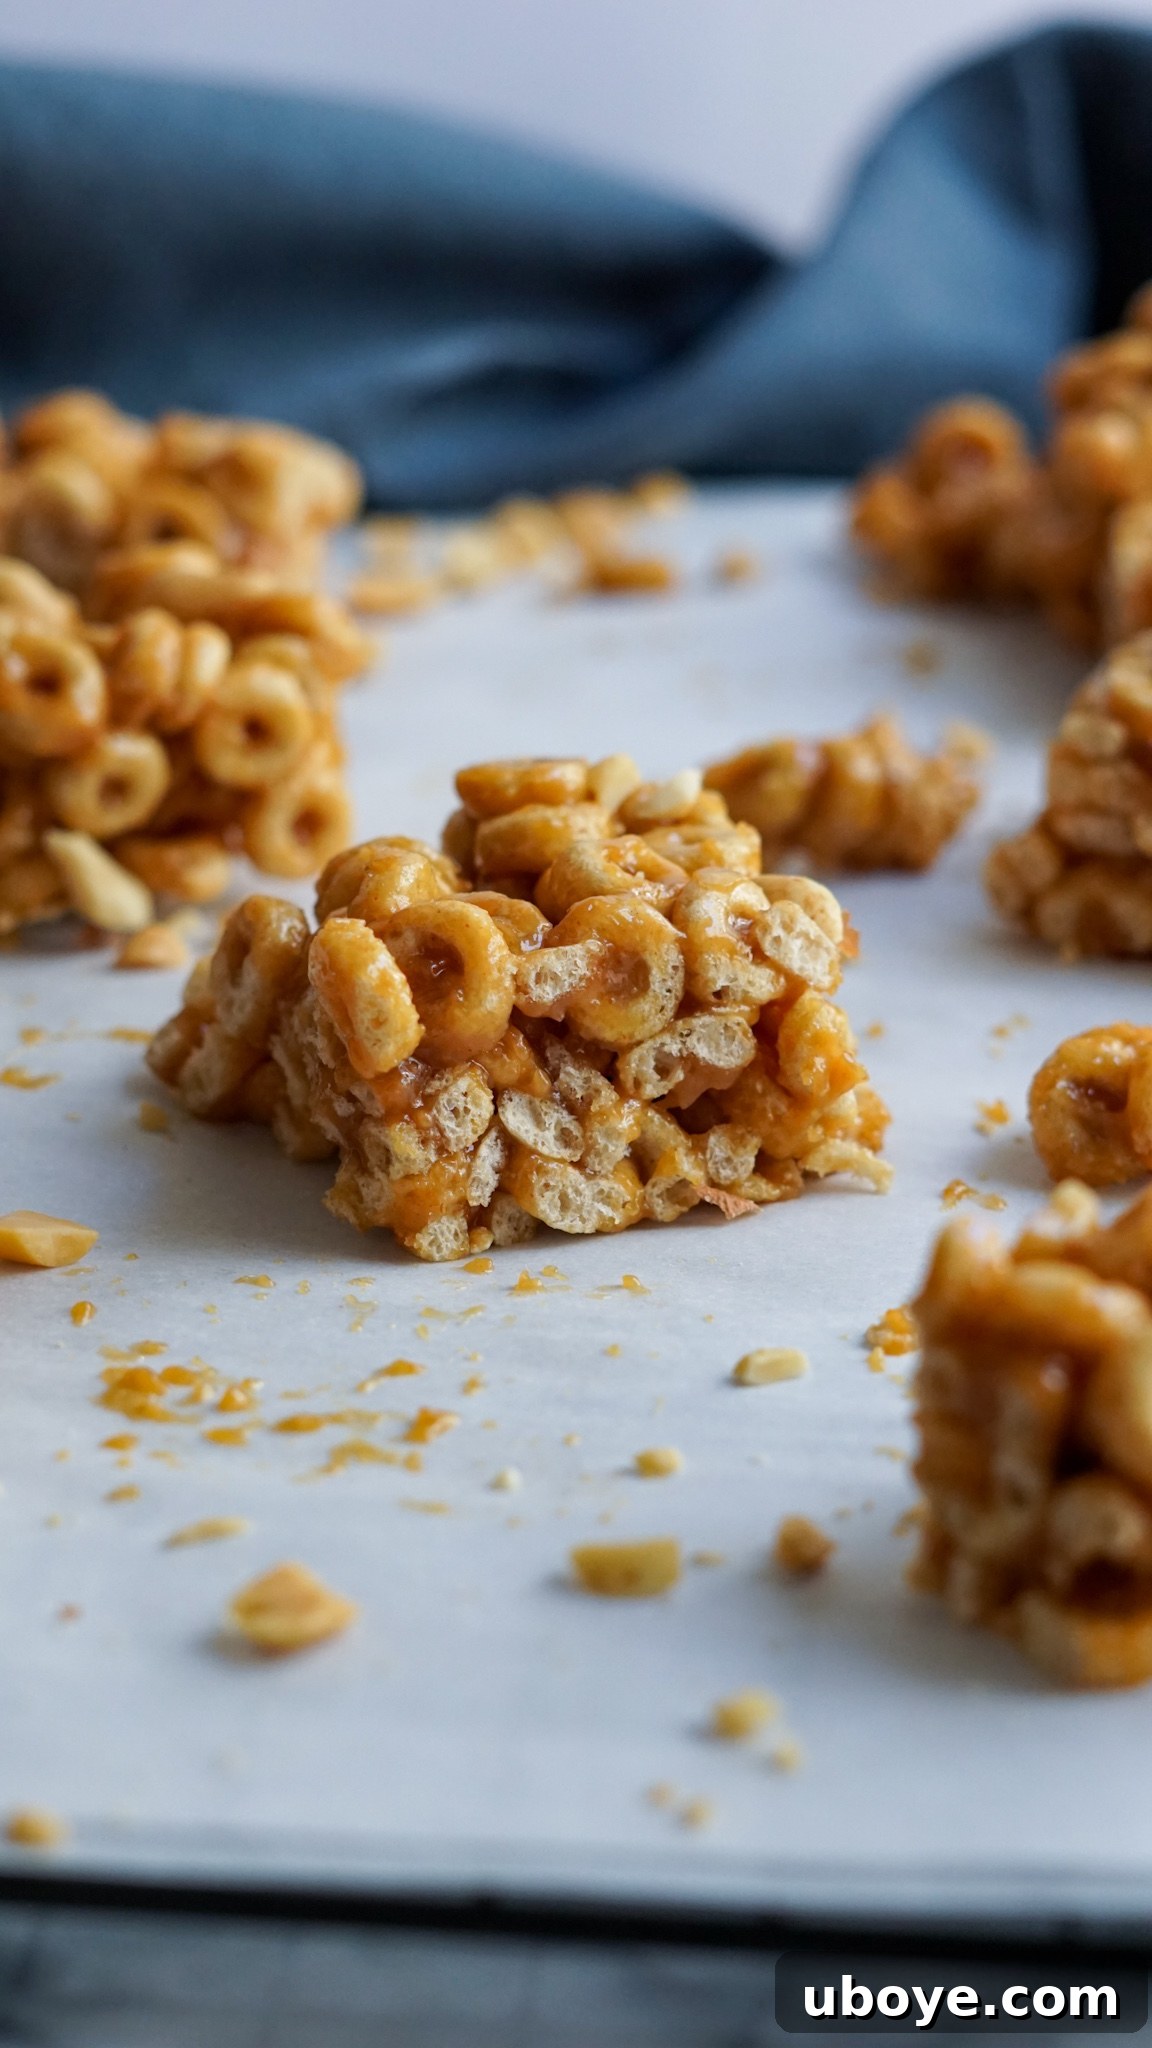
Why You’ll Fall in Love with These Vegan Honey Nut Cereal Bars
There’s a multitude of reasons why these homemade cereal bars are a standout, whether you’re seeking a quick snack, a healthier dessert, or a kid-friendly treat. Here’s what makes them truly special:
- Irresistibly Sweet ‘n Salty with a Nutty ‘n Crunchy Texture: This harmonious blend of flavors and textures creates an addictive snack. The maple syrup provides a deep, natural sweetness that perfectly complements the savory richness of peanut butter and the subtle zing of salt. Each bite delivers a satisfying crunch from the cereal, making it an experience your taste buds will crave.
- Effortless No-Cook / No-Bake Preparation: Forget about turning on the oven or messy stovetop melting. This recipe is designed for ultimate convenience. All you need is a bowl, a spatula, and a freezer. It’s the perfect activity for little chefs or for those busy days when you need a delicious treat without the fuss.
- Crafted with Just 6 Simple, Wholesome Ingredients: You won’t find a long, intimidating list of obscure items here. With only six easily accessible ingredients, you can whip up these bars in no time. This simplicity ensures a pure, unadulterated flavor that shines through in every bite.
- Free from Artificial Ingredients and Refined Sugar: In an age where healthy eating is paramount, these bars truly deliver. By utilizing natural maple syrup for sweetness and avoiding processed sugars and artificial additives, you can enjoy these treats guilt-free, knowing you’re nourishing your body with quality ingredients.
- A Universally Kid-Friendly and Family-Friendly Recipe: These bars are a guaranteed hit with everyone. Their familiar taste, fun texture, and easy-to-eat format make them ideal for lunchboxes, after-school snacks, or a delightful family dessert. Plus, getting kids involved in the no-bake process is a fantastic way to encourage healthy eating habits and foster a love for cooking.
Essential Ingredients for Your Vegan Honey Nut Cereal Bars
Crafting these delicious, healthier cereal bars requires just a handful of straightforward ingredients. Each component plays a crucial role in achieving the perfect flavor and texture:
- Natural Peanut Butter: Opt for natural, unsalted peanut butter where the only ingredient listed is peanuts. This is crucial for achieving the right consistency and flavor balance. Processed peanut butters often contain added sugars and oils which can alter the texture and sweetness of the bars, making them less cohesive or overly sweet. Its rich flavor and sticky texture act as the primary binder.
- Pure Maple Syrup: This is our star sweetener and the essential binder that replaces honey, making the bars perfectly vegan. Maple syrup offers a complex, caramel-like sweetness that complements the peanut butter beautifully. Ensure you use pure maple syrup, not pancake syrup, for the best flavor and binding properties.
- Fresh Lemon Juice: While it might seem like an unusual addition, a small amount of fresh lemon juice works wonders. It helps to brighten the overall flavor profile, cutting through the richness of the peanut butter and maple syrup, preventing the bars from tasting overly heavy or one-dimensional. Don’t skip this secret ingredient!
- Pure Vanilla Extract: Vanilla is a foundational flavor enhancer in many sweet recipes, and these bars are no exception. It adds a warm, aromatic depth and rounds out the other flavors, making the simple combination of peanut butter and maple taste more sophisticated and balanced.
- Kosher Salt: A pinch of kosher salt is absolutely vital. It doesn’t just add salinity; it enhances all the other flavors, making the bars taste richer and more complex, almost buttery. The salt perfectly balances the sweetness of the maple syrup and the richness of the peanut butter, transforming them into a truly gourmet experience.
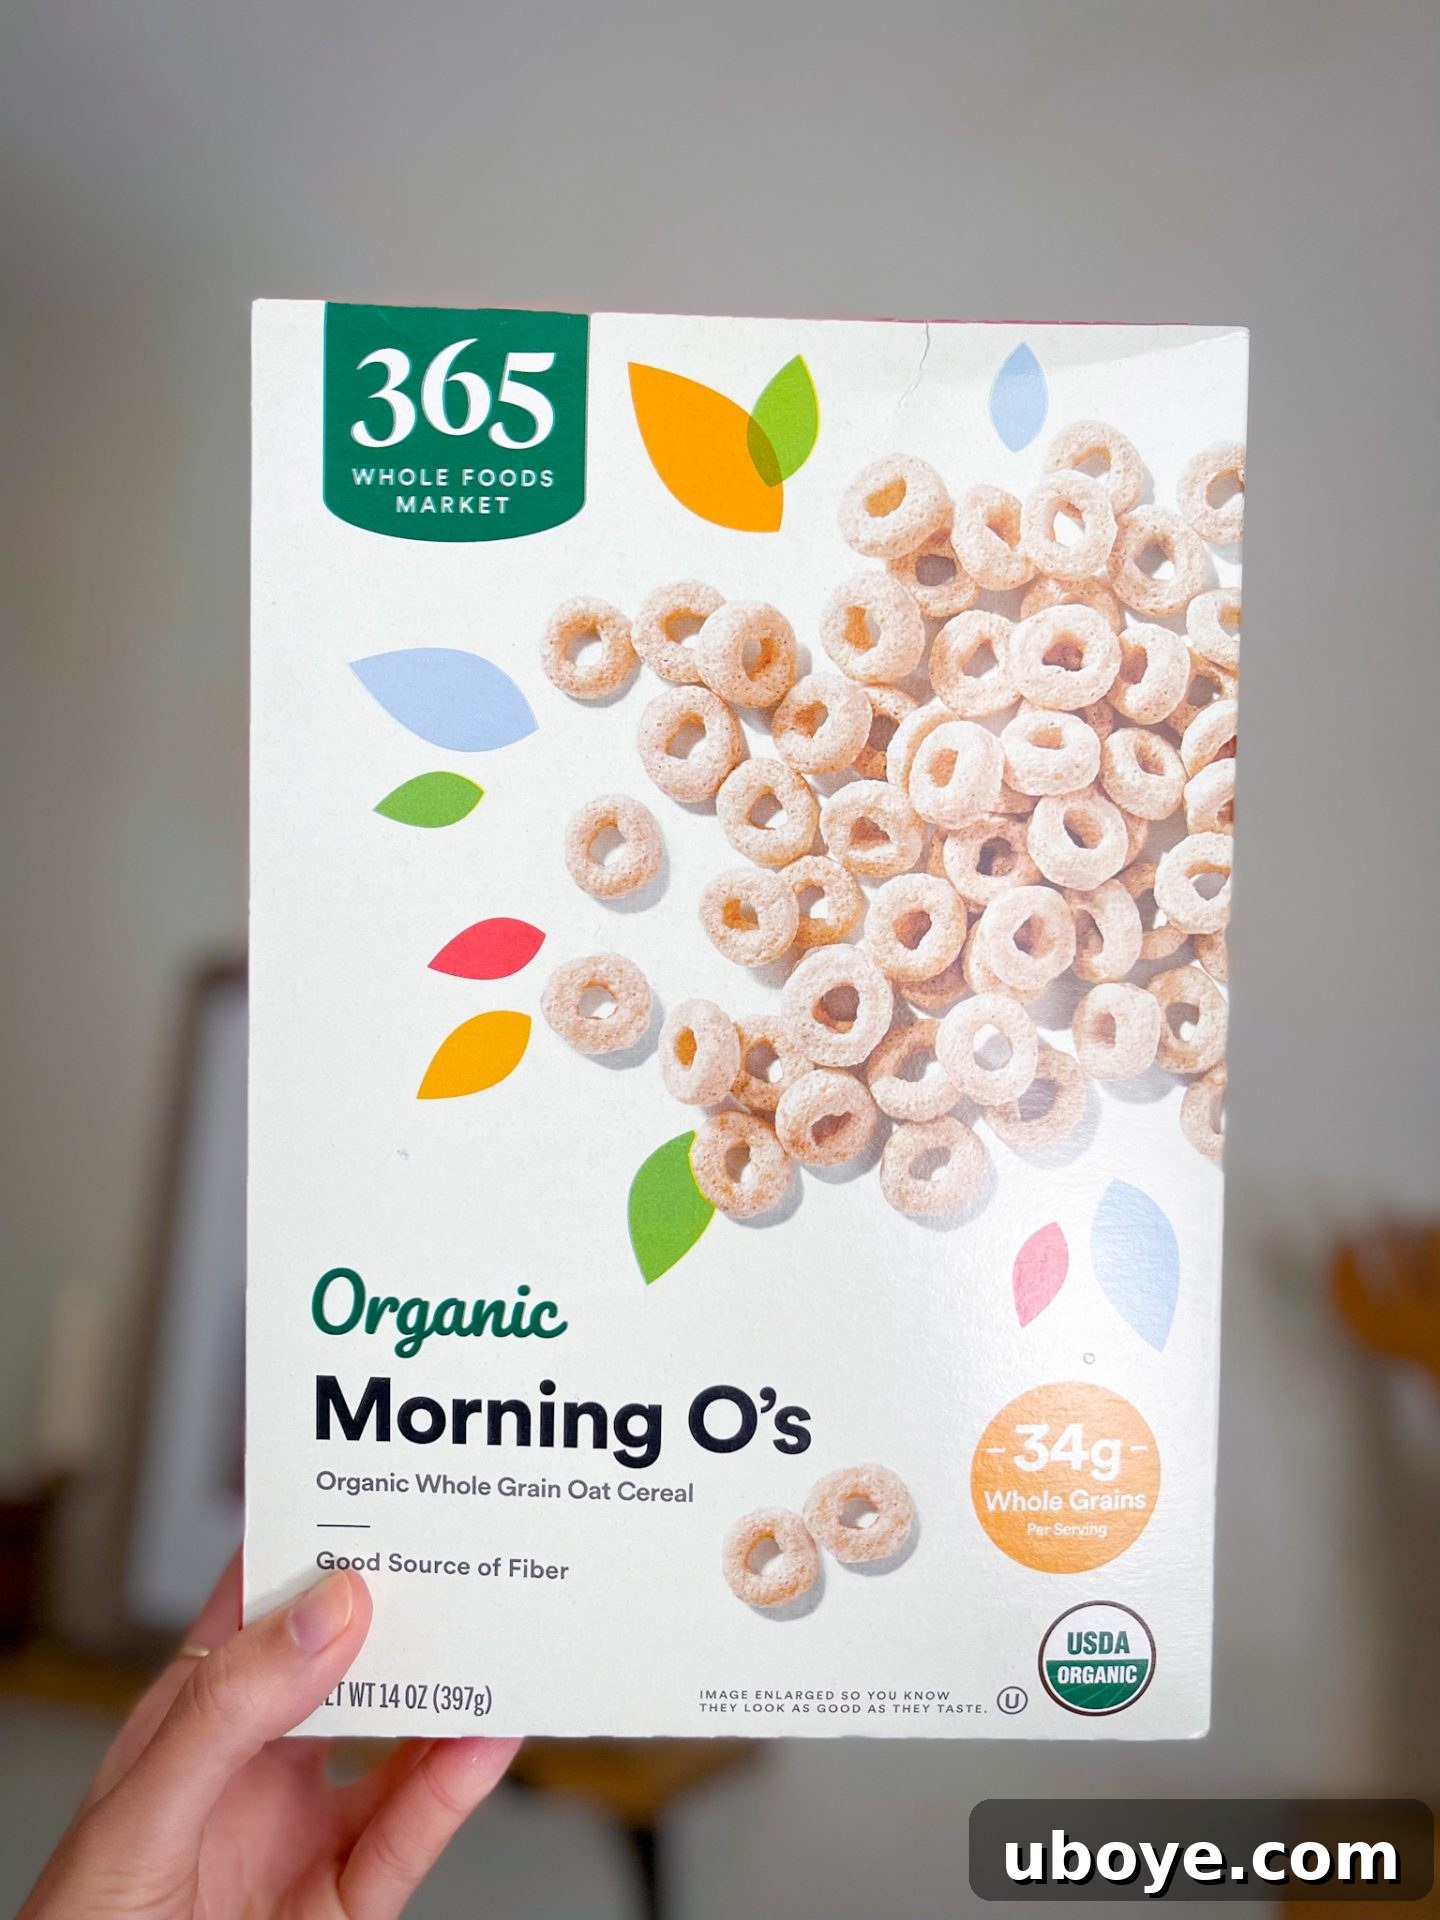
- O-Shaped Cereal: The crispy backbone of our bars! While traditional Honey Nut Cheerios are often used, they are typically not vegan due to Vitamin D3. Look for store brands or organic O-shaped cereals that explicitly state they are vegan or do not list Vitamin D3 (cholecalciferol) in their ingredients. Brands like Whole Foods 365 O’s or specific generic brands often offer suitable vegan alternatives, providing that classic, satisfying crunch.
Crafting Cereal Bars: The Marshmallow-Free & Butter-Free Way
Many wonder if it’s possible to create delicious cereal bars without the traditional marshmallows and butter. The resounding answer is yes, and it’s even simpler! This recipe requires absolutely no melting, no cooking, and no complicated steps, making it perfect for novice bakers and seasoned chefs alike.
Step-by-Step Instructions for No-Bake Perfection:
- Prepare Your Pan: Begin by lining a 9×9 inch baking dish with parchment paper. This crucial step ensures that your bars won’t stick and can be easily lifted out for cutting later. Allow an overhang on two sides for easy removal.
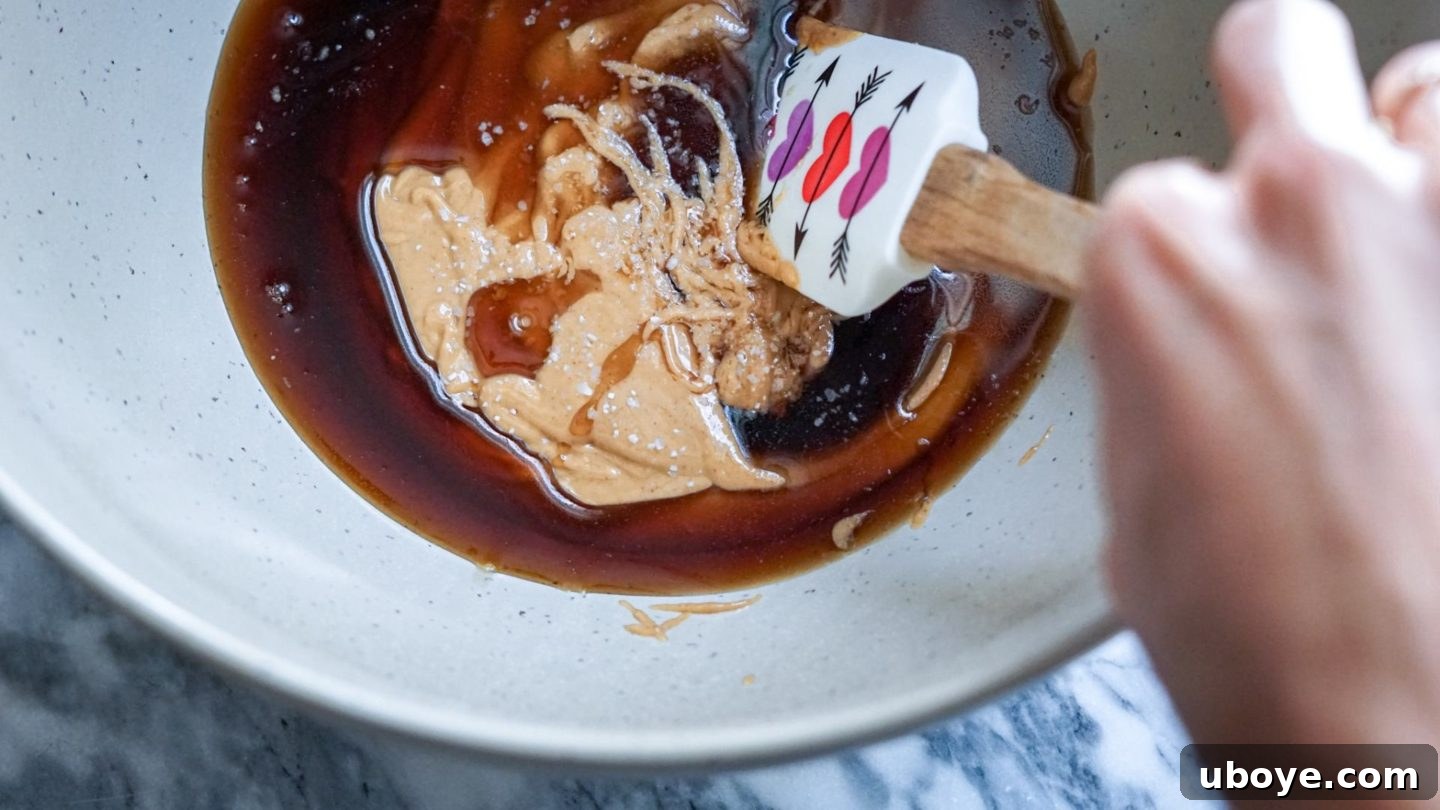
- Combine Wet Ingredients: In a large mixing bowl, add your room temperature natural peanut butter, pure maple syrup, fresh lemon juice, pure vanilla extract, and kosher salt. Ensure your peanut butter is at room temperature for easier mixing and a smoother consistency.
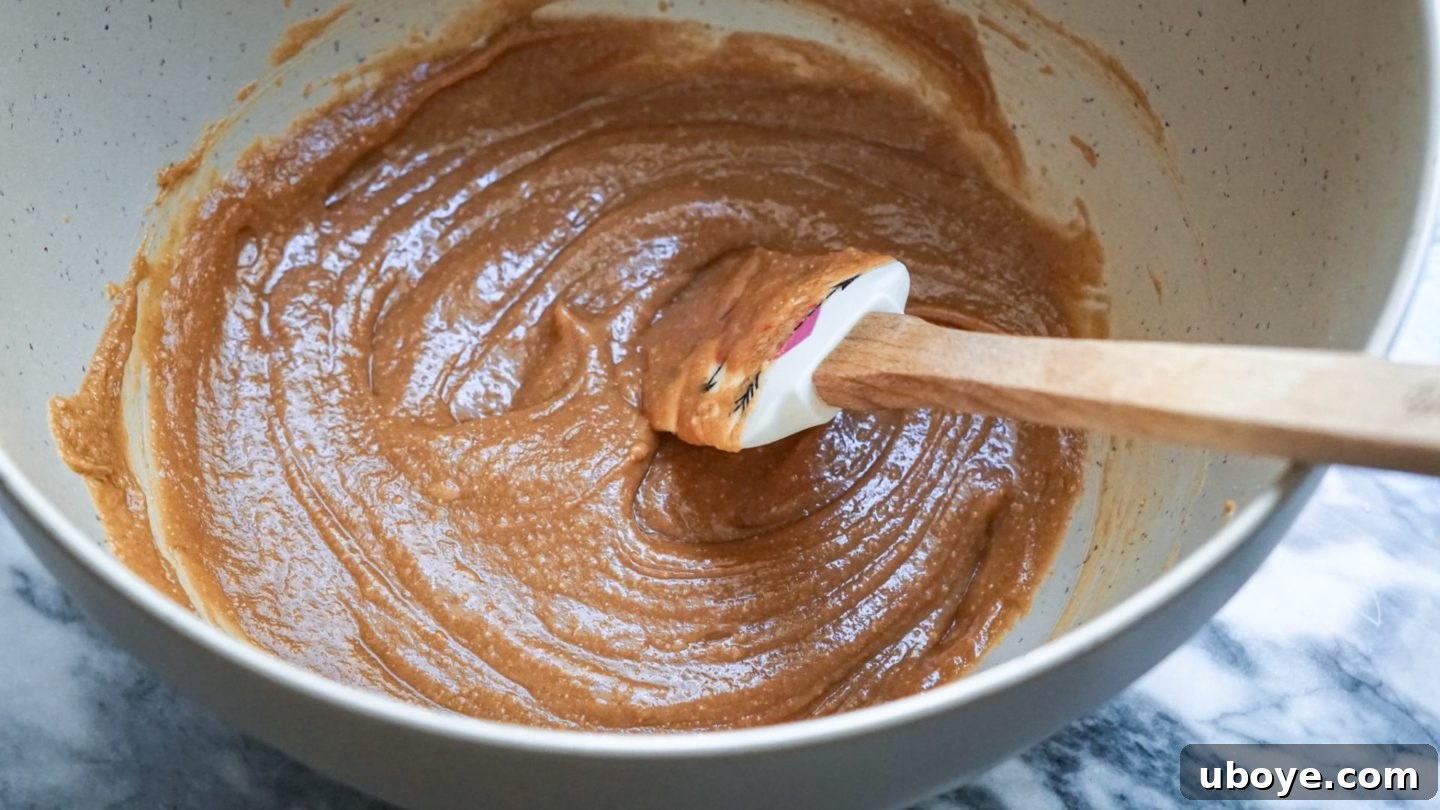
- Mix Thoroughly: Using a sturdy spatula or a wooden spoon, mix all the wet ingredients together until they are completely smooth and well combined. This mixture should be thick and cohesive.
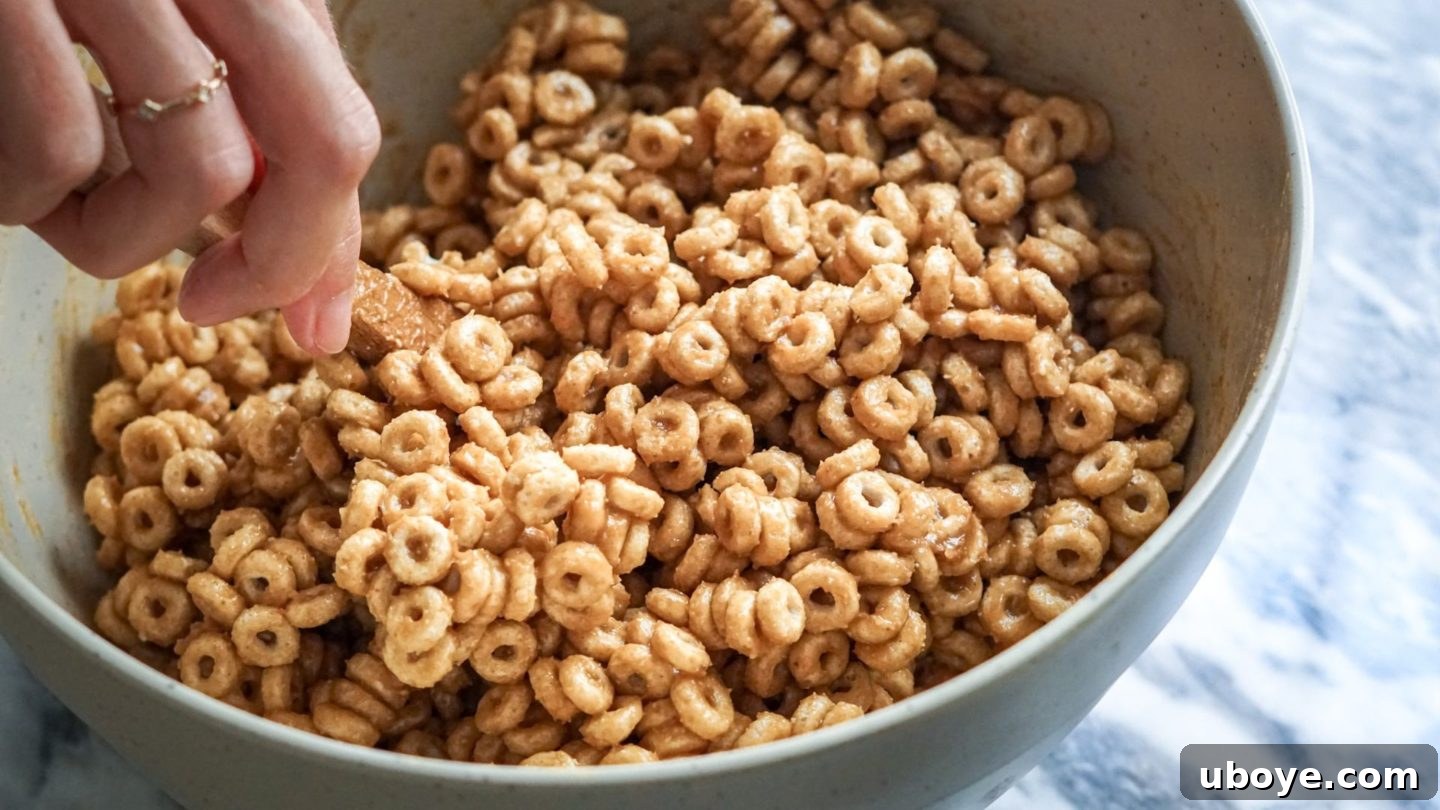
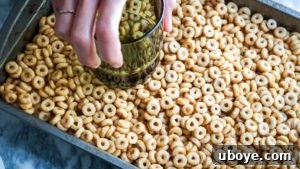
- Add the Cereal: Introduce half of the O-shaped cereal into the bowl with the wet mixture. Gently fold and toss the cereal until it’s somewhat coated. This two-stage addition helps ensure all the cereal gets a good, even coating. Then, add the remaining cereal and continue to mix until every single piece of cereal is thoroughly coated with the delicious peanut butter mixture. Patience here pays off for uniformly textured bars!
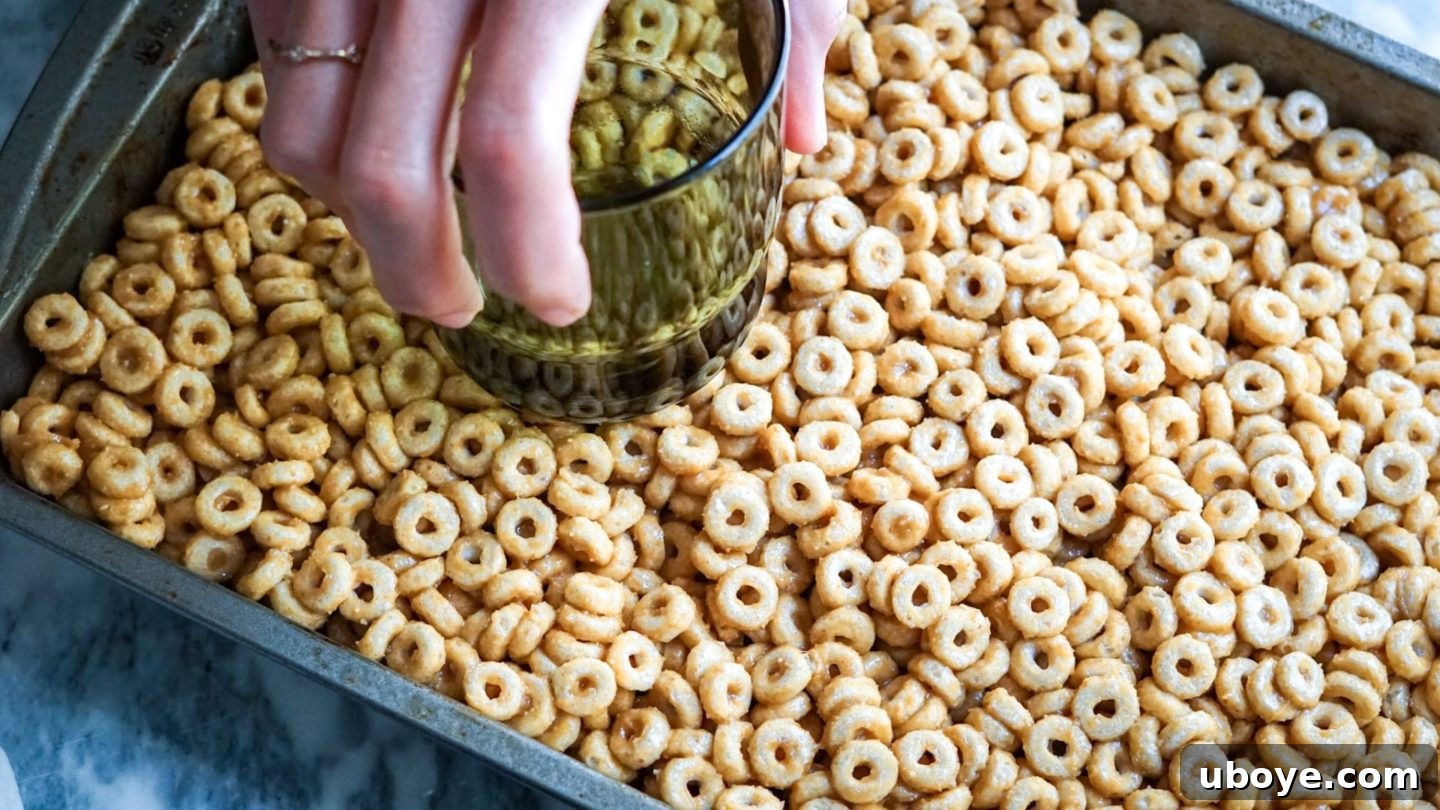
- Press into Bars: Transfer the entire cereal mixture into your prepared 9×9 inch baking dish. Using the back of your spatula, or for even better results, a sturdy flat-bottomed glass or a second piece of parchment paper, press the mixture down *very firmly*. The goal is to create a compact, even layer. This firm pressing is critical for preventing the bars from crumbling once sliced.
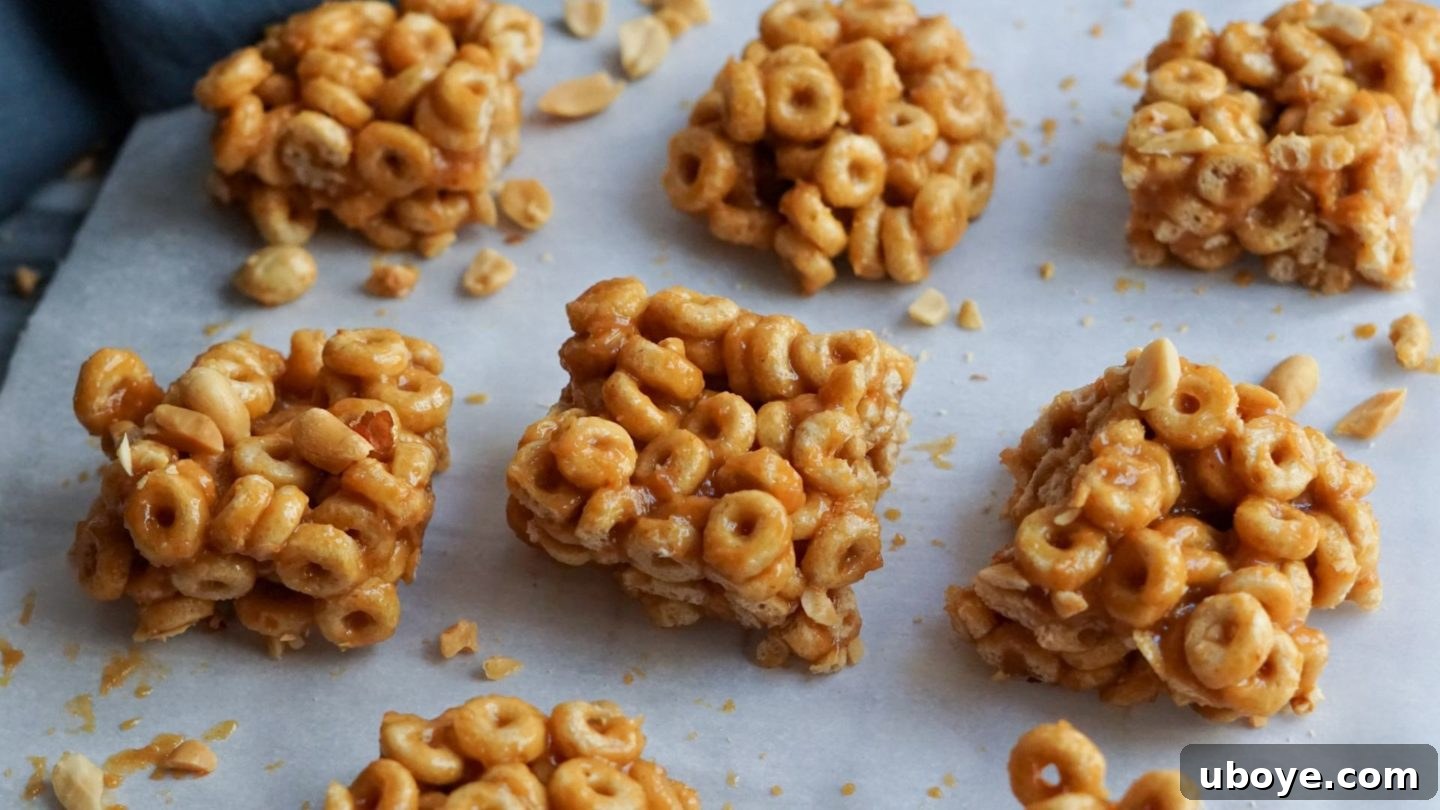
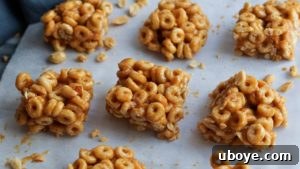
- Chill and Enjoy: Place the baking dish into the freezer for a minimum of 3 hours. This chilling period is non-negotiable for achieving the perfect firm, crunchy texture. Once thoroughly chilled, lift the entire block out of the dish using the parchment paper overhang, slice into your desired bar size, and serve immediately.
Important Note on Serving: These cereal bars are best enjoyed straight out of the freezer. The cold temperature ensures they remain wonderfully crunchy and firm. If left at room temperature for too long, they will soften and lose their desirable crispy texture, becoming somewhat soggy. Plan to serve them chilled!
Optimal Storage for Freshness
To maintain the irresistible crunch and extend the life of your homemade cereal bars, proper storage is key. Transfer any leftover bars into an airtight container and store them in the freezer. They will remain fresh, firm, and deliciously crunchy for up to 3 days. For best quality, try to consume them within this timeframe.
Expert Tips for Crafting the Ultimate Vegan Cereal Bars
While this recipe is incredibly simple, a few expert tips can elevate your cereal bars from good to absolutely perfect:
- Master the Chill Time – Patience is a Virtue! It’s incredibly tempting to cut and serve these bars right after you’ve pressed them, but resisting this urge is crucial. These bars *absolutely need* sufficient chill time in the freezer to firm up properly and develop that coveted crunchy texture. A minimum of 3 hours is essential for them to fully set and become easy to slice without crumbling. I often prepare a batch in the morning to enjoy as an afternoon snack, or even whip them up the night before for convenient treats the next day. Proper chilling not only makes them significantly easier to cut into neat bars, but it also prevents them from falling apart and dramatically improves their overall texture, making them delightfully crispy and crunchy.
- Always Serve Them Cold: Unlike some other no-bake treats, these particular cereal bars are designed to be served chilled. The cold temperature maintains their crispy and crunchy integrity, which is a major part of their appeal. If allowed to sit at room temperature, the binder will soften, and the cereal will absorb moisture, leading to a softer, potentially soggy texture. Keep them in the freezer until just before serving for the best experience.
- The Magic of Parchment Paper: Lining your baking dish with parchment paper is a small step with a huge payoff. It creates an easy way to lift the entire block of chilled bars out of the dish, allowing for clean, precise slicing. This simple trick prevents sticking, eliminates the struggle of trying to scoop individual bars, and makes cleanup a breeze. Don’t skip it!
- Don’t Be Afraid to Press Firmly: When transferring the mixture to the baking pan, use significant pressure to pack it down. The firmer you press, the more cohesive and less crumbly your bars will be. A flat-bottomed glass or the bottom of another small pan can be an excellent tool for applying even pressure across the surface.
- Quality Ingredients Matter: Since there are so few ingredients, the quality of each really shines through. Invest in good quality, natural peanut butter (peanuts as the only ingredient), pure maple syrup, and a flavorful vanilla extract for the best results.
Explore More Delicious Vegan Recipes!
If you loved these easy, plant-based cereal bars, we encourage you to try some of our other healthy and flavorful vegan creations:
- Healthy Blueberry Breakfast Crumble: A comforting and wholesome way to start your day, packed with fruity goodness and an oil-free oat topping.
- Chili Lime Cashews: A zesty and spicy snack that’s perfect for parties or a quick savory bite.
- Nice Cream Pretzel Sandwiches: A delightful frozen dessert combining creamy nice cream with salty pretzels for an irresistible sweet and salty crunch.
- Peanut Butter and Jelly Cups: A classic flavor combination transformed into a fun, dairy-free treat.
Vegan Honey Nut Cereal Bars
By: Nicole Vranjican
Sweet ‘n salty cereal bars made with creamy peanut butter, rich maple syrup, zesty lemon, balancing salt, and aromatic vanilla. A perfect healthy, no-bake treat!
- Prep Time: 5 mins
- Chill Time: 3 hrs
- Total Time: 3 hrs 5 mins
- Servings: 9 bars
Equipment
- 1 Large Mixing Bowl
- 1 Spatula
- 1 9×9 inch Baking Dish
Ingredients
- ¾ cup unsalted peanut butter, room temperature (only peanuts as ingredient)
- ¾ cup pure maple syrup
- 1½ tsp fresh lemon juice
- 1½ tsp vanilla extract
- ½ tsp kosher salt (Morton’s recommended)
- 3½ cups O Shaped Cereal (ensure vegan-friendly)
Instructions
- Line a 9×9 inch baking dish with parchment paper, leaving an overhang on two sides for easy removal, and set aside.
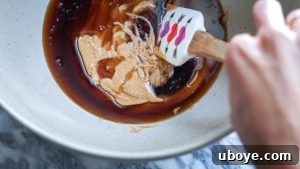
- Combine the room temperature peanut butter, maple syrup, fresh lemon juice, vanilla extract, and kosher salt in a large mixing bowl. Mix thoroughly with a spatula until all ingredients are smoothly incorporated and the mixture is cohesive.

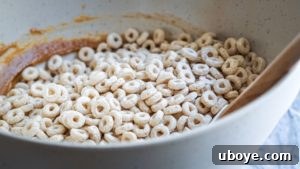
- Add half of the O-shaped cereal to the wet mixture and gently fold to coat. Then, add the remaining cereal and continue to mix until every single piece of cereal is uniformly coated with the peanut butter mixture.
- Transfer the entire cereal mixture to the prepared baking pan. Using a sturdy spatula or the bottom of a glass, press down very firmly and evenly to create a compact, smooth layer. This firm pressing is key for bars that hold their shape.
- Place the baking dish in the freezer for a minimum of three hours. This allows the bars to firm up completely and achieve their signature crunchy texture. Once chilled, lift the block out using the parchment paper, slice into desired bar sizes, and serve immediately.
Tip: These bars are at their best when served cold, straight from the freezer, to maintain their delicious crunch. They tend to soften at room temperature!
Notes
- Do Not Rush the Chill Time! It’s critical to let these bars chill in the freezer for at least 3 hours. This firming-up period is essential for them to become perfectly crunchy and easy to cut. Rushing this step will result in crumbly bars that don’t hold their shape and lack the desired texture.
- Parchment Paper is Your Best Friend: Always line your baking dish with parchment paper. This makes lifting the set bars out of the pan incredibly simple, allowing for clean, precise slices without any sticking or mess.
- Serve Them Chilled for Optimal Crunch: These particular cereal bars are designed to be enjoyed cold. While other treats might do well at room temperature, these will soften considerably if not kept in the freezer, losing their appealing crispy and crunchy qualities.
Hungry for more mouth-watering vegan recipes and meal ideas delivered directly to your inbox every Monday morning? Don’t miss out on fresh inspiration and culinary delights! SIGN UP FOR MY FREE NEWSLETTER HERE!