
Mastering Coconut Whipped Cream: Your Ultimate Guide to Dairy-Free Perfection
Have you ever eagerly embarked on the journey to create luscious coconut whipped cream, only to be met with a disappointing, runny mess? You’re certainly not alone in this culinary frustration. Many aspiring home chefs, myself included, have experienced the disheartening flop of a batch that refuses to whip, leaving us with a thin, unappetizing liquid instead of the fluffy, cloud-like topping we envisioned. The perplexing part is often not knowing *why* it went wrong, especially when past attempts might have been successful. This guide is born from countless trials and errors, extensive research, and a desire to help you achieve consistent, dairy-free whipped cream perfection. Say goodbye to your whipped cream woes and get ready to impress with this versatile plant-based delight!
The Golden Rules for Fluffy Coconut Whipped Cream Success
Creating perfect vegan whipped cream from coconut milk isn’t as complex as it seems, but it does require adherence to a few critical principles. These aren’t mere suggestions; they are the pillars upon which your creamy success will be built.
1. The Power of Cold: Chill Your Equipment
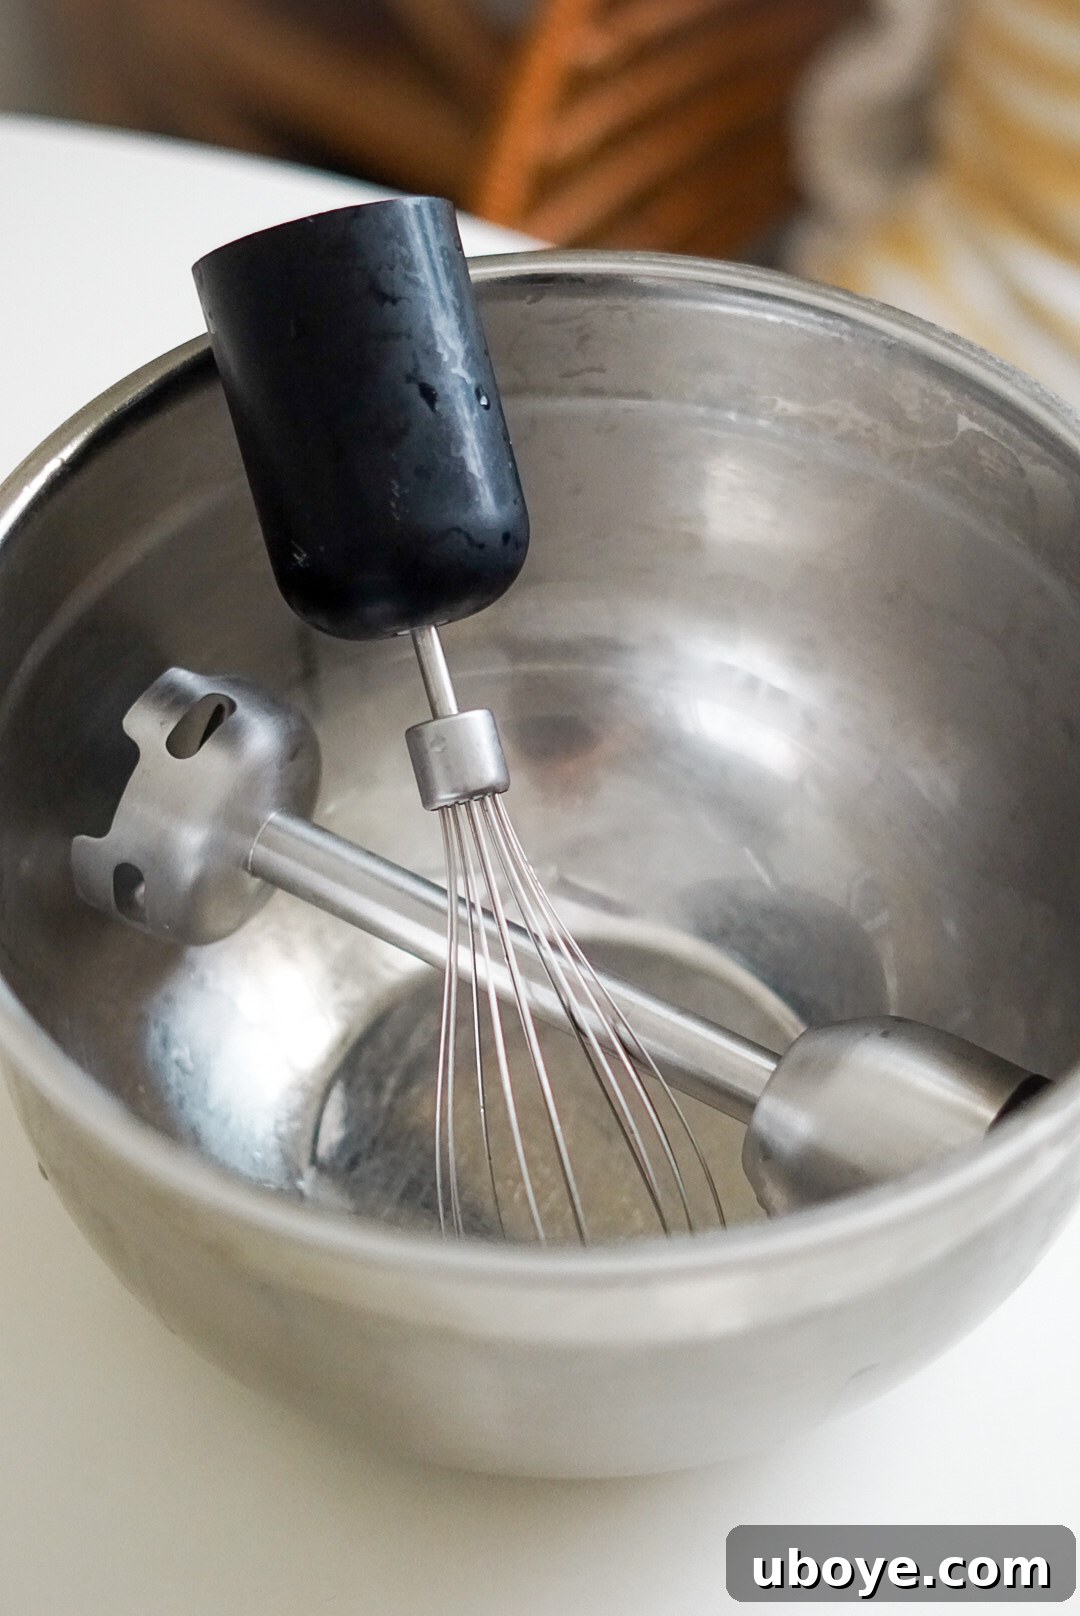
This might sound like a minor detail, but the temperature of your tools plays an enormous role in achieving stiff peaks. Just as with traditional dairy cream, cold is your best friend when whipping coconut cream. The fat solids in coconut cream firm up significantly when chilled, providing the structure needed for whipping. If your bowl and whisk are warm, they can melt these delicate fat solids, preventing the cream from ever reaching a stable, whipped consistency.
Pro Tip: Place your mixing bowl (preferably metal or glass for better temperature retention) and whisk attachments into the freezer for at least an hour before you plan to make your coconut whipped cream. Even better, chill them overnight! This simple step makes a monumental difference, ensuring your cream stays cold throughout the whipping process and holds its shape beautifully.
2. The Brand You Choose Truly Matters
This is arguably the most crucial factor in your coconut whipped cream journey. Not all canned coconut milk is created equal, and their varying formulations can drastically impact your results. Some brands are formulated with a higher water content, or contain stabilizers and emulsifiers that can prevent proper whipping. What you need is full-fat coconut milk with a high percentage of coconut solids and minimal additives.
What to Look For:
- Full-Fat Only: Absolutely avoid “light” or “reduced-fat” coconut milk. These contain too much water and not enough fat to whip.
- Minimal Ingredients: Opt for brands with coconut and water as the primary (ideally only) ingredients. Some may include a natural thickener like guar gum, which can be fine, but avoid long lists of unfamiliar additives.
- High Cream Content: Brands that naturally separate well, leaving a thick, solid layer of cream at the top of the can, are usually the best candidates.
While personal preferences and regional availability vary, many avid vegan bakers have found consistent success with brands like Aroy-D, Thai Kitchen, and Native Forest (specifically their “Classic” or “Unsweetened” full-fat varieties). The original article also highlighted that the Kroger brand of organic full-fat coconut milk works exceptionally well, which is great news for those with access to it. Experimentation might be necessary to find your perfect brand, but starting with these recommendations can save you a lot of heartache.
To further illustrate the impact of brand choice and technique, here’s a highly recommended video that breaks down the process and offers valuable insights:
Step-By-Step Guide to Fluffy Coconut Whipped Cream
With your knowledge of chilled equipment and the right brand in hand, let’s walk through the exact steps to transform simple canned coconut milk into a delightful, airy topping.
- Chill Your Cans Thoroughly: This step cannot be rushed. Store your cans of full-fat coconut milk in the refrigerator for a minimum of 24 hours, and ideally 48 hours. The longer they chill, the better the cream will separate from the water. Position them upright and undisturbed at the back of your fridge, where temperatures are typically coldest. I’ve found it helpful to always keep a few cans in the fridge, so I’m always prepared for a spontaneous whipped cream craving or recipe need!
- Open Upside Down & Separate the Liquid: Once your cans are thoroughly chilled, carefully open each can *upside down*. This ingenious trick allows you to pour out the clear coconut water first, leaving the thick, solidified coconut cream undisturbed at the bottom (which was originally the top) of the can. It’s crucial to remove as much of this liquid as possible, as any remaining water will compromise the cream’s ability to whip into a firm consistency. Don’t discard the coconut water; it’s excellent for smoothies, curries, soups, or even as a refreshing drink!
- Scoop Out the Solid Cream: After draining the liquid, use a spoon or spatula to carefully scoop out the firm, white coconut cream into your pre-chilled mixing bowl. Be gentle to avoid mixing any residual coconut water back into the cream. The cream should be thick and scoopable, resembling a solid block.
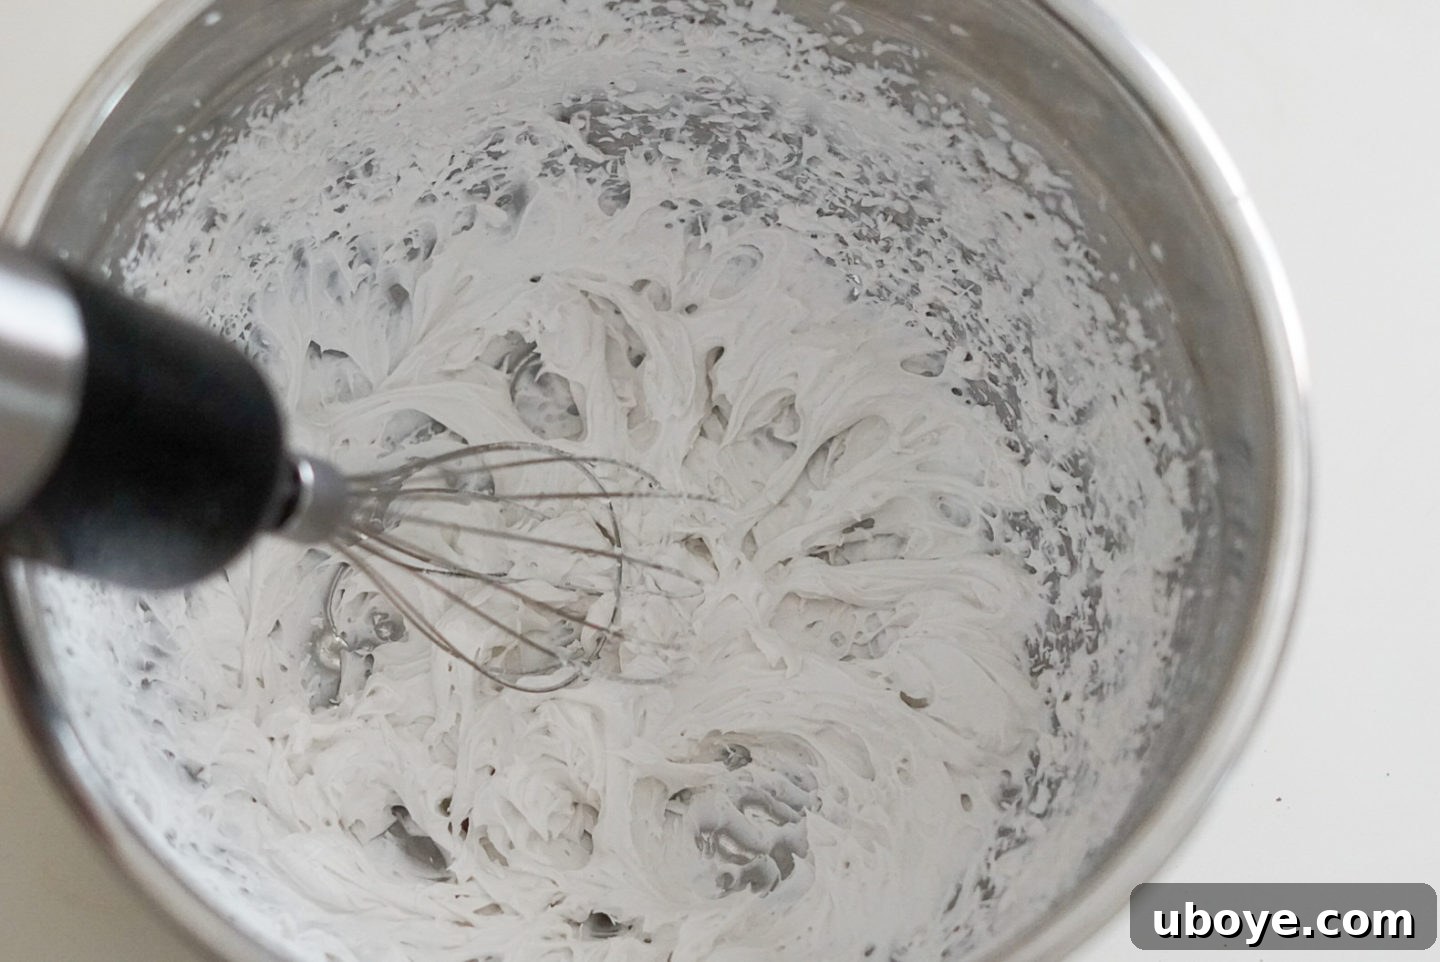
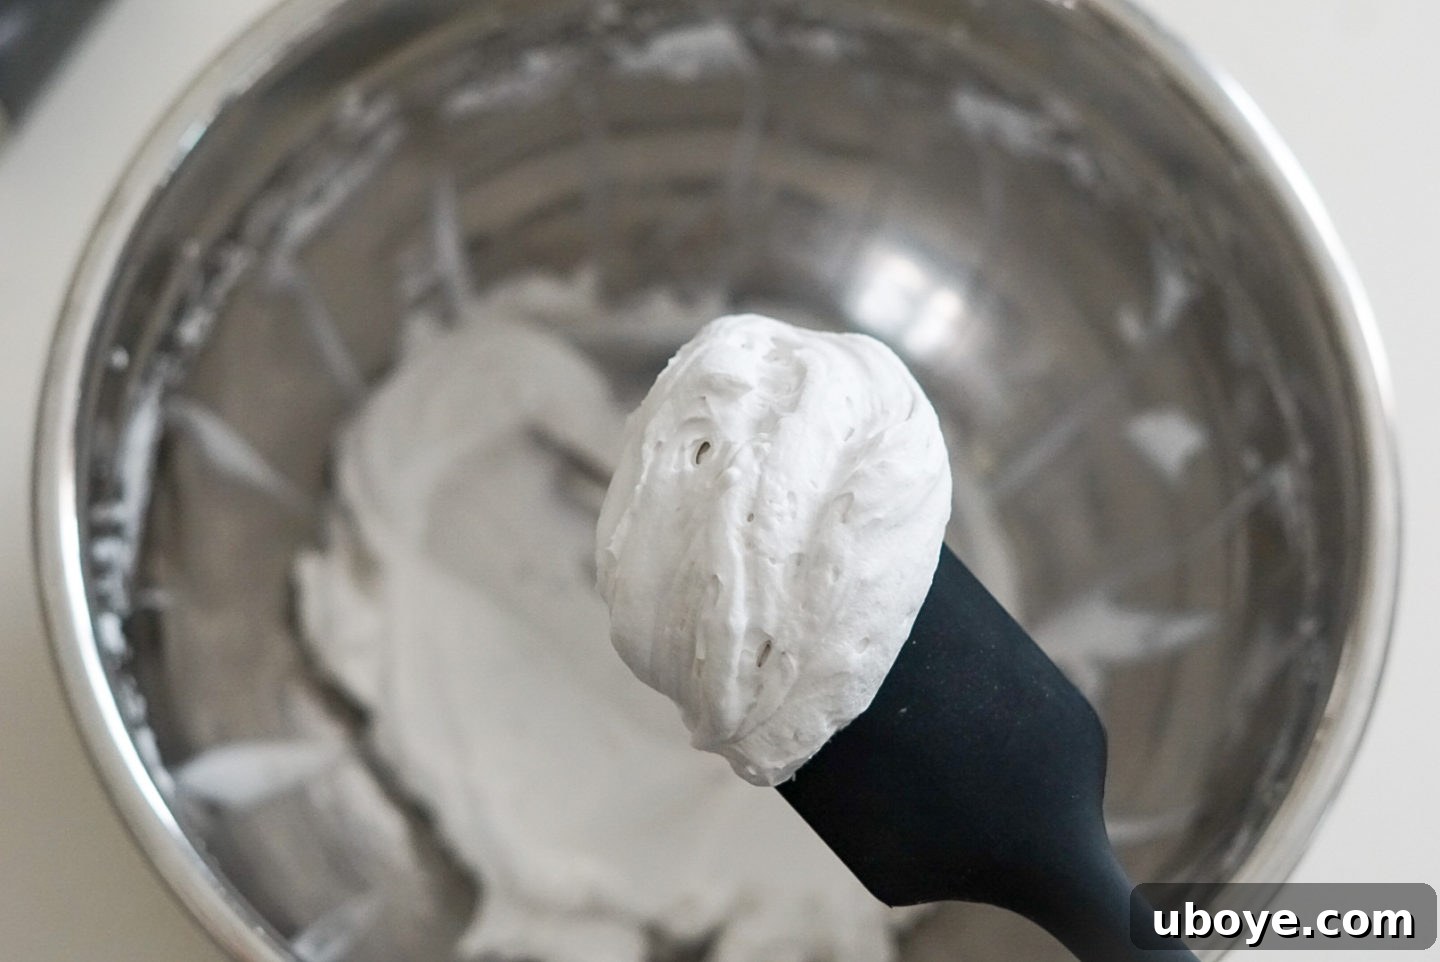
- Whip to Perfection and Sweeten: Using an electric mixer (handheld or stand mixer with a whisk attachment) on medium-high speed, begin to whip the cold coconut cream. Start slowly to break up any lumps, then gradually increase the speed. The cream will initially look crumbly, then gradually become smooth and creamy. Continue whipping until soft peaks form, then add your desired amount of sweetener. Powdered sugar (confectioners’ sugar) is often preferred over granulated sugar as it dissolves more easily and yields a smoother texture. You can also add vanilla extract or vanilla bean paste at this stage for added flavor. Continue whipping until you achieve stiff, fluffy peaks. Be careful not to over-whip, as it can sometimes become slightly grainy if pushed too far.

Simple Coconut Whipped Cream Recipe
- 2 cans (13.5 oz / 400ml each) full-fat coconut milk, thoroughly chilled
- 2-4 tablespoons powdered sugar (or more, to taste)
- 1 teaspoon pure vanilla extract (optional, but highly recommended)
Instructions: Follow the step-by-step guide above. Once the coconut cream is scooped into the chilled bowl, whip until smooth. Gradually add powdered sugar and vanilla extract, then continue whipping until stiff peaks form. Taste and adjust sweetness as desired.
Decorating Tips and Serving Suggestions
Coconut whipped cream is a wonderful addition to countless desserts, but it does have a few unique characteristics to keep in mind, especially when it comes to presentation.
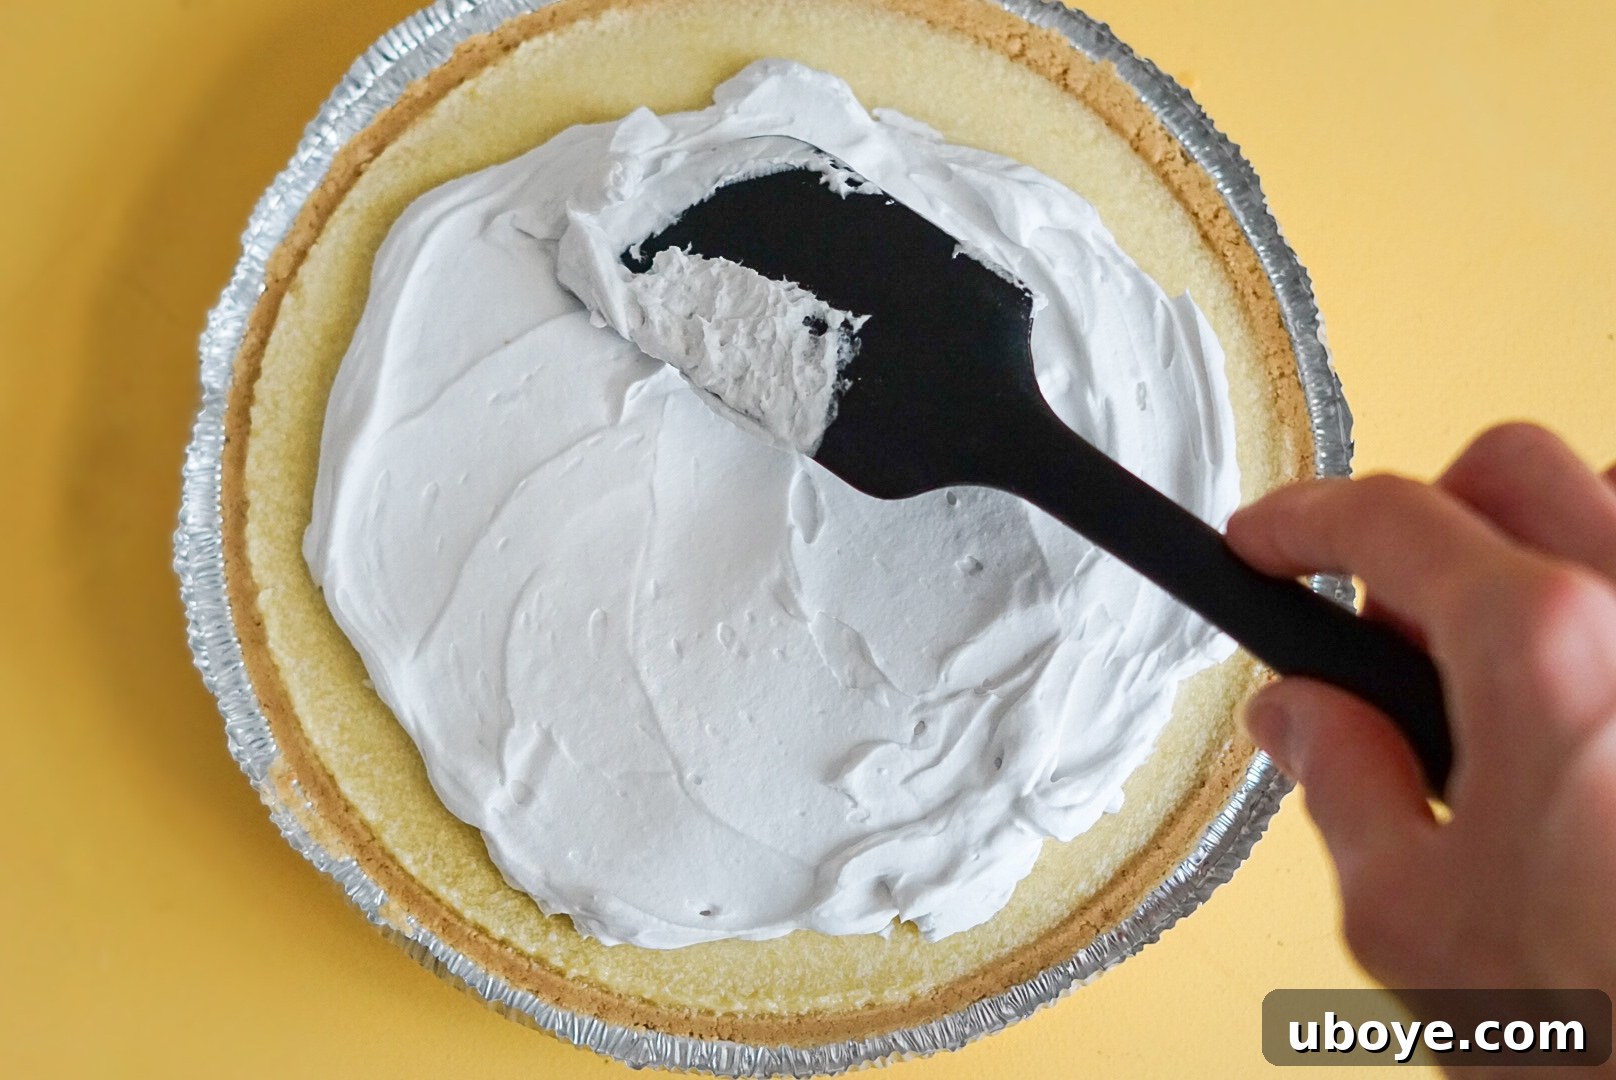
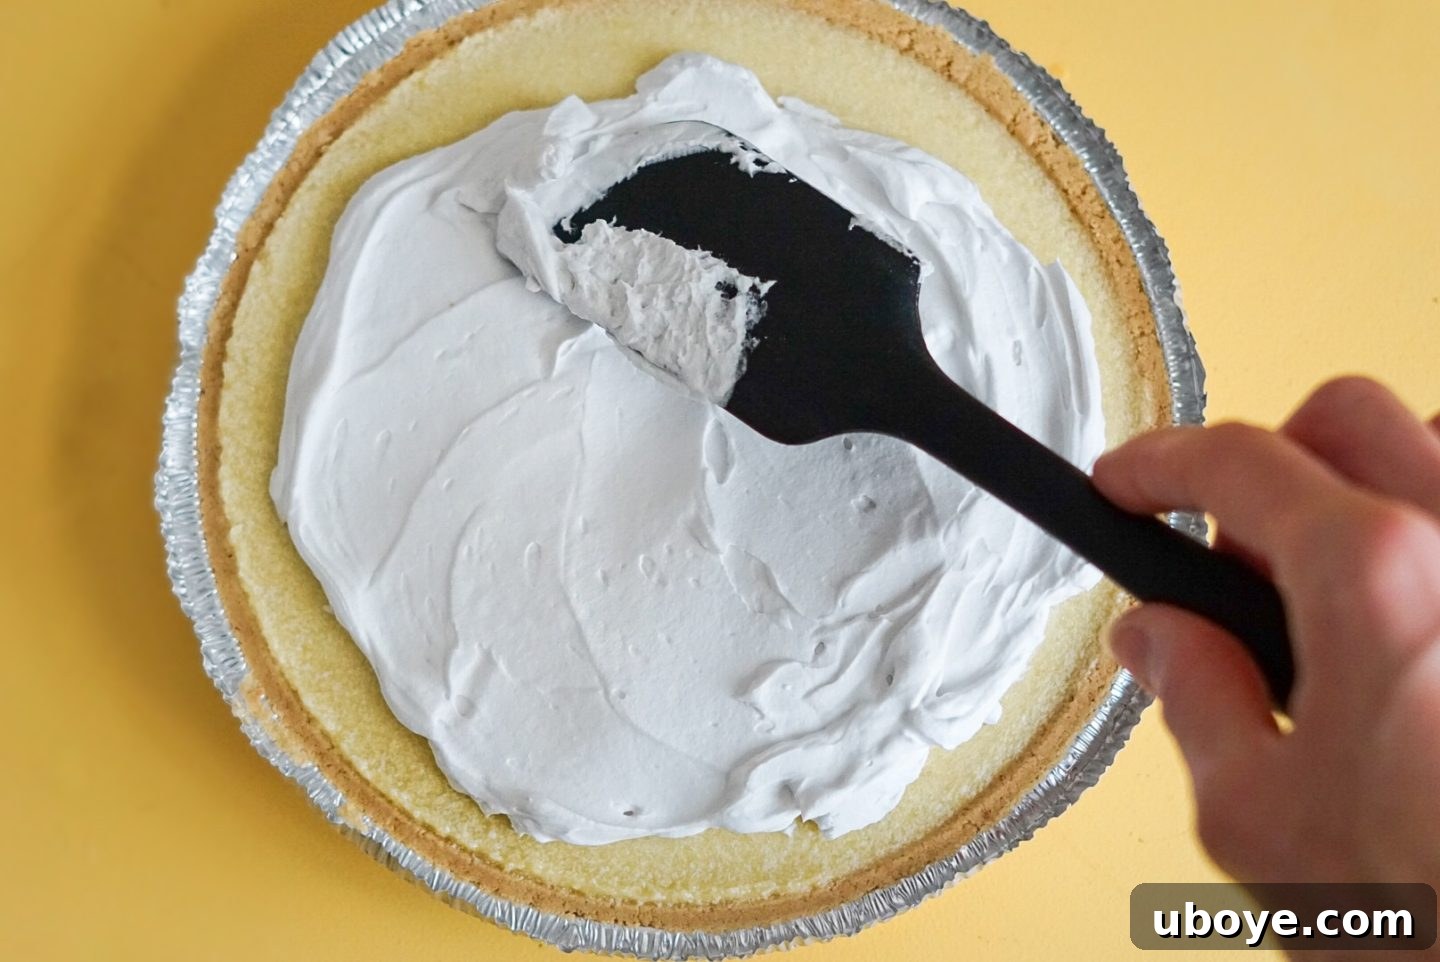
- Serve Immediately for Best Results: Unlike dairy whipped cream which can hold its structure for a while, coconut whipped cream is more prone to deflating or “weeping” at room temperature. For the prettiest presentation and best texture, frost or dollop it onto desserts, cakes, pies, or hot beverages right before serving. This ensures it looks its fluffiest and most appealing.
- Refrigeration and Re-whipping: Coconut whipped cream will firm up significantly in the refrigerator, almost to the consistency of a soft butter or frosting. If you make it ahead of time and store it in the fridge, it will become very solid. To restore its light, airy texture, simply let it sit at room temperature for 10-15 minutes to soften slightly, then give it a quick re-whip with your electric mixer until it’s fluffy again.
-
Versatile Serving Ideas: Beyond being a fantastic topping for pies, tarts, and cupcakes, coconut whipped cream shines in many other applications.
- Serve with fresh berries (especially summery sweet strawberries!).
- Dollop onto dairy-free hot chocolate or iced coffee.
- Layer into fruit parfaits or overnight oats.
- Use as a base for chocolate mousse or fruit fools.
- Spread on pancakes or waffles for a decadent breakfast.
- Pair with warm brownies or apple crisp.
Why Choose Coconut Whipped Cream?
Beyond being a delicious treat, opting for coconut whipped cream offers several benefits:
- Dairy-Free & Vegan: It’s an excellent alternative for those with dairy allergies, lactose intolerance, or who follow a vegan lifestyle.
- Naturally Gluten-Free: Coconut milk is naturally free of gluten, making it suitable for those with celiac disease or gluten sensitivities.
- Healthier Alternative: While still a treat, it’s often seen as a less processed alternative to some commercial dairy toppings, and contains healthy fats.
- Unique Flavor Profile: It imparts a subtle, tropical coconut flavor that can beautifully complement many desserts without being overpowering.
Troubleshooting Common Coconut Whipped Cream Issues
Even with the best intentions, things can sometimes go awry. Here’s how to troubleshoot some common problems:
-
My cream is still liquidy!
- Check your chill: Was the coconut milk chilled for at least 24 hours? Were your bowl and whisk frozen? Cold is paramount.
- Check your brand: Did you use a full-fat coconut milk with minimal additives? Some brands simply don’t have enough fat to whip.
- Too much liquid: Ensure you’ve drained all the coconut water before whipping. Even a tablespoon can make a difference.
-
My whipped cream is grainy or lumpy.
- Not enough whipping: Sometimes it just needs a little more time. Keep going, ensuring the cream is very cold.
- Over-whipping: If you whip it too far past stiff peaks, the fat solids can start to separate, leading to a grainy texture. This is less common than under-whipping, but possible.
- Brand issue: Some less ideal brands might yield a slightly grainier texture even when perfectly whipped.
-
It tastes too much like coconut (or not enough!).
- Strong coconut flavor: If you find the coconut taste too prominent, try adding more vanilla extract, a pinch of almond extract, or even a tiny amount of citrus zest (like lime or orange) to balance the flavor.
- Mild flavor: If you want more coconut flavor, ensure you’re using unsweetened coconut milk; some brands have a more pronounced natural coconut taste.
Embrace Your Inner Vegan Baker!
Making delicious, fluffy coconut whipped cream is incredibly rewarding. With these detailed tips, you’re now equipped to avoid common pitfalls and create a consistently perfect dairy-free topping. It’s truly a healthy and versatile alternative to dairy cream, and once you master the technique, it will become a staple in your kitchen. So go ahead, experiment with flavors, dollop it generously, and enjoy the satisfaction of creating something wonderful from scratch!
Do you have any additional tips or secret tricks for making the best coconut whipped cream that I might have missed here? We’d love to hear them! Share your insights and experiences in the comments below.