
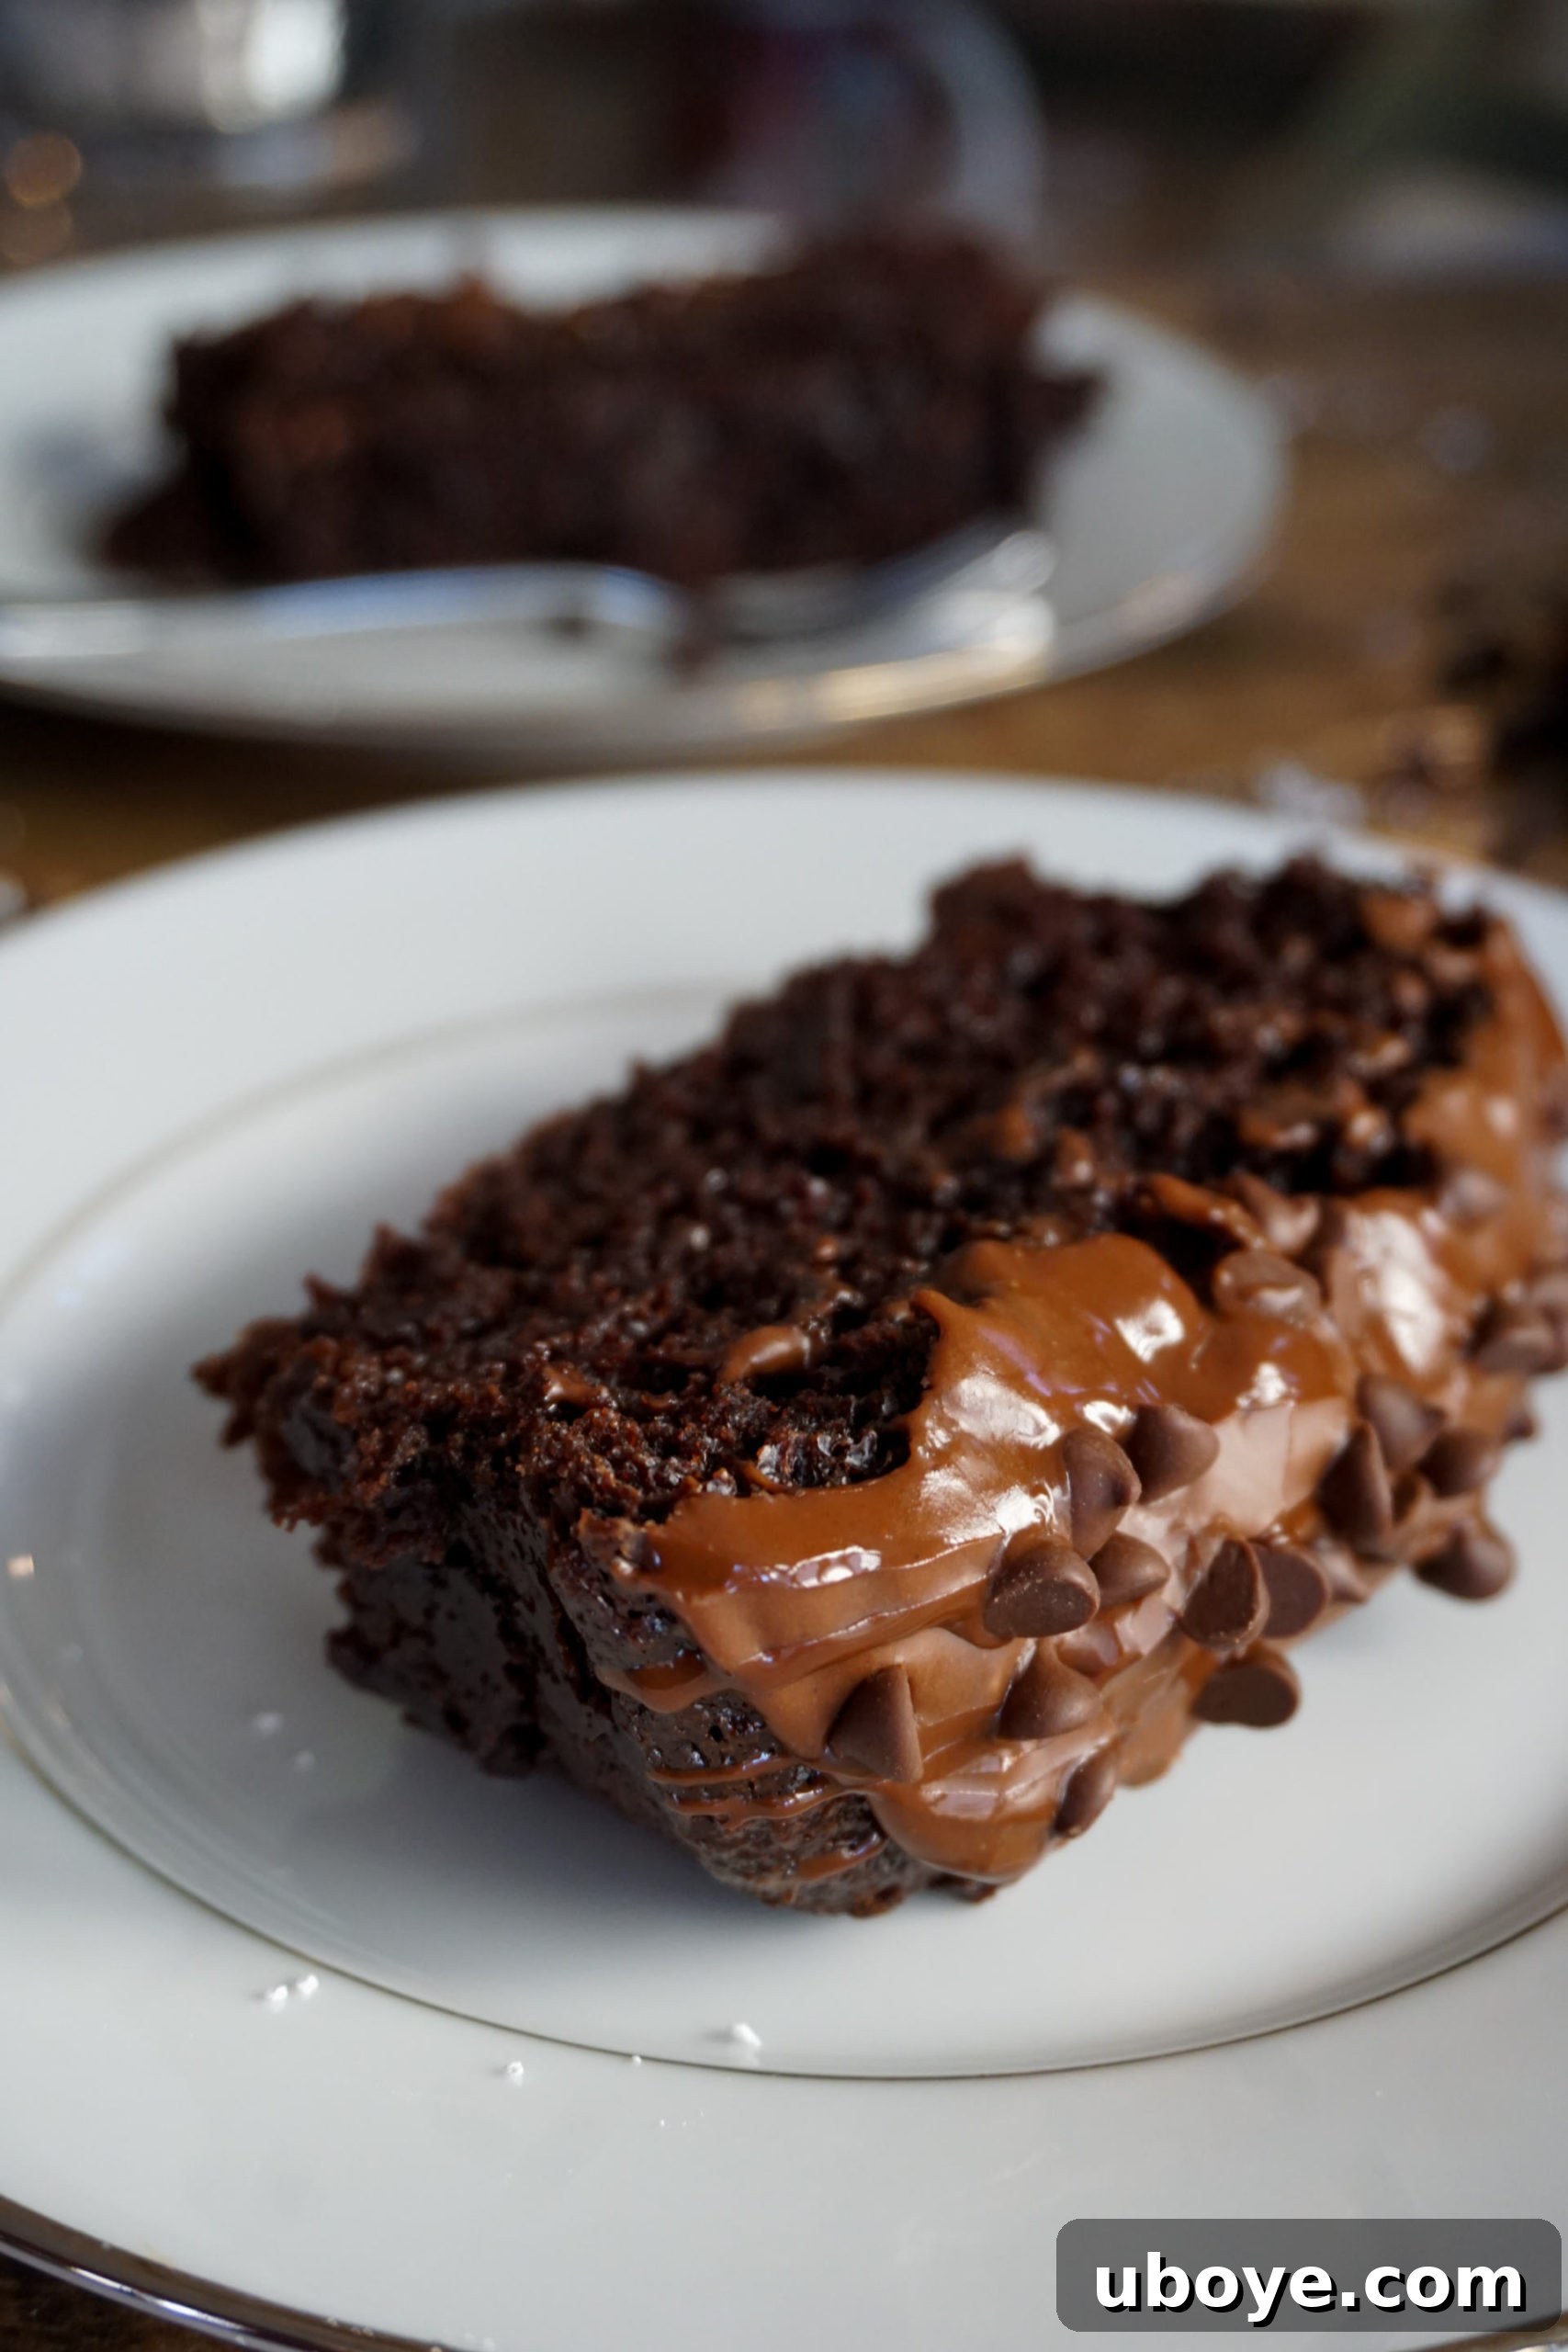
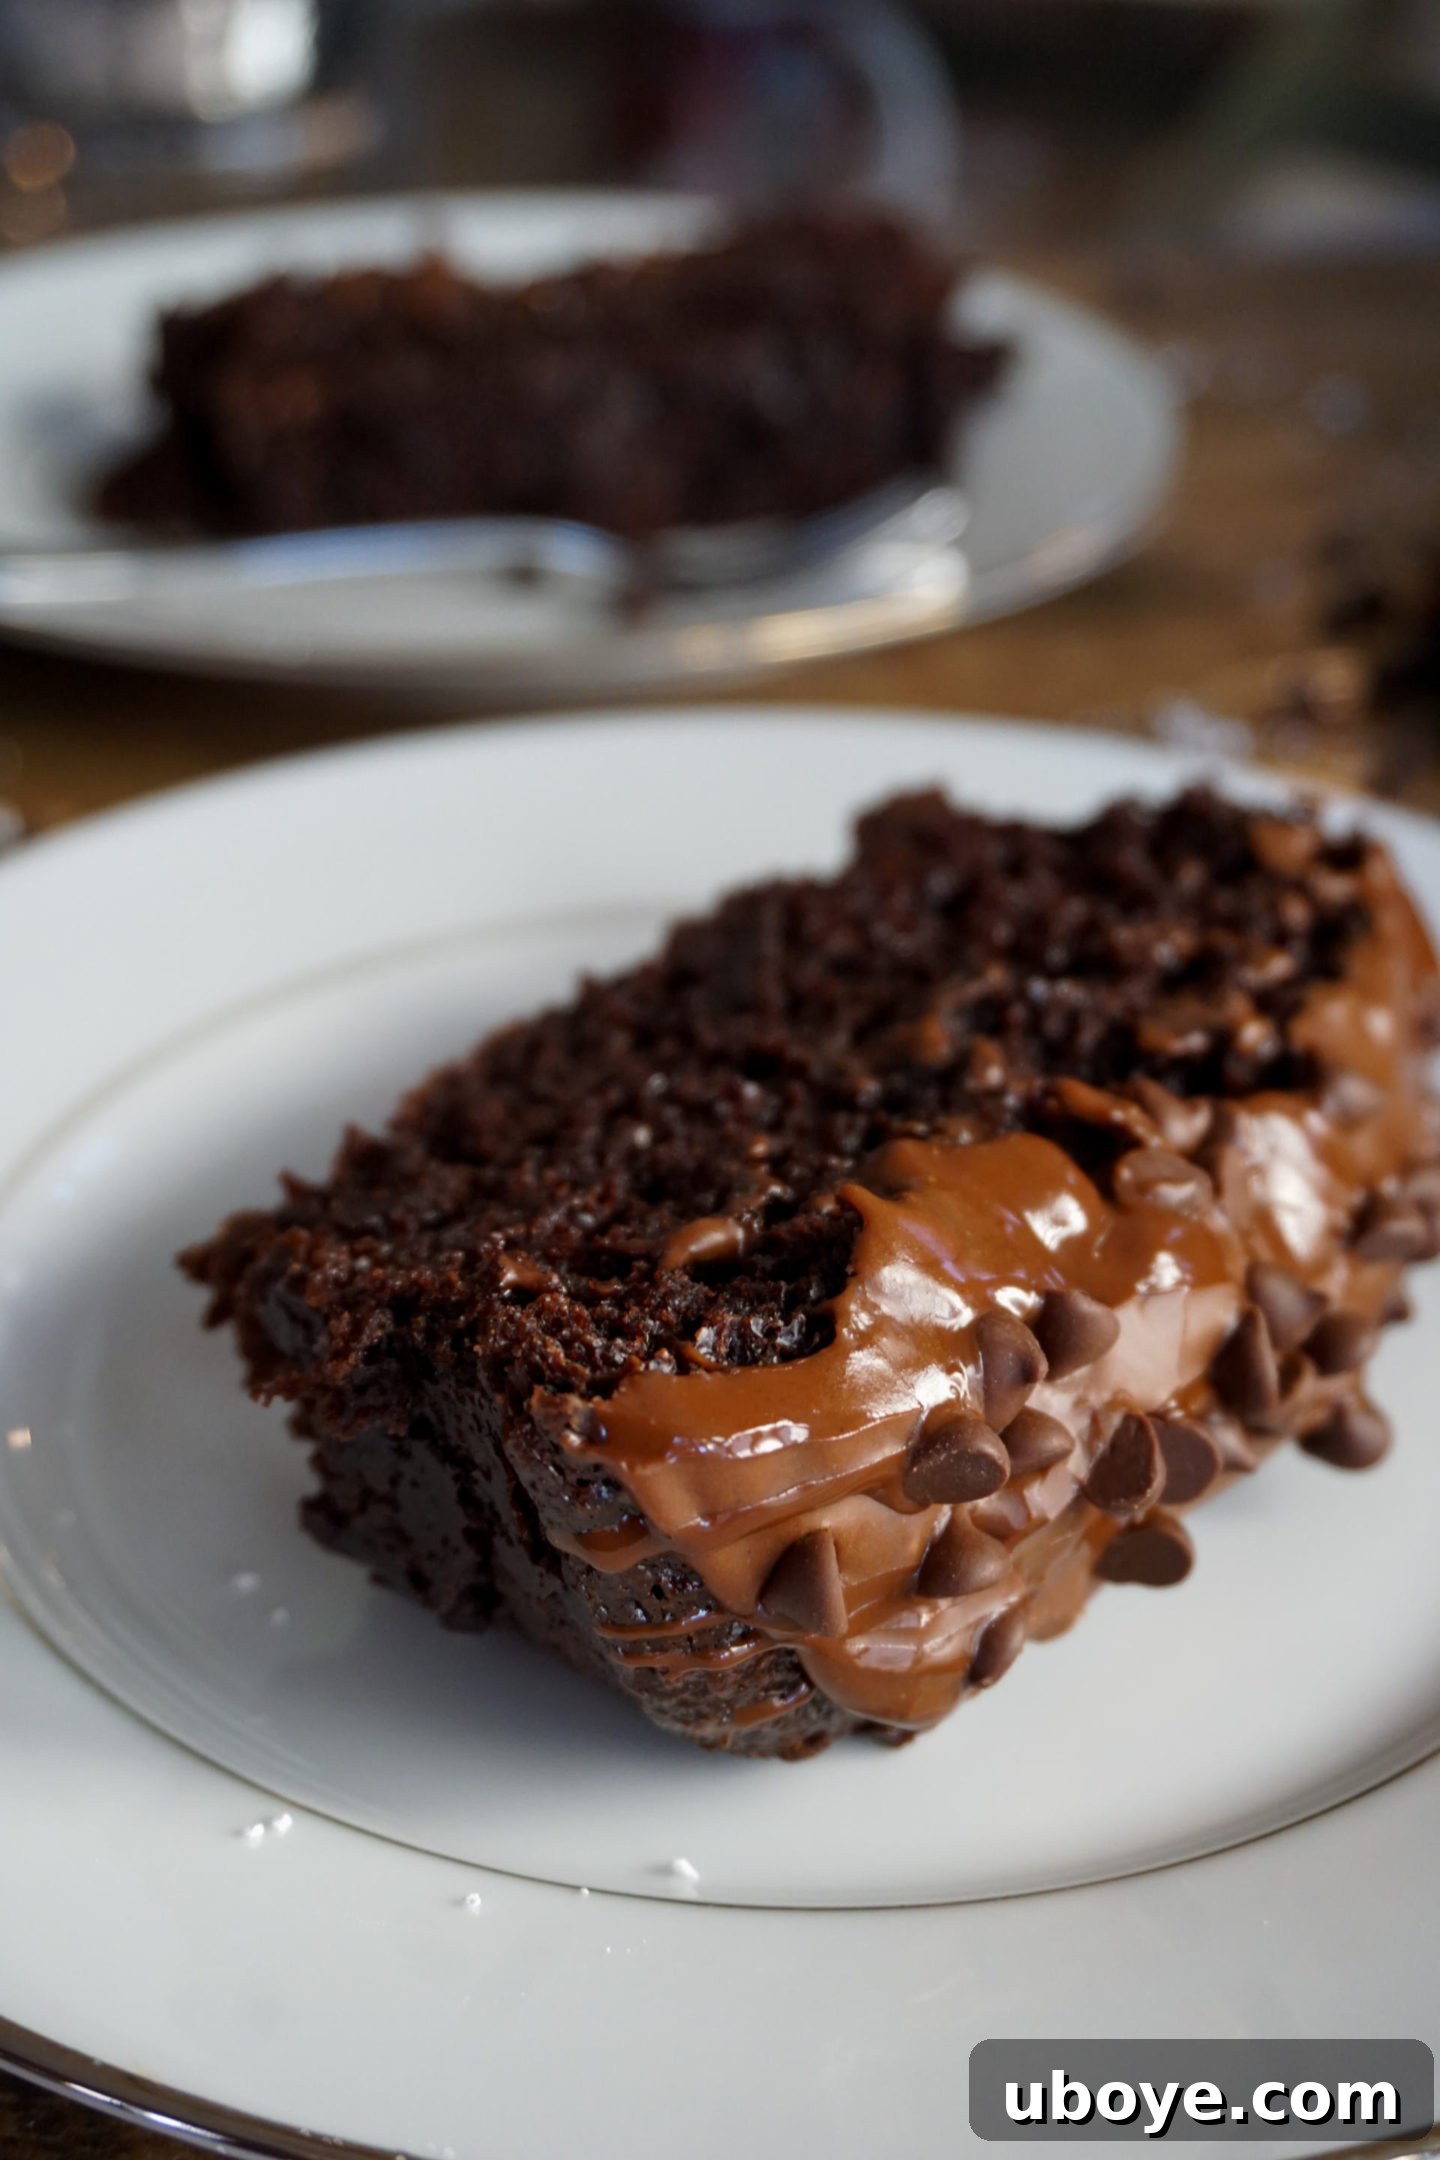
Welcome to the ultimate guide for crafting the most decadent, moist, and utterly irresistible vegan chocolate cake. Forget everything you thought you knew about dairy-free desserts; this recipe is a game-changer, promising a rich, chocolatey experience that will astound both vegans and non-vegans alike. It’s not just a cake; it’s a celebration of flavor, texture, and the joy of baking accessible, compassionate treats.
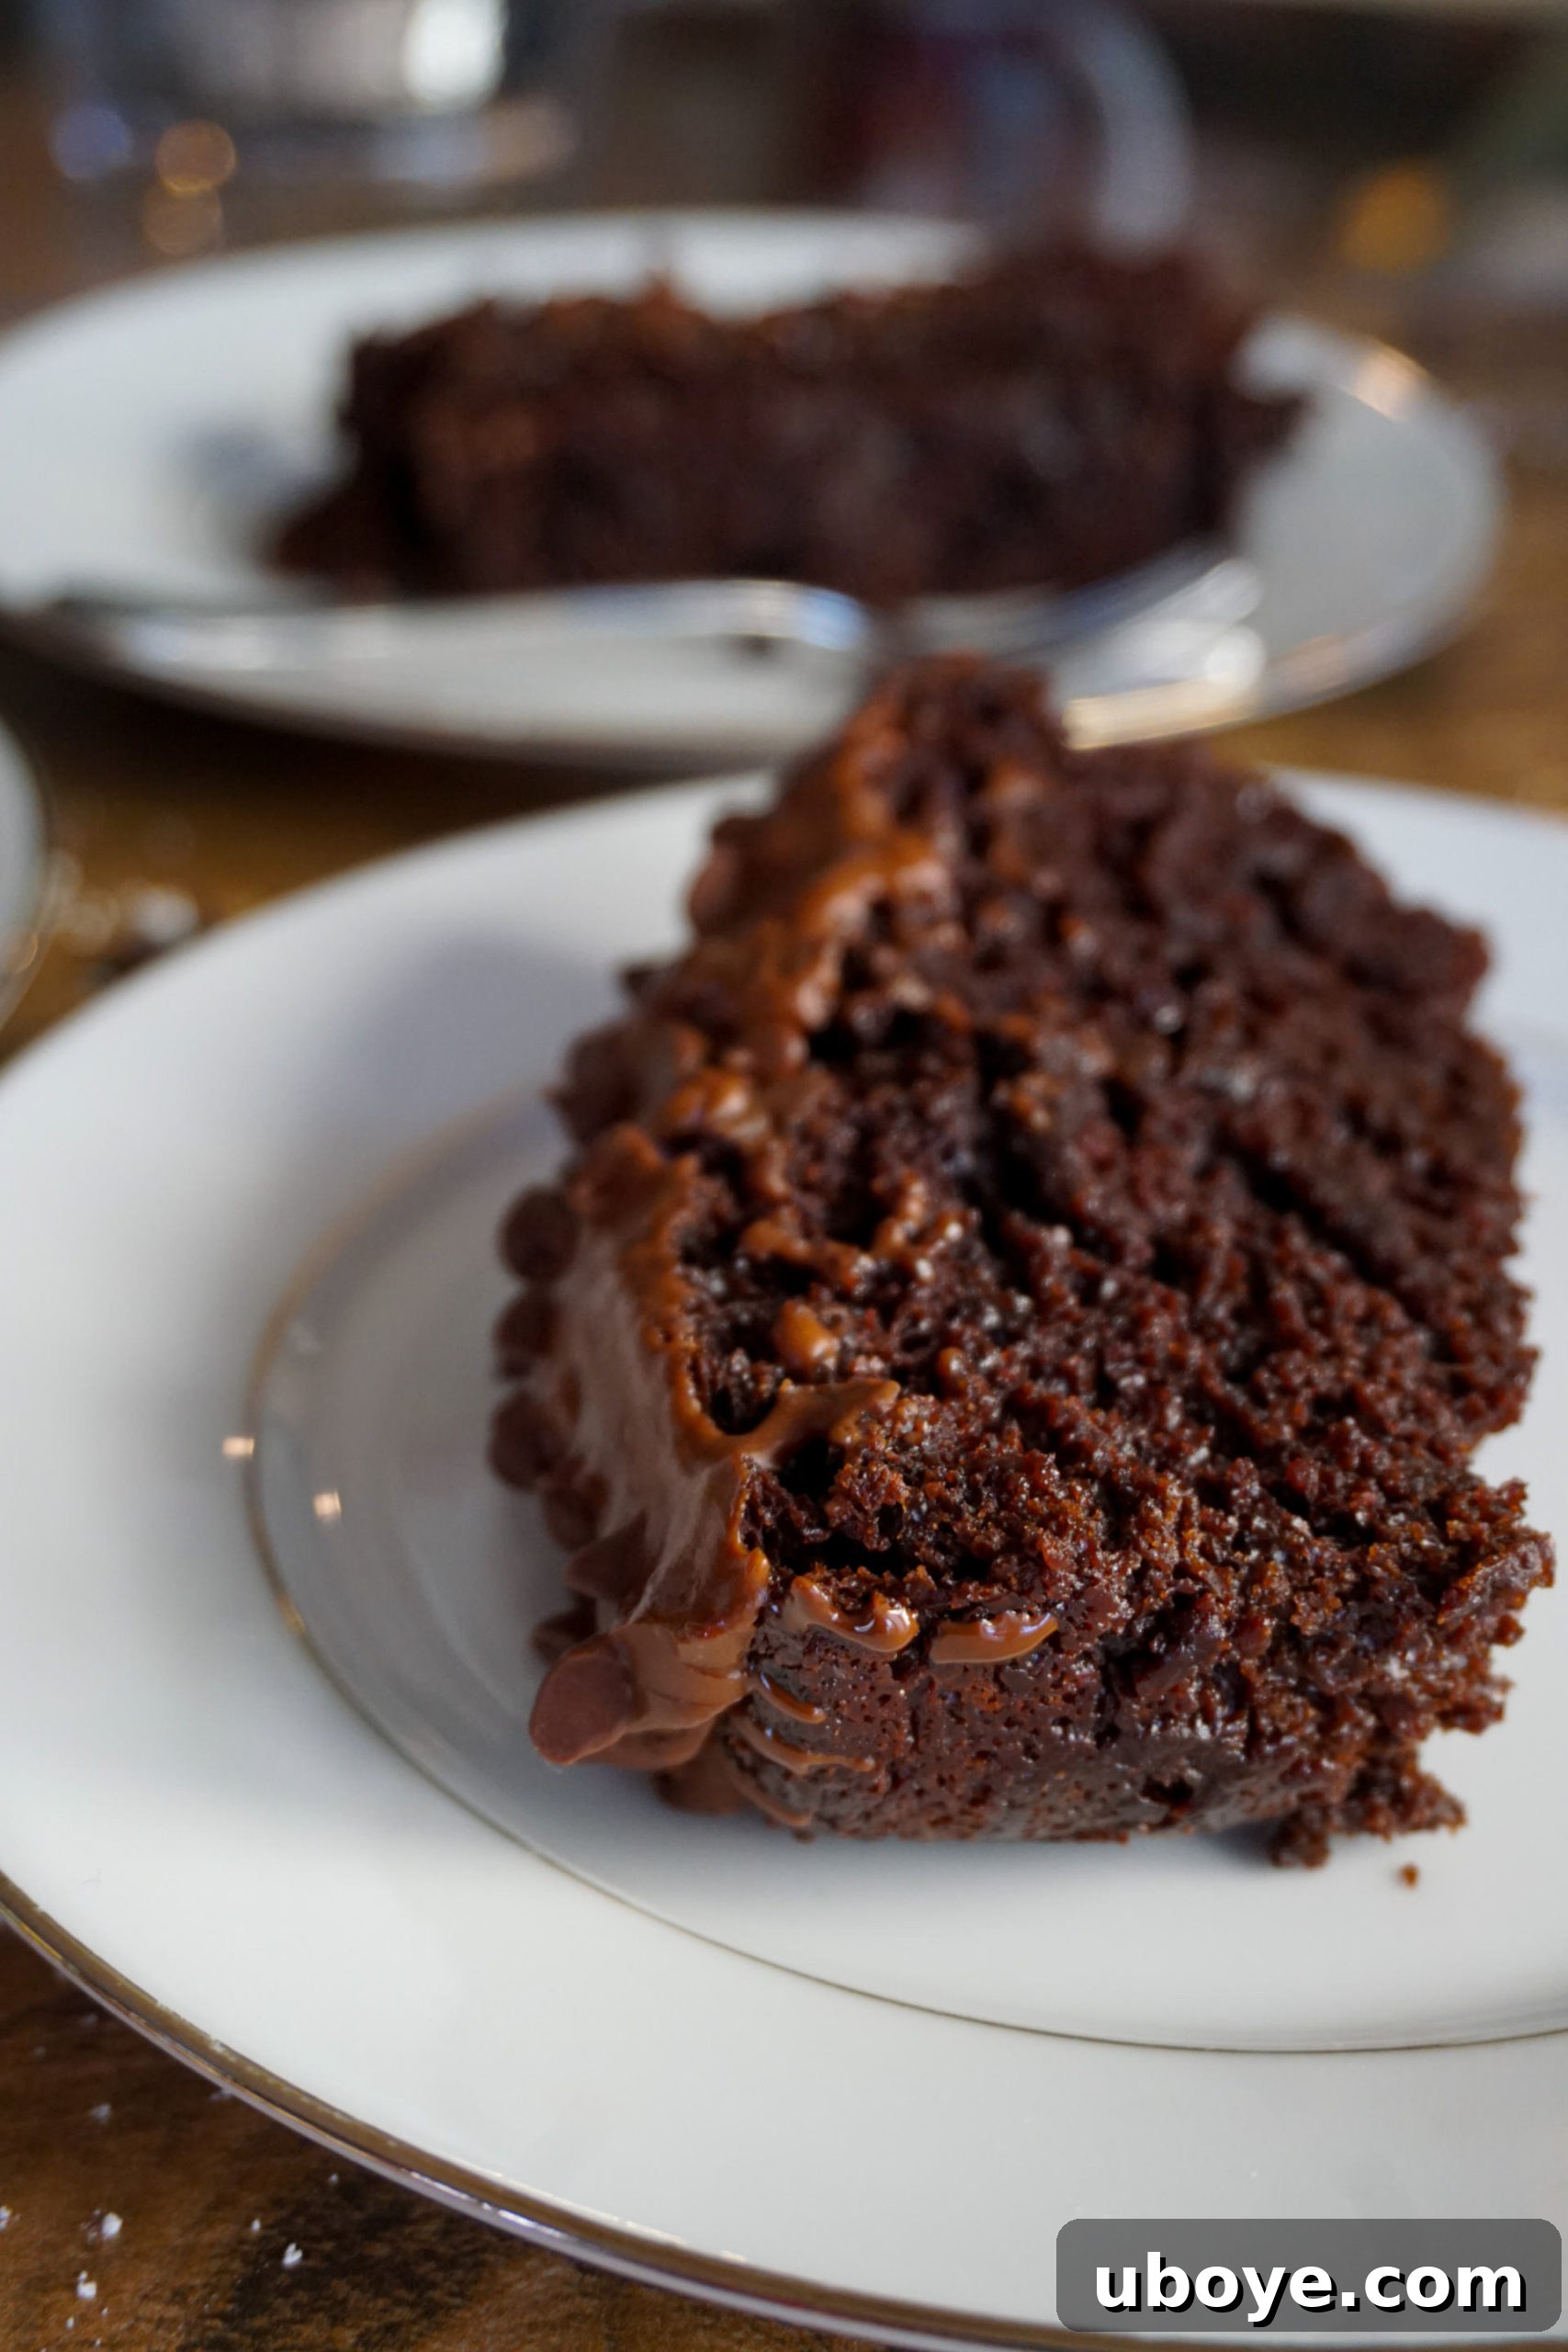
This isn’t merely a dessert; it’s an experience. The cake itself is a marvel of vegan baking – boasting a delicate crumb, profound chocolate flavor, and an unparalleled moistness that melts in your mouth. But we don’t stop there. We elevate this classic with a generous layer of luscious, velvety chocolate frosting, crowned with an artful drizzle of extra chocolate sauce and a sprinkling of crunchy mini chocolate chips. This combination transforms a delicious cake into an extraordinary masterpiece, truly taking it to a whole new level of indulgence.
For many, the frosting is the crown jewel of any cake, and this vegan chocolate frosting is no exception. It’s so rich, so creamy, and so intensely chocolatey that you’ll find yourself wanting to eat it by the spoonful straight from the bowl! Its versatility is remarkable; while perfectly suited for this cake, it also shines on fluffy vegan pancakes, delicate sugar cookies, or even as a dip for fresh fruit. It truly embodies the classic chocolate frosting you remember from childhood, but with a refined, elevated touch that makes it unequivocally superior.
Remember those nostalgic, sometimes overly sweet, canned frostings of yesteryear? This recipe delivers that comforting, familiar taste, but with an incredible depth of flavor and a silken texture that store-bought versions simply can’t match. And the best part? It’s almost as easy to prepare as opening a can, yet the payoff in taste and quality is astronomically better – a difference you’ll taste in every glorious bite. This homemade delight will quickly become your new standard for rich, dairy-free chocolate indulgence.
While the beauty of baking lies in personal expression, there are certain elements of this cake that are truly non-negotiable for achieving perfection. The additional chocolate sauce drizzle, creating elegant zig-zags across the top, and the delicate crunch provided by a scattering of mini chocolate chips aren’t just decorative; they add critical layers of texture and intensified chocolate flavor that make this cake uniquely special. Trust us, this is a step you won’t want to skip, as these small details contribute immensely to the overall sensory experience.
This exceptional recipe has become my absolute go-to for every occasion, from casual gatherings with friends to festive holiday get-togethers. Its universal appeal is undeniable. It consistently receives rave reviews and a resounding stamp of approval from all who try it, including my most discerning vegan and non-vegan friends – even the brutally honest ones who never hold back! They love it, I love it, and I am genuinely confident that you will fall head over heels for it too. Prepare to impress and delight everyone with this sensational vegan chocolate cake.
Dive into the details and discover how effortlessly you can create this show-stopping dessert. We’ve included comprehensive notes at the bottom of this post, packed with tips, tricks, and invaluable insights to ensure your baking journey is completely foolproof. Get ready to bake, enjoy, and share the joy!
How to Master the Art of Vegan Chocolate Cake Baking
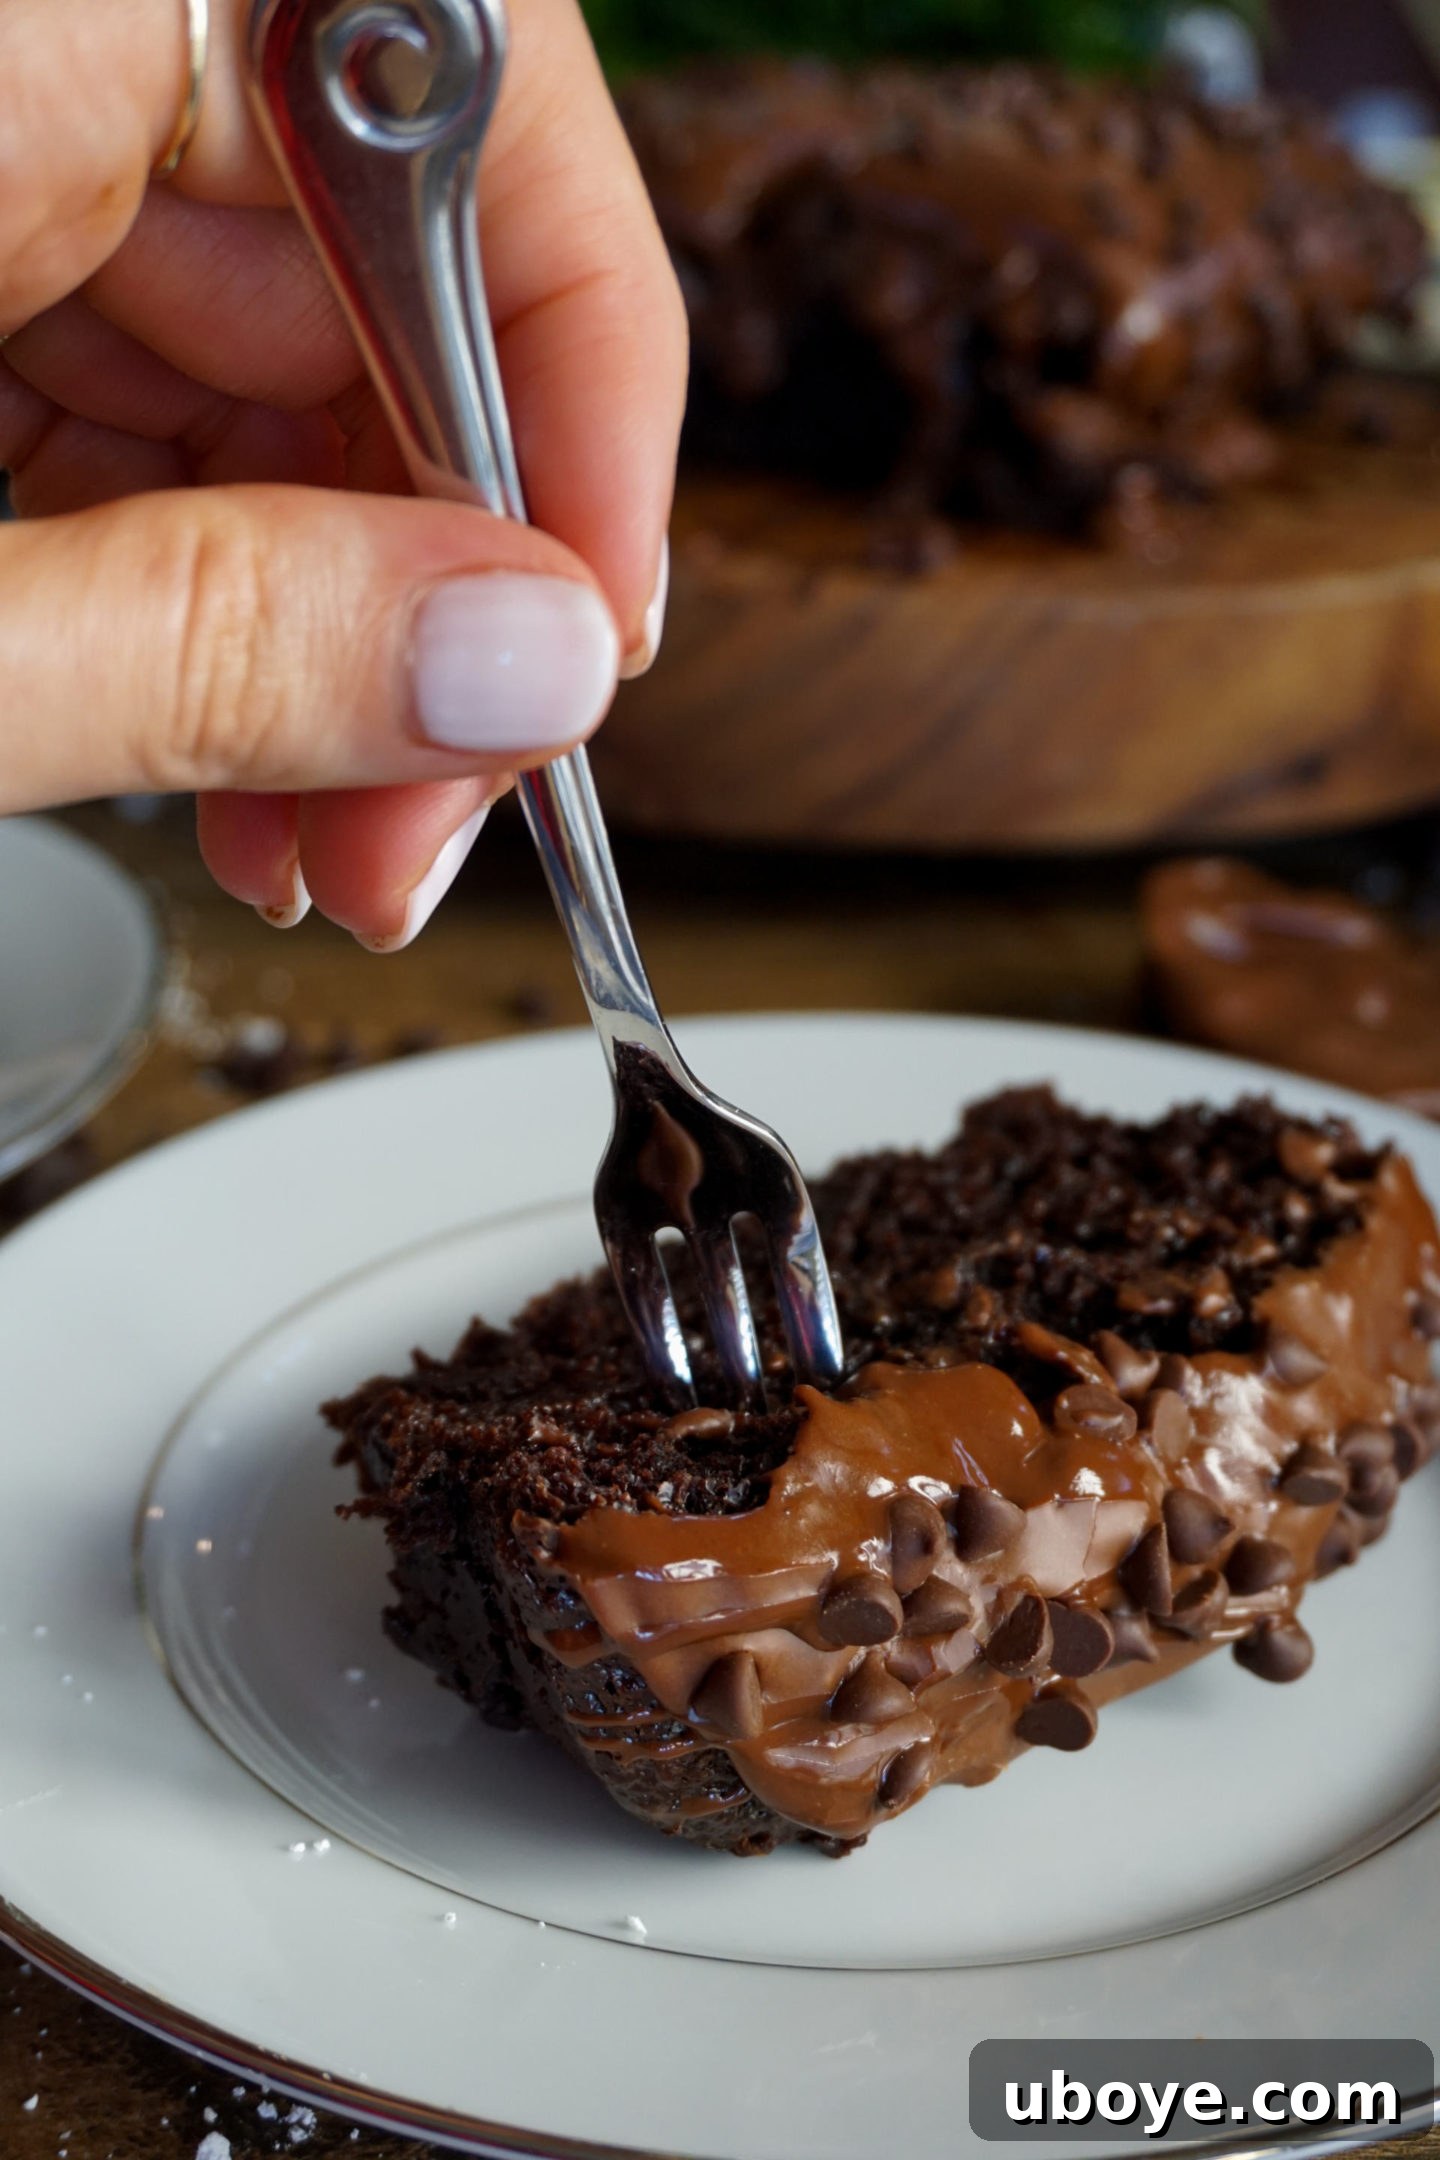
Creating an outstanding vegan chocolate cake is simpler than you might imagine, especially when armed with the right recipe and a few expert tips. This section will guide you through the essential ingredients and precise steps to achieve a cake that is not only dairy-free and egg-free but also incredibly rich, moist, and bursting with deep chocolate flavor. We’ll break down each component, ensuring you understand the purpose behind every ingredient and action, setting you up for baking success.
The foundation of any great cake lies in its ingredients. For this recipe, we focus on pantry staples that, when combined correctly, yield extraordinary results. From creating a reliable “flax egg” to selecting the perfect plant-based milk, each choice contributes to the cake’s ultimate texture and taste. Paying attention to these details is key to unlocking the full potential of this magnificent dessert. Let’s gather our components and embark on this delicious baking adventure together.
Essential Ingredients for Your Vegan Chocolate Cake
This recipe is designed to yield two standard 8.5″ x 4.5″ loaf pans, perfect for sharing or enjoying over several days. Each ingredient plays a crucial role in achieving the cake’s signature moistness and intense chocolate profile.
For the Ultra-Moist Vegan Chocolate Cake:
- Flax “Eggs”:
- 2 tbsp ground flax seeds
- 6 tbsp water
(These act as a binding agent, replacing traditional eggs and contributing to the cake’s delicate texture.)
- Dry Ingredients:
- 1 3/4 cup all-purpose flour (Provides the primary structure of the cake.)
- 3/4 cup unsweetened cacao powder (The heart of our chocolate flavor; choose a high-quality brand for best results.)
- 1.5 tsp baking powder (A leavening agent that helps the cake rise.)
- 1.5 tsp baking soda (Works with acidic ingredients to create lift and tenderness.)
- 2 cups granulated sugar (For sweetness and moisture, ensuring a tender crumb.)
- 1 tsp salt (Enhances all the flavors and balances the sweetness.)
- Wet Ingredients:
- 1/2 cup melted refined coconut oil (Crucial for moisture and richness. Be sure to use refined coconut oil to avoid any coconut flavor in your chocolate cake. Virgin coconut oil will impart a distinct coconut taste, which isn’t what we’re aiming for here.)
- 1 cup unsweetened plain soy milk (Our preferred plant-based milk for its creamy texture and neutral flavor profile. You can substitute with almond milk, but soy milk often yields a richer cake.)
- 2 1/4 tsp pure vanilla extract (A flavor enhancer that complements and deepens the chocolate notes.)
- 1 cup boiling water (This seemingly unusual ingredient is a secret weapon! It blooms the cacao powder, intensifying the chocolate flavor, and helps create an incredibly moist cake batter.)
Baking Directions: Crafting Your Perfect Vegan Chocolate Cake
Follow these steps carefully to ensure a consistently delicious and perfectly textured cake every time. Precision in baking, especially with vegan recipes, often leads to the most rewarding results.
- Prepare Your Oven and Flax Egg: Begin by pre-heating your oven to 350 degrees Fahrenheit (175 degrees Celsius). In a small bowl, combine the ground flax seeds and water. Stir them together thoroughly, then set aside for 5-10 minutes to allow the mixture to thicken into a gelatinous, egg-like consistency. This “flax egg” is vital for binding the cake.
- Combine Dry Ingredients: In a medium mixing bowl, sift together the all-purpose flour and cacao powder. Sifting prevents lumps and ensures an airy texture. Add the baking powder, baking soda, granulated sugar, and salt to the bowl. Whisk these dry ingredients together thoroughly to ensure even distribution, then set aside.
- Mix Wet Ingredients: In a separate, larger mixing bowl, pour the melted refined coconut oil, unsweetened plain soy milk, and vanilla extract. Stir these ingredients until well combined. Next, add the thickened flax “egg” mixture to the wet ingredients and mix thoroughly until integrated.
- Combine Wet and Dry: Gradually add the dry ingredient mixture to the wet ingredients. Do this in two halves, mixing with an electric mixer on low speed after each addition. The batter will be quite thick at this stage.
- Incorporate Boiling Water: Carefully pour in the cup of boiling water. Mix one last time on low speed until just combined. Be mindful not to overmix the batter at this point, as overmixing can lead to a tougher cake. The batter will visibly thin out considerably, which is perfectly normal and desired. This hot water “blooms” the cocoa, enhancing the chocolate flavor and contributing to the cake’s incredible moistness.
- Prepare and Fill Pans: Divide the thinned cake batter evenly between your two well-oiled loaf pans. For greasing, I recommend using a neutral vegetable oil rather than vegan butter, as oil tends to prevent burning and sticking more effectively at higher temperatures.
- Release Air Bubbles: Gently drop each filled loaf pan onto your counter surface a few times (about three times) from a height of a couple of inches. This action helps to release any trapped air bubbles, ensuring a smooth, even texture in your baked cake.
- Bake to Perfection: Transfer the pans to the preheated oven and bake for approximately 40-45 minutes. The cake is done when a wooden skewer (or a sturdy toothpick) inserted into the center comes out clean. Refer to the “Recipe Notes” section below for a more detailed explanation on how to accurately test for doneness.
Once baked, allow the cakes to cool in their pans on a wire rack for 10-15 minutes. This initial cooling period allows the cakes to firm up slightly before you attempt to move them. After this time, carefully invert the cakes onto the wire rack to cool completely. This step is absolutely crucial; attempting to frost a warm cake will result in melted, runny frosting. Patience here will be rewarded with a perfectly frosted masterpiece.
The Ultimate Vegan Chocolate Frosting Recipe
This frosting isn’t just an accompaniment; it’s a star in its own right – rich, silky, and profoundly chocolatey. It’s the perfect complement to our moist vegan cake and incredibly versatile for other desserts too.
Ingredients for Irresistible Vegan Chocolate Frosting:
- 1 bag (approx. 1.5 cups) mini semi-sweet chocolate chips, plus extra for decorating. (I highly recommend Enjoy Life Foods mini semi-sweet chocolate chips for their excellent quality and melt consistency.)
- 3 tbsp neutral vegetable oil (Helps create a smooth, pliable texture in the frosting.)
- 3 cups powdered sugar (The base for our creamy frosting, ensures a smooth, non-gritty finish.)
- 3 tbsp full-fat coconut cream (This is the thick, solid part that rises to the top of a can of full-fat coconut milk after chilling. Do not use the liquid coconut milk; only the cream for richness and thickness.)
- 3 tbsp unsweetened almond or soy milk (Adjusts the consistency of the frosting to your preference.)
Directions for Silky Smooth Vegan Chocolate Frosting:
- Melt the Chocolate: In a microwave-safe dish or a double boiler, combine the mini chocolate chips and vegetable oil. If using a microwave, heat in 20-second intervals, stirring vigorously after each interval, until the chocolate is almost entirely melted with only a few soft lumps remaining. This typically takes 2-3 rounds. Once almost melted, continue stirring until it’s perfectly smooth and silky. Overheating chocolate can cause it to seize, so patience and gentle heat are key. (See “Recipe Notes” below for more detailed melting tips.) Reserve about 2 tablespoons of this melted chocolate for later decorative drizzling.
- Combine Frosting Ingredients: In a mixing bowl, add the powdered sugar, coconut cream (ensuring it’s only the thick, creamy part from the top of the can, not the watery liquid), and unsweetened almond or soy milk. Pour in all but the reserved 2 tablespoons of the smooth, melted chocolate mixture.
- Mix Until Smooth: Using an electric mixer, beat all the ingredients together on medium speed until the frosting is wonderfully smooth and lump-free.
At this stage, your frosting will likely be soft and spreadable, which is perfect for ease of application. If you find it too soft to create defined swirls or thick layers, simply pop it into the refrigerator for 5-10 minutes. This brief chill will help it firm up. However, be cautious not to leave it in for too long, as it can harden considerably, making it more challenging to spread. A slightly cooler, firmer frosting offers better control and a more professional finish.
Pro Tip: For even greater convenience and a slightly thicker consistency, you can prepare this frosting a day or two in advance. Store it in an airtight container in the refrigerator. Before frosting, allow it to come to room temperature on your counter, then give it a good stir. It will be noticeably thicker and perfectly spreadable, ready for your cooled cakes.
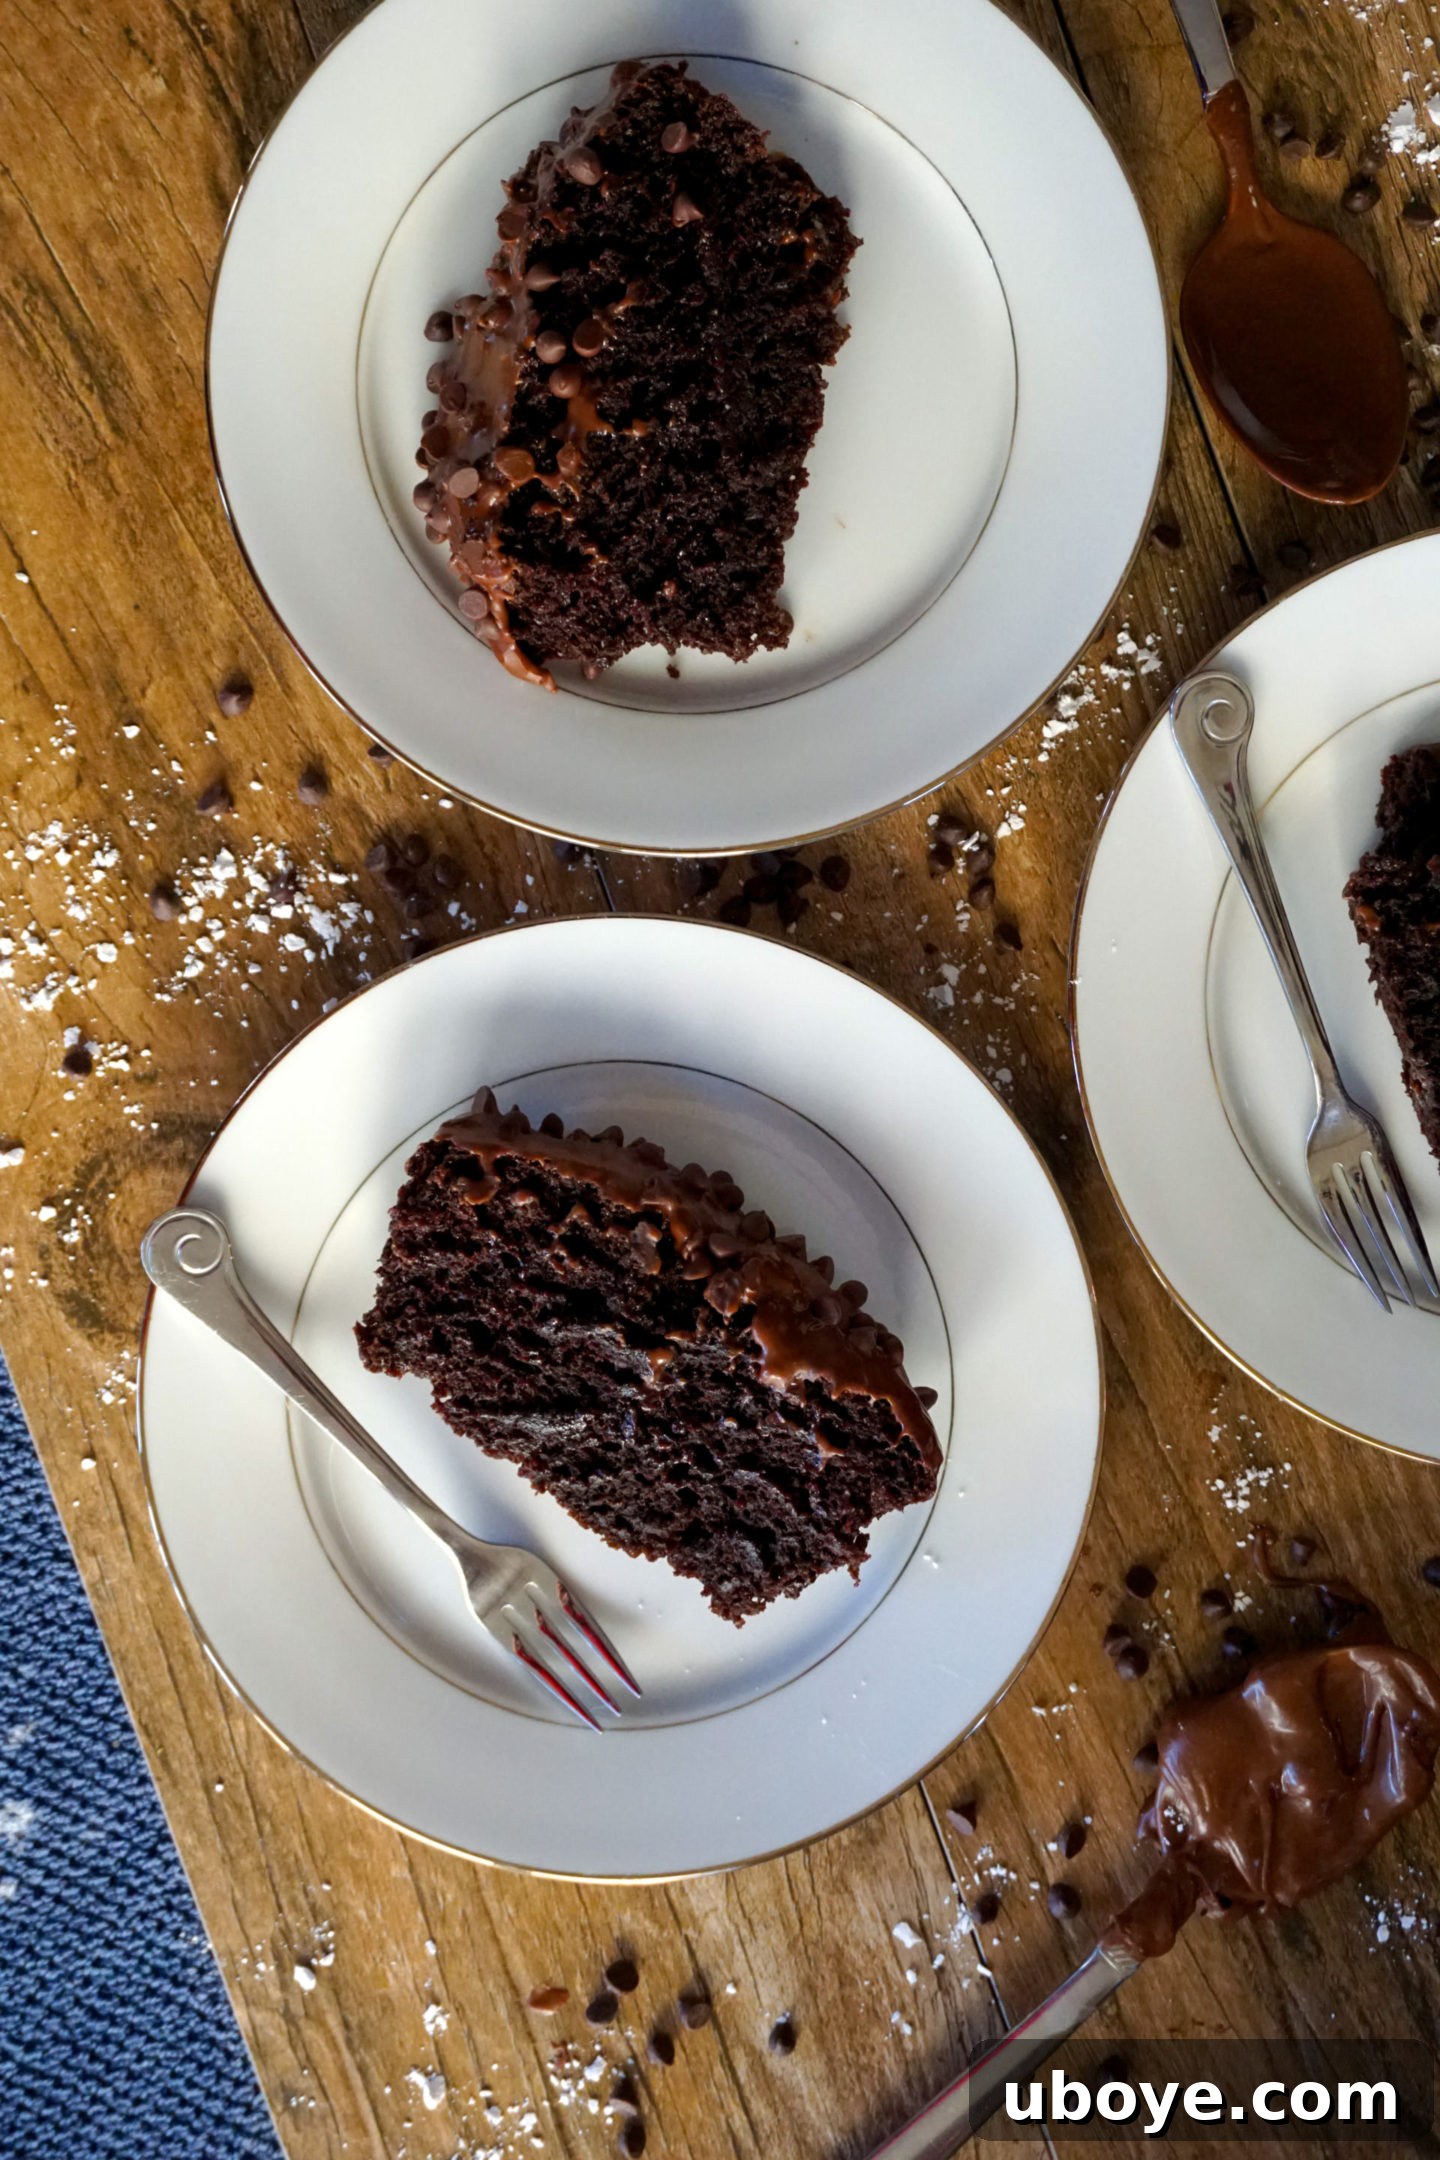
Once both your beautiful cakes have cooled completely to room temperature, it’s time for the grand finale. Generously frost the tops of each loaf cake with a thick, smooth layer of your rich chocolate frosting. Then, take the reserved 2 tablespoons of melted chocolate and, using a spoon or a piping bag with a very small snip, drizzle 1 tablespoon in an attractive zig-zag pattern over the top of each frosted cake. For that extra touch of texture and intense chocolateiness, scatter a few more mini chocolate chips over the drizzle. These finishing touches aren’t just for looks; they add delightful crunch and burst of flavor.
For the best experience, chill your frosted cakes in the refrigerator until you are ready to serve. Serving the cake chilled allows the frosting to firm up, resulting in a wonderfully thick, rich, and creamy texture – truly my favorite way to enjoy it. Alternatively, for a cozy, comforting dessert, warm a slice slightly in the microwave and serve it with a generous scoop of vegan vanilla ice cream and a handful of fresh raspberries. Both options offer a delightful contrast in temperatures and textures, promising an unforgettable treat. See our detailed “Recipe Notes” below for expert advice on freezing options, ensuring you always have a slice of heaven on hand.
Expert Recipe Notes: Tips and Tricks for Vegan Baking Success
Achieving perfection in baking often comes down to a few critical details. These comprehensive notes provide invaluable insights and troubleshooting tips to ensure your vegan chocolate cake turns out flawlessly every single time, making you a confident and successful vegan baker.
Accurately Testing for Cake Doneness: The Wooden Skewer Method
Many recipes suggest using a toothpick to test if a cake is done, assuming that if it comes out clean, the cake is ready. However, this isn’t always foolproof. I’ve found that a thin wooden skewer is a far more reliable tool. Its longer length and slightly wider surface area make it much easier to discern if the skewer is truly clean after being inserted into the deepest part of the cake. A toothpick can sometimes give a false clean reading, especially if the cake is still underbaked in the very center. A skewer provides a clearer indication, preventing the disappointment of an undercooked, gooey center or an overbaked, dry cake. This small change in testing method can make a surprisingly significant difference in your baking results!
The Importance of Cooling Cakes on a Wire Rack
While it might seem like a minor detail, cooling your freshly baked cakes on a wire rack is surprisingly important for achieving the best texture. As the cake cools, it continues to set. Placing it directly on a flat surface can trap heat underneath, leading to condensation and a soggy bottom. A wire rack allows air to circulate freely around all sides of the cake, promoting even cooling. This consistent temperature reduction helps prevent residual steam from making the cake gummy and ensures a pleasant, uniform texture throughout. Don’t skip this simple yet crucial step for a perfectly cooled cake!
Mastering the Art of Melting Chocolate in the Microwave
Melting chocolate can be a delicate process, especially in the microwave. The key is gentle, gradual heating to prevent it from seizing or burning. Instead of cooking until all lumps are gone, melt the chocolate in short bursts – 20 seconds at a time. After each interval, remove the dish from the microwave and stir vigorously. You’ll be amazed at how much residual heat is retained in the chocolate, allowing the remaining soft lumps to melt smoothly with just stirring. Continue this process of 20-second bursts and stirring until the chocolate is almost entirely melted and smooth. Only return it to the microwave if a vigorous stir isn’t enough to eliminate the last few tiny lumps. The less direct heat applied, the better, as this preserves the chocolate’s silky texture and prevents it from becoming dry or hard.
Chocolate Chip Selection and Quantity
For this recipe, one standard bag of Enjoy Life Mini Semi-Sweet Chocolate Chips typically equals about 1.5 cups, which is the exact amount needed for the frosting. To ensure you have plenty for both the frosting and generous decorating, I recommend purchasing two bags. This way, you’ll have extra mini chocolate chips on hand for sprinkling over the top of the finished cakes, adding that irresistible textural contrast and an extra burst of chocolate flavor.
Brand and Type of Chocolate Chips Matter
While there are many excellent vegan chocolate chip brands available, I specifically recommend using Enjoy Life Mini Semi-Sweet Chocolate Chips for this recipe. Their flavor profile and melting consistency are ideal for creating our rich, creamy frosting. While their dark chocolate version is also good, the semi-sweet variety offers a balanced sweetness that complements the cake perfectly. If Enjoy Life is not available, don’t despair! You can achieve similar fantastic results by finely chopping your favorite high-quality creamy dark chocolate bar. Just ensure it’s a brand known for good melting properties and a smooth finish.
Freezing Options for Your Vegan Chocolate Cake
This recipe yields two delicious loaf cakes, providing ample opportunity to share or save for later enjoyment. While your friends, neighbors, colleagues, or even your child’s teacher would undoubtedly appreciate a thoughtful gift of the second cake, you also have the convenient option of freezing it. To freeze, ensure the cake is completely cooled and unfrosted. Wrap it tightly in plastic wrap, then an additional layer of aluminum foil, and store it in an airtight freezer bag. It can be frozen for up to 2-3 months without compromising flavor or texture. When you’re ready to enjoy, thaw the cake overnight in the refrigerator or for a few hours at room temperature. This is perfect for a spontaneous weeknight treat after a family dinner, or for those “I NEED CHOCOLATE NOW!” moments – simply warm up a single slice in the microwave and pair it with a scoop of vegan ice cream and a few fresh raspberries. Having a frozen cake on hand is truly a delightful convenience!
We absolutely adore seeing your culinary creations! If you make this mouthwatering vegan chocolate cake, please snap a picture and share it on Instagram. Don’t forget to tag me – I’d be thrilled to see your recreation and share in your baking joy!
My Instagram: https://www.instagram.com/nikkivegan/
Happy baking, and enjoy every single decadent bite!