
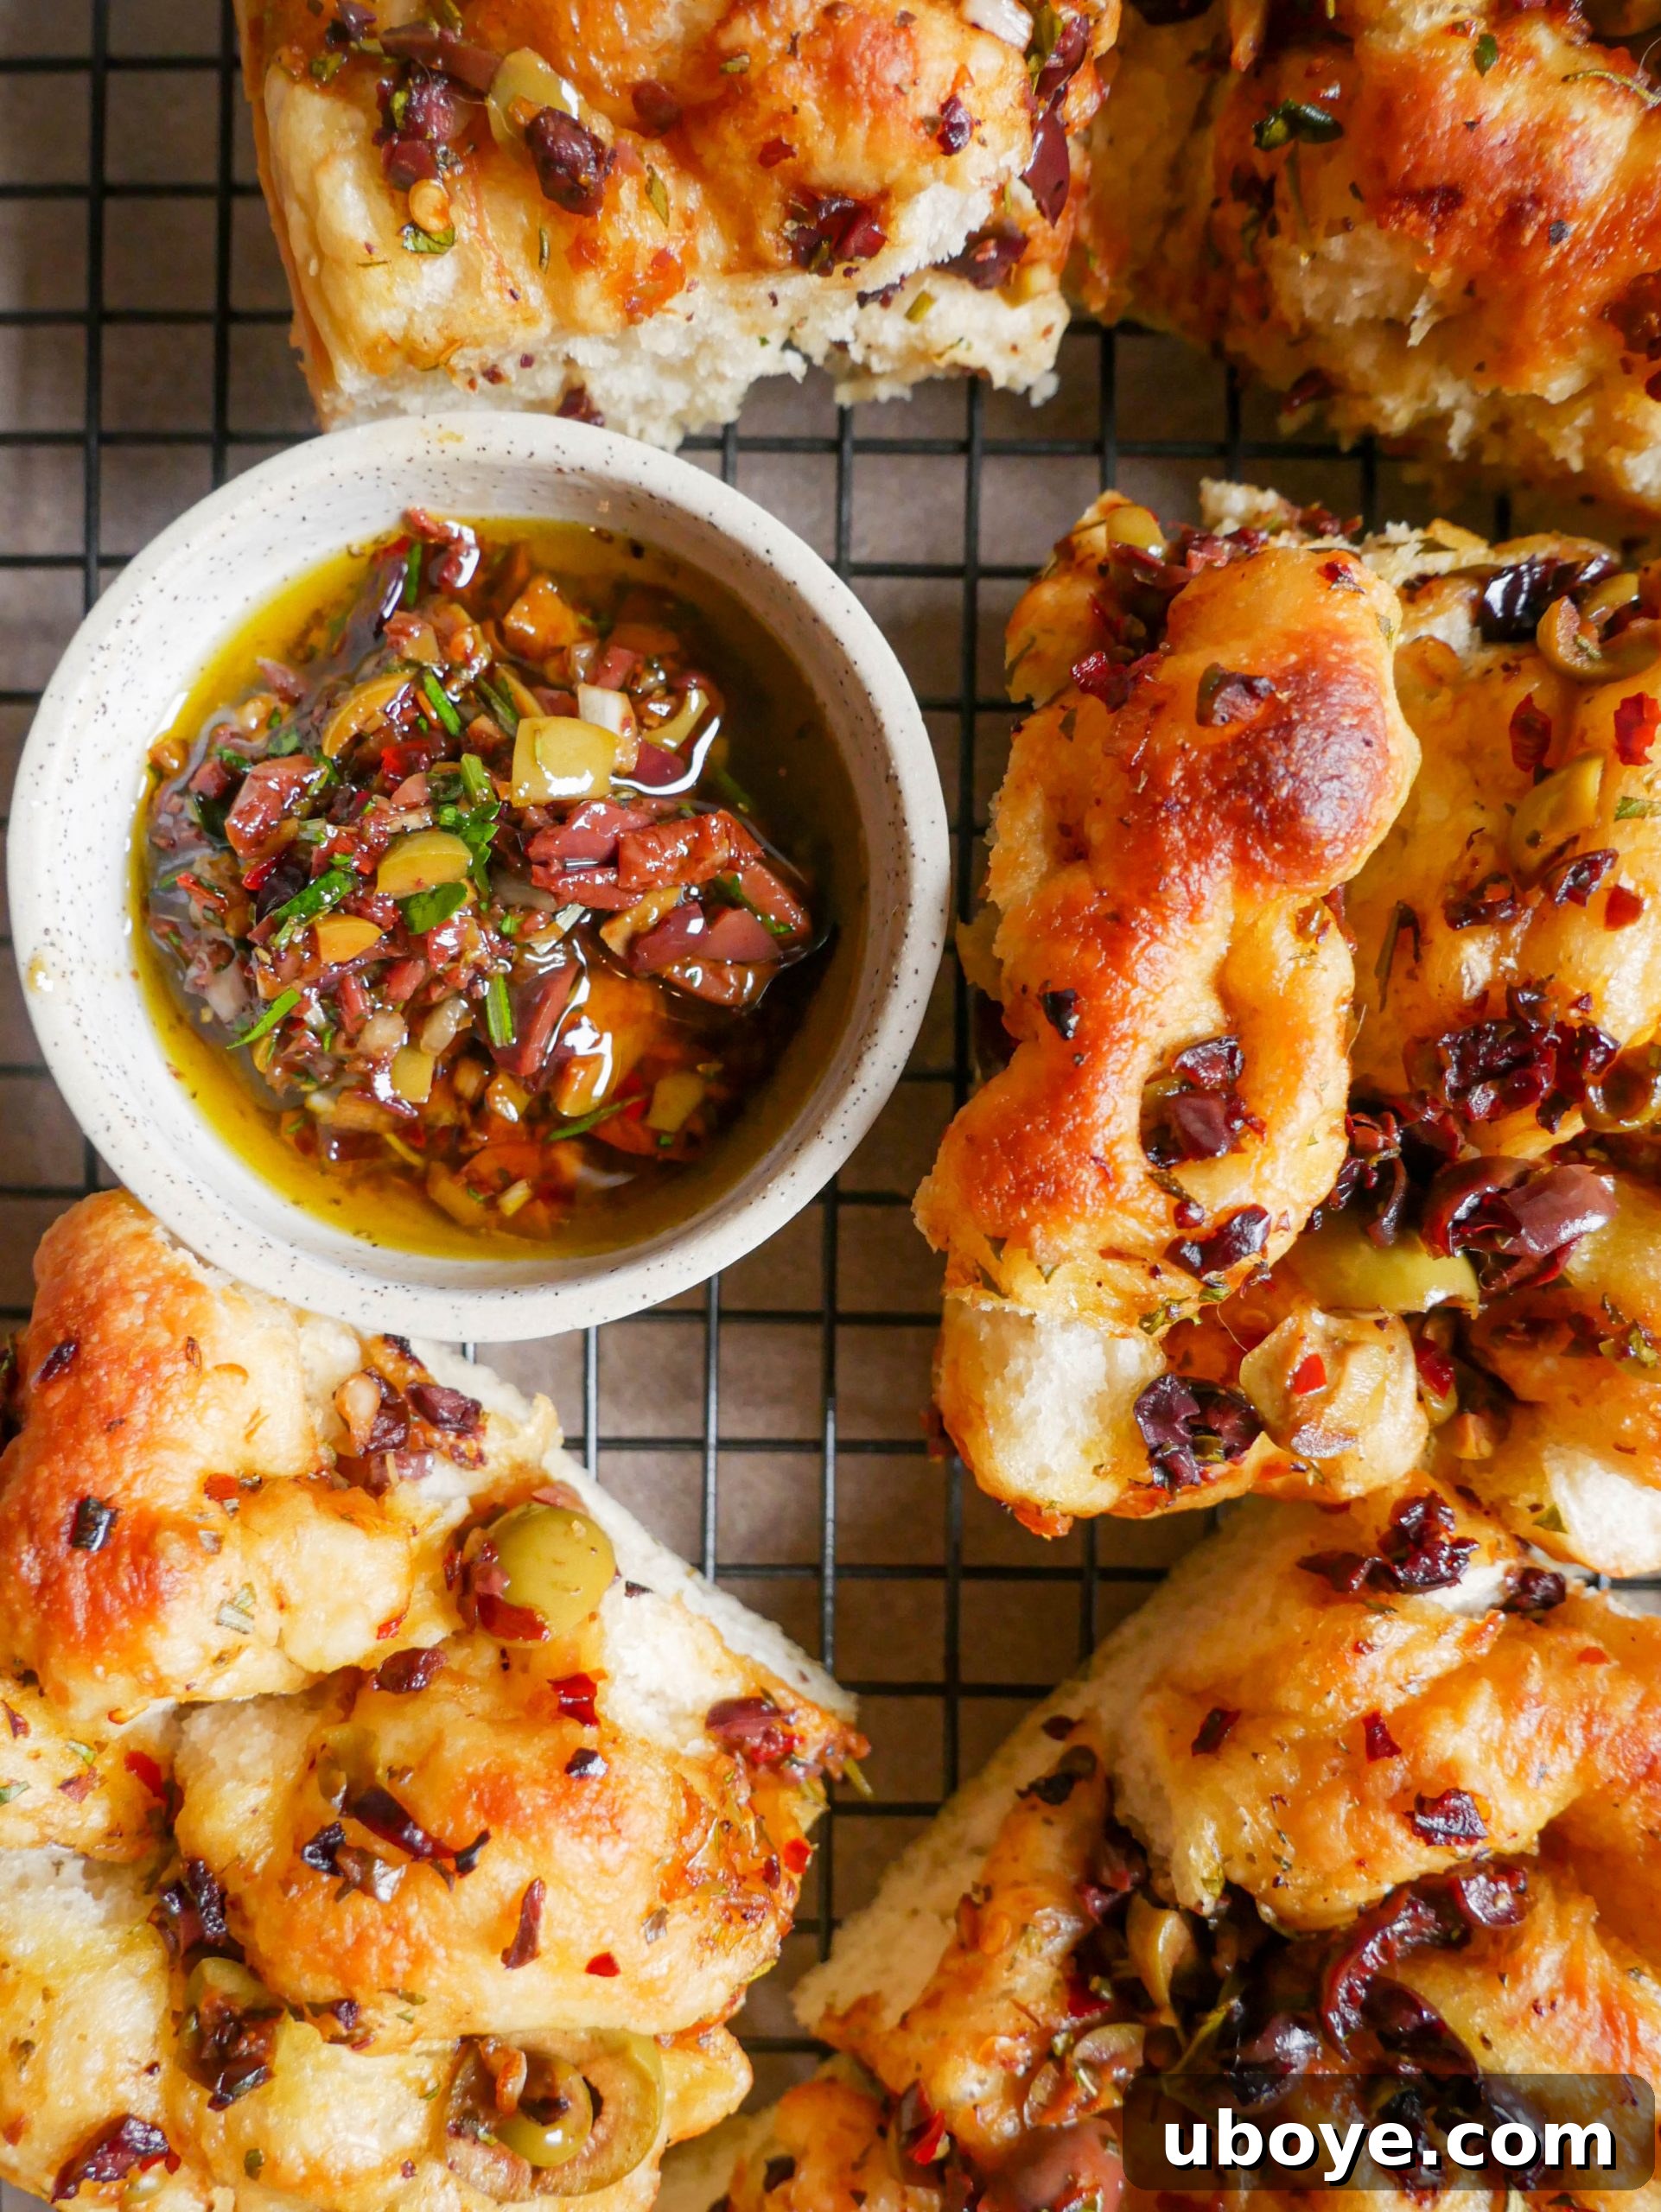
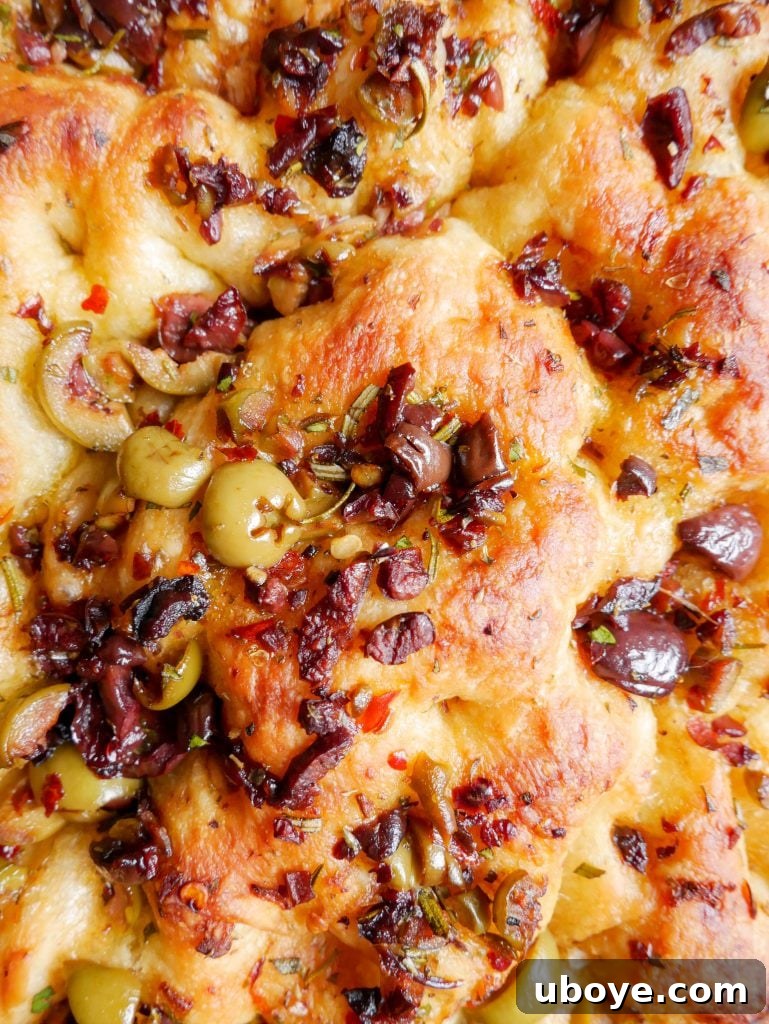
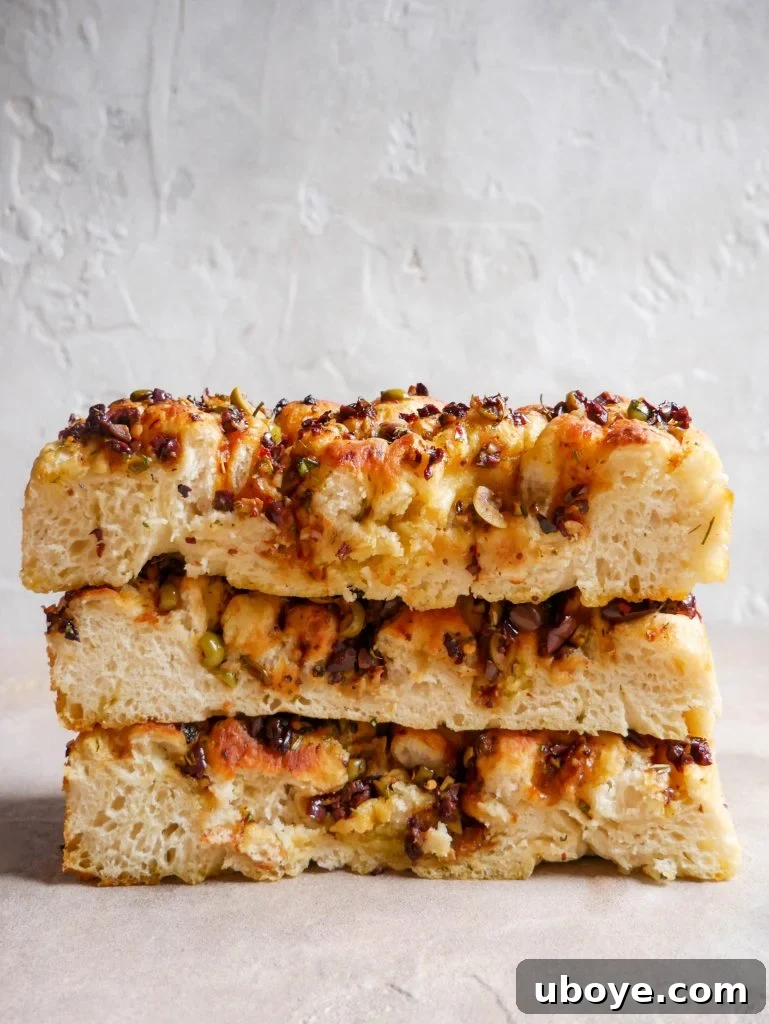
This olive, herb and balsamic focaccia is a revelation for your senses – sticky, sweet, airy, and wonderfully fluffy on the inside, contrasted with a perfectly crunchy and golden crust on the outside. It’s truly a bread lover’s dream come true, offering a symphony of flavors and textures in every bite.
Jump to Recipe Print Recipe
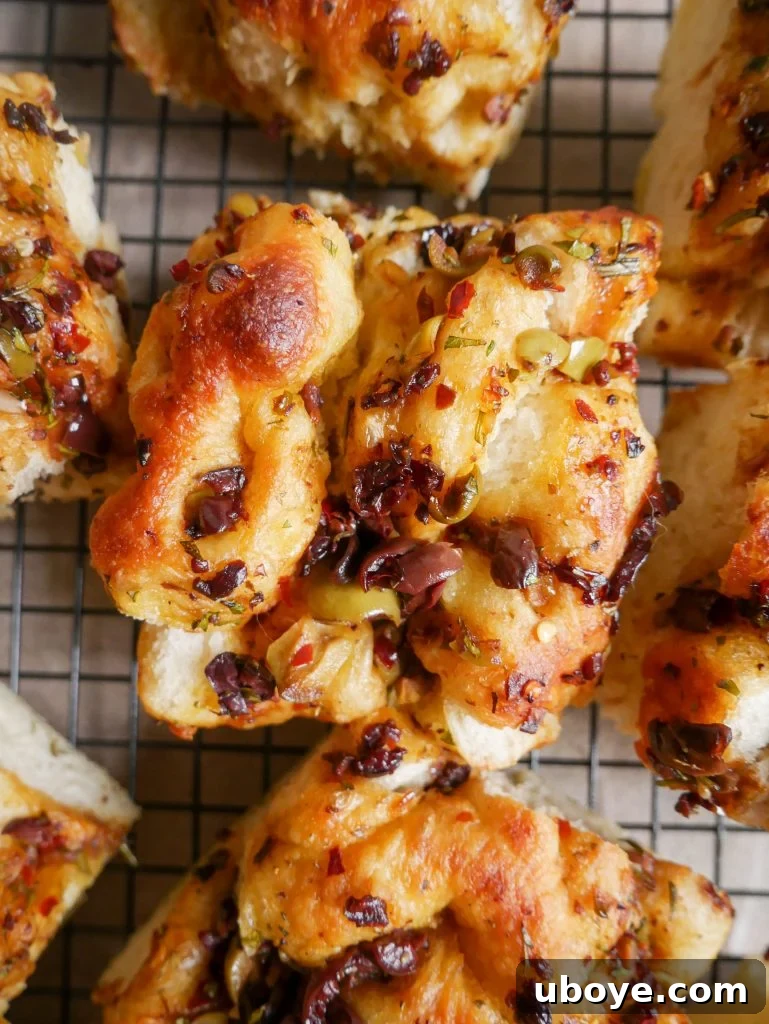
Olive, Herb & Sticky Balsamic Focaccia: A Culinary Masterpiece
For those who harbor a profound love for both olives and freshly baked bread, prepare to be captivated. This recipe is a heartfelt dedication to all aficionados of these culinary delights, meticulously crafted to unite the very best of both worlds. Imagine a light, airy, and incredibly fluffy focaccia, generously infused with the vibrant essence of olives and herbs, then elevated by a unique, sticky balsamic dipping sauce that’s drizzled directly over the dough before baking. This isn’t just focaccia; it’s an experience, a delightful fusion where the dipping sauce becomes an integral part of the bread itself, rather than a mere accompaniment.
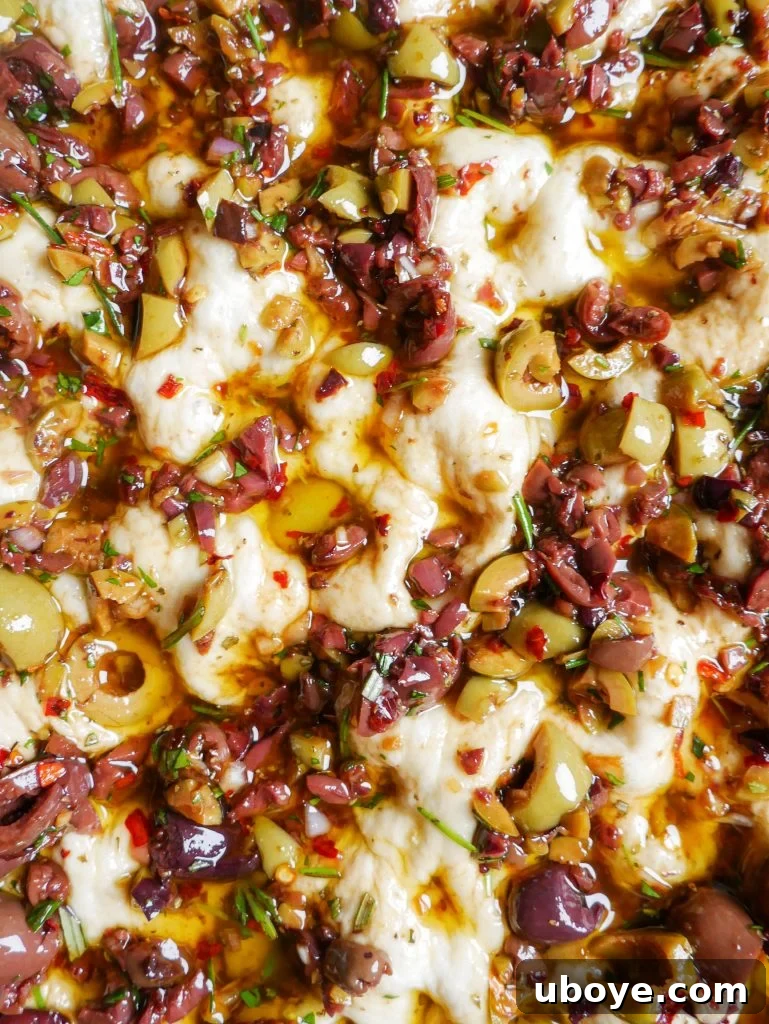
Many have fallen in love with the concept of a viral bread dipping sauce, but we asked, “Why not embed that irresistible flavor directly into the bread?” The result is this extraordinary focaccia: a sweet, subtly spicy, and wonderfully sticky creation, bursting with the freshness of finely chopped rosemary, parsley, and dried oregano. The addition of diced shallots provides a delightful, unexpected crunch, adding another layer of texture to this already magnificent bread. While we suggest starting with four generous tablespoons of this divine sauce drizzled over your focaccia dough, rest assured, no one will blame you if you decide to indulge in a little extra – it’s simply that good!
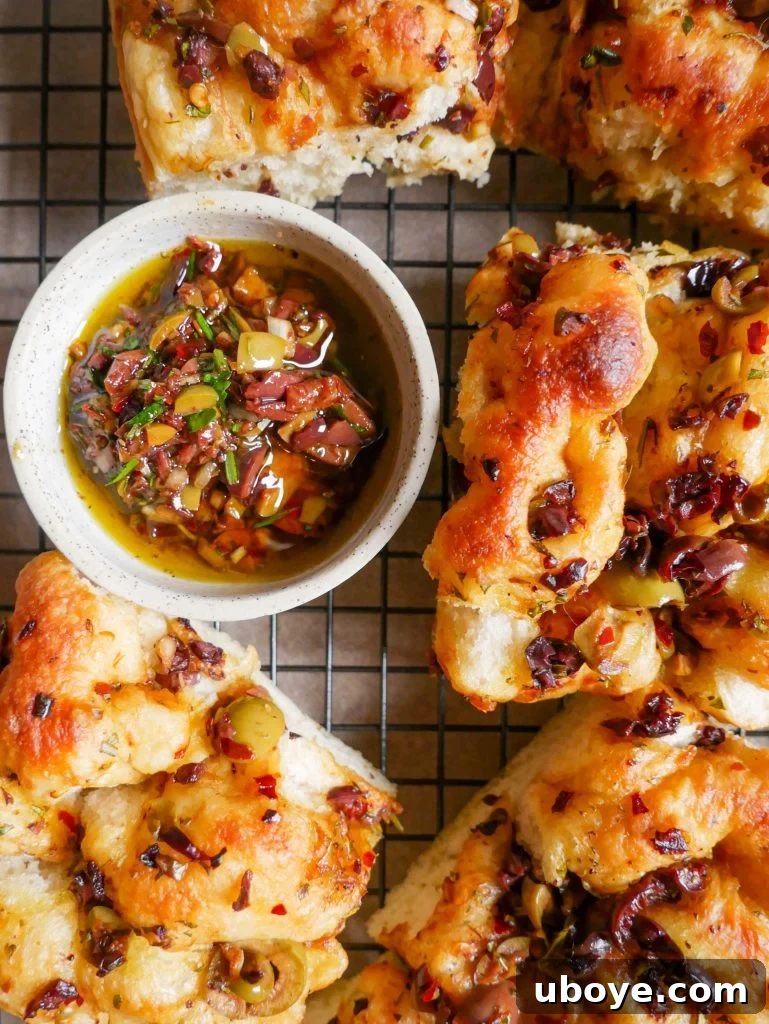
The Signature Sticky Balsamic Dipping Sauce: A Flavorful Infusion
Creating an exceptional bread dipping sauce feels like a natural extension of our culinary philosophy. It begins with an abundant foundation of high-quality extra virgin olive oil, which provides the rich, smooth base. To this, we add a generous medley of finely chopped olives, ensuring their distinct briny notes permeate every spoonful. The true magic, however, comes from a harmonious blend of fresh and dried herbs, including fragrant rosemary, vibrant parsley, and earthy oregano, which lend a complex aromatic profile. A touch of chili flakes introduces a gentle warmth, while finely diced shallots contribute a delicate sweetness and a subtle textural crunch. The crowning glory is a sticky balsamic glaze, which weaves in a beautiful sweetness and a desirable viscosity, transforming the sauce into a luxurious elixir.
This meticulously crafted sauce is more than just a topping; it’s an integral component of this focaccia’s unique character. By drizzling it generously over the focaccia dough before baking, the flavors meld and deepen under the heat of the oven, infusing the bread with an unparalleled complexity. As the focaccia bakes for approximately 20-30 minutes, the olive oil within the sauce works its magic, contributing to the bread’s signature golden, irresistibly crunchy crust – a hallmark of any truly great focaccia. While it’s tempting to use every last drop on the dough, we highly recommend reserving a small amount of this exquisite sauce to serve alongside the finished focaccia. This allows for an extra dip, enhancing the experience and ensuring every bite is as flavorful as possible.
Mastering Focaccia: Essential Tips for Baking Perfection
Crafting the perfect focaccia requires a blend of patience, quality ingredients, and a few clever techniques. Follow these expert tips to ensure your Olive, Herb & Sticky Balsamic Focaccia turns out irresistibly delicious every single time:
1. Embrace the Art of Long Fermentation for Unrivaled Flavor and Texture
The secret to a truly exceptional focaccia lies in allowing the dough ample time to rest and rise. While it might test your patience, extending the fermentation period significantly enhances both the flavor and texture of the final product. If your schedule permits, aim for a minimum of 24 to 48 hours of rising time in the refrigerator, and you can even push it to a maximum of 72 hours. This extended cold fermentation allows the yeast to work slowly, developing complex flavors and promoting the creation of an incredibly light, airy, and bubbly crumb. If time is a constraint, ensure a minimum of 8 hours for a noticeable improvement in texture and taste. This slow process is what elevates homemade focaccia from good to extraordinary, giving it that characteristic chewiness and open structure.
2. Invest in High-Quality Olive Oil and Use It Generously
Olive oil is not merely an ingredient in focaccia; it is a foundational pillar that contributes profoundly to its taste, texture, and iconic golden crust. This recipe, in particular, relies heavily on its generous application. Do not be shy with your olive oil, and more importantly, do not compromise on its quality. A high-quality extra virgin olive oil will impart a rich, fruity, and peppery flavor profile that permeates the entire bread. It also plays a crucial role in achieving that sought-after crispy, golden-brown exterior and a tender interior. Skimping on quality here would be a disservice to your focaccia, as it directly impacts the overall sensory experience. Consider using a brand you trust and enjoy, as its flavor will shine through in every bite.
3. Find the Ideal Warm Spot for Your Second Rise
Once your dough has completed its initial cold fermentation and has been transferred to the baking tray, finding a warm environment for its second rise is crucial. This warmth provides the optimal conditions for the yeast to become active again, allowing the dough to puff up beautifully and develop its signature airy structure. During colder months, a clever trick is to leave the light on in your oven for a short period to create a gently warm, draft-free space, then turn the light off and let the dough rise inside (without turning the oven on for heat, just the residual warmth). Other suitable warm spots in your home might include near a heater, on top of your refrigerator, or even on a washing machine during its cycle. Consistency in warmth ensures an even and robust rise.
4. Unleash Your Creativity with Toppings
Focaccia is incredibly versatile, serving as a perfect canvas for a myriad of flavors. While our Olive, Herb & Sticky Balsamic combination is exceptional, don’t hesitate to experiment and personalize your focaccia to your unique taste. Consider adding sundried tomatoes, thinly sliced red onion, roasted garlic cloves, crumbled feta cheese, or even a sprinkle of different nuts or seeds for added texture. Fresh herbs like thyme or sage can also be incorporated. The beauty of focaccia lies in its adaptability, so let your culinary imagination run wild and create a loaf that truly reflects your preferences. The possibilities are endless!
Frequently Asked Questions About Focaccia
Baking focaccia can sometimes raise a few questions, especially when striving for perfection. Here are answers to some of the most common inquiries to help you on your baking journey:
Can I leave my dough to rise for a shorter period of time?
While there are numerous “quick focaccia” recipes available that promise faster results, this particular recipe is specifically designed to maximize flavor and texture through an extended rise. For this recipe to achieve its intended airy, bubbly, and flavorful outcome, a minimum of 8 hours of rising time is essential. We strongly recommend adhering to the longer fermentation periods (24-48 hours) whenever possible, as this is where the true magic of gluten development and flavor complexity happens, yielding the best possible result. Rushing the process will compromise the focaccia’s signature characteristics.
What size baking tin do you use, and why is it important?
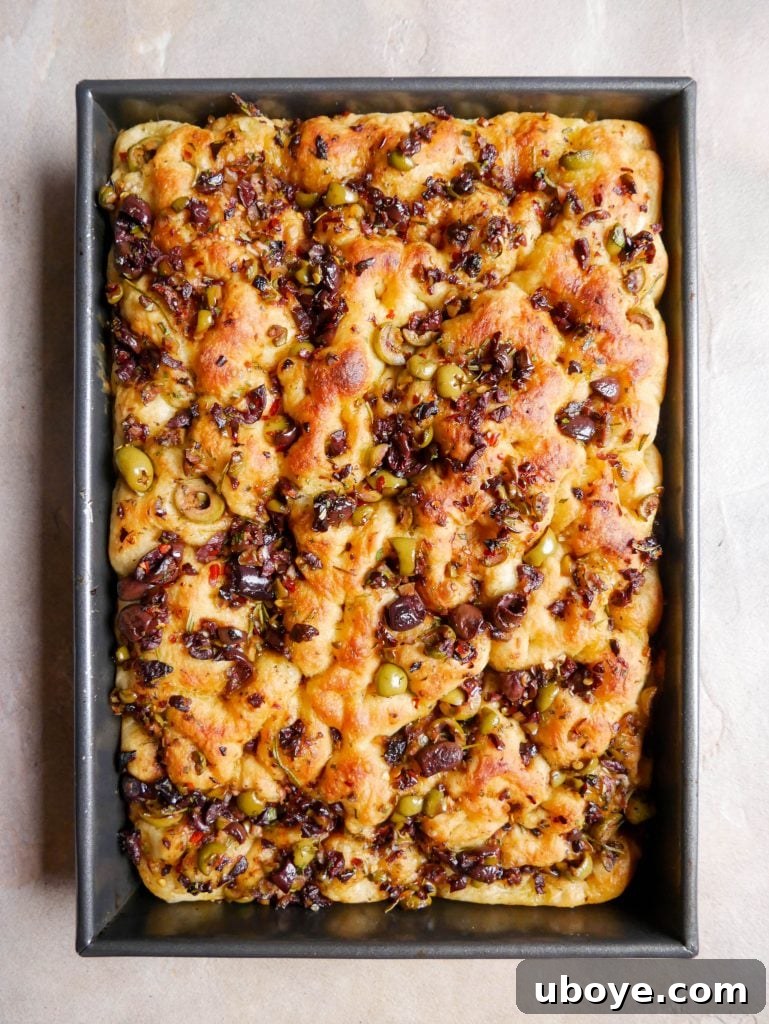
The baking tin used for this recipe measures approximately 34cm x 23cm x 5cm (or roughly 13.5 x 9 x 2 inches). The dimensions of your baking dish are quite important for two key reasons: firstly, it needs to be large enough to allow the dough to spread out adequately without becoming too thin, ensuring a good crust-to-crumb ratio. Secondly, it must be deep enough to accommodate the significant rise of the focaccia dough. Using a pan that is too small might result in an overly thick, dense focaccia, while one that is too large could yield a focaccia that is too thin and potentially dry. Aim for a similar size to achieve the perfect focaccia thickness and texture.
Can I use active dry yeast instead of instant dry yeast?
Absolutely! The recipe as written typically accounts for instant or non-active dry yeast, which is why it includes the initial step of activating it with lukewarm water and a touch of honey or maple syrup. This step “wakes up” the yeast and ensures it’s viable before mixing with the flour. If you are using active dry yeast, you can generally skip this preliminary activation step. Simply add the active dry yeast directly to your flour mixture along with the water and salt, ensuring the water is lukewarm to facilitate yeast activity. Both types of yeast will yield excellent results as long as they are properly incorporated and given sufficient time to rise.
How long does the focaccia stay fresh, and how should I store it?
Like most freshly baked breads, focaccia is undeniably at its peak deliciousness on the day it’s made, ideally enjoyed still warm from the oven. For optimal freshness and to preserve its airy texture, we recommend freezing any leftover focaccia on the same day it’s baked. Wrap it tightly in plastic wrap and then in foil before freezing; it can be stored this way for up to 3 months. To reheat, simply thaw and warm in a moderate oven. If you plan to consume it within a few days, store it at room temperature in an airtight container or a bread bag. It will remain enjoyable for up to 3 days, though its texture will gradually become firmer. However, don’t discard stale focaccia! It makes fantastic croutons, breadcrumbs, or can be revitalized as part of a panzanella salad.
What kind of olives are best for this focaccia?
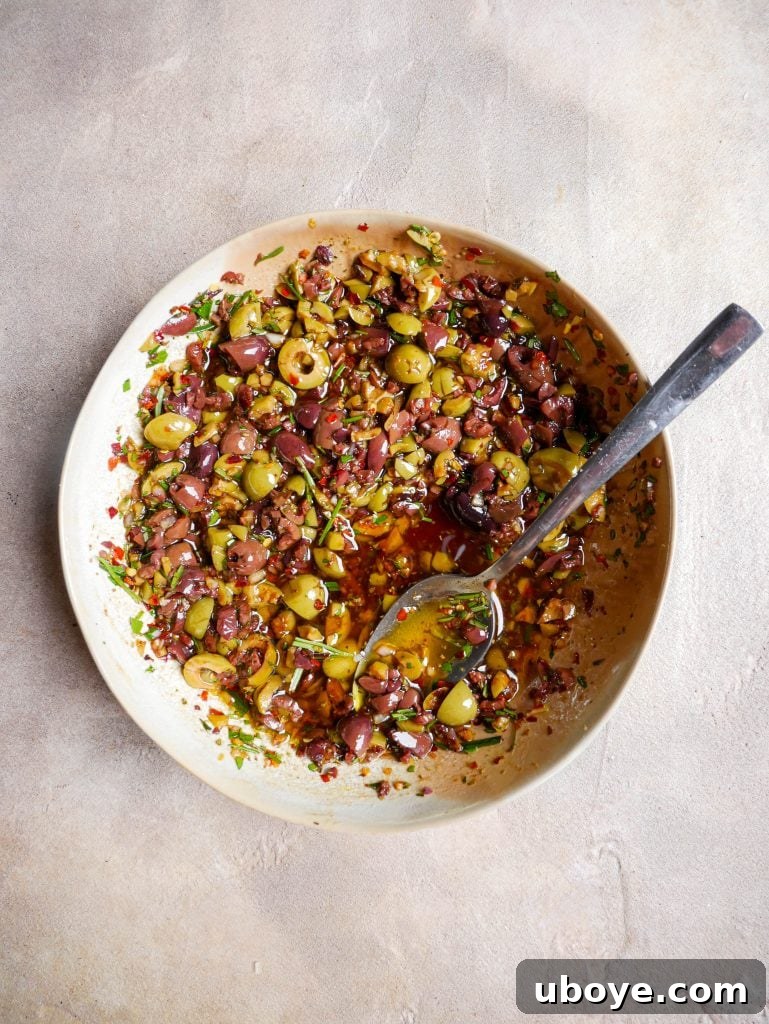
For this Olive, Herb & Sticky Balsamic Focaccia, a mix of olives works wonderfully to add complexity. Kalamata olives offer a rich, briny flavor, while green olives like Castelvetrano or Manzanilla provide a milder, buttery note. You can use pitted olives for convenience, or pit them yourself for fresher flavor. Roughly chopping them ensures an even distribution throughout the bread, allowing you to enjoy a burst of olive goodness in every bite.
Why are the dimples in focaccia so important?
Those iconic dimples in focaccia aren’t just for aesthetics! They serve a crucial purpose in the baking process. When you gently press your fingers into the dough, you achieve a few things: firstly, you release any large pockets of trapped air, ensuring a more even crumb structure. Secondly, these depressions act as little reservoirs for the olive oil and our sticky balsamic topping, allowing it to pool and infuse deeply into the bread as it bakes, creating pockets of intense flavor and contributing to that desirable golden, crispy crust.
Discover More Focaccia Inspirations
If you’ve fallen in love with the art of focaccia baking, explore some of our other delightful recipes:
- Cheesy Focaccia with Tomato & Garlic Confit
- Green & Black Olive Focaccia
- Wild Garlic Confit Focaccia
- Pesto Focaccia
- Spicy Garlic Confit Butter Focaccia
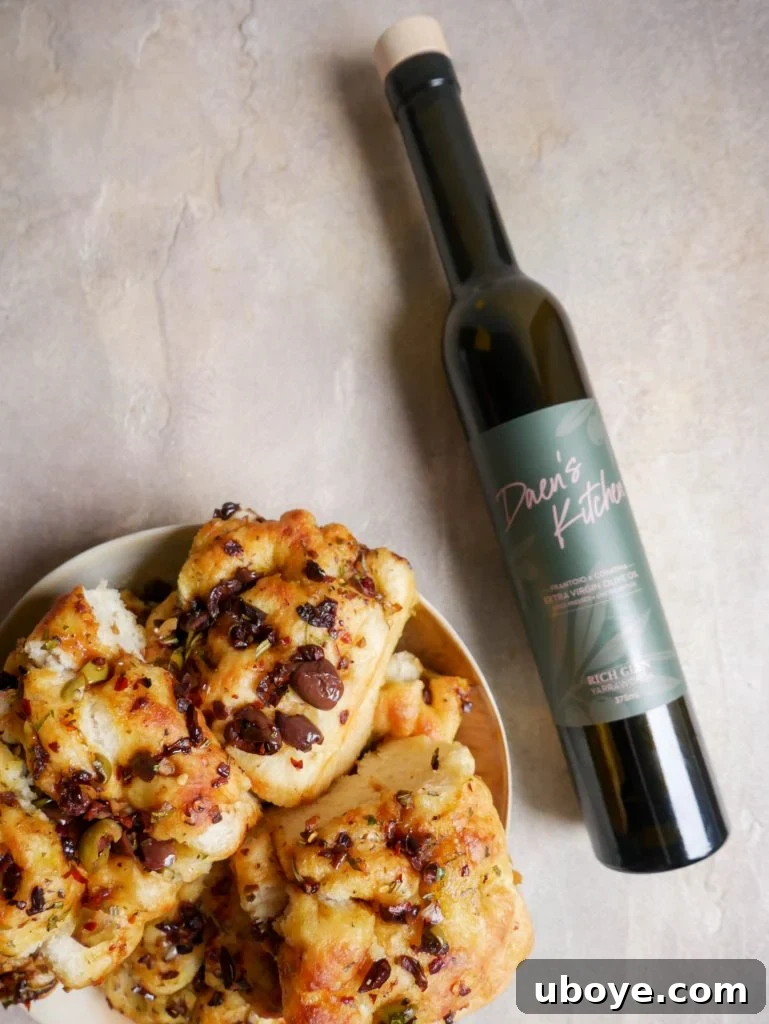
This exquisite recipe was developed using Daen’s Kitchen Olive Oil, which will be available for purchase at the end of November, bringing the taste of true quality to your home kitchen.
We absolutely adore seeing your culinary creations! If you bake this recipe, please share your wonderful results by tagging us on Instagram, TikTok, or Pinterest. Your photos and feedback inspire us!
Should you have any questions, need clarification on a step, or simply wish to share your review, please leave a comment below. We are always eager to engage with our community, answer your food and recipe-related queries, and hear your invaluable feedback on our recipes.
Print Recipe
Olive, Herb & Sticky Balsamic Focaccia
Ingredients
Olive, Herb & Balsamic Topping
- 3 tbsp olive oil, extra virgin
- 1 tbsp sticky balsamic
- 1/2 shallot, finely diced
- 1/2 tbsp rosemary, finely chopped
- 1/2 tbsp parsley, finely chopped
- 1/2 tbsp oregano, dried
- 1 tsp chili flakes
- 2 cups olives, roughly chopped
- 1 tsp flakey sea salt
Focaccia Dough
- 2.5 cups lukewarm water (approx. 600ml – mix 2 cups cold water + 1/2 cup boiling hot water)
- 1 sachet dry yeast (7g)
- 2 tsp honey or maple syrup
- 5 cups all-purpose white flour (740g)
- 2.5 tsp flakey sea salt
- 4 tbsp of the prepared Olive, Herb & Balsamic topping (for drizzling on dough)
Instructions
For the Olive, Herb & Balsamic Topping
- In a medium-sized bowl, combine all listed ingredients for the topping and mix well until thoroughly combined. Allow the mixture to marinate for a minimum of 30 minutes to allow the flavors to deepen and meld.
For the Focaccia
- In a medium bowl, whisk together the lukewarm water, dry yeast, and honey. Let this mixture sit for 5 minutes, or until you observe a foamy layer forming on the surface. This foam is a clear indication that your yeast is active and ready to work its magic.
- In a large mixing bowl, combine the all-purpose flour and flaky sea salt, whisking them together thoroughly to ensure even distribution. Pour the activated yeast mixture into the flour bowl and gently bring the dough together with your hands or a sturdy spatula. Continue mixing until a shaggy, sticky dough forms, ensuring no dry spots of flour remain.
- Generously coat a large clean mixing bowl with 4 tablespoons of the prepared garlic confit olive oil (or plain extra virgin olive oil if you don’t have confit oil). Transfer the sticky focaccia dough into this oiled bowl, then turn the dough over a few times to ensure it is completely coated in the olive oil. Cover the bowl tightly with plastic wrap and place it into the refrigerator. Allow the dough to undergo its first rise and cold fermentation for a minimum of 6 hours, though ideally for 24 hours for best flavor and texture development. The dough should double in size and appear notably bubbly.
- Once the dough has completed its long fermentation, remove it from the fridge. On a lightly floured surface or directly in the bowl, gently fold the dough over itself in quarters. Gather each edge of the dough with your hands and fold it towards the center, turning the bowl as you go. The dough will naturally deflate as you gently shape it into a neat, round ball.
- Generously coat a deep rectangular baking dish (the suggested size is 34cm x 23cm x 5cm) with 2 tablespoons of extra virgin olive oil. Carefully transfer the dough ball into the prepared baking dish. Using your fingertips, gently stretch the dough out slightly to form a rough rectangular shape. There’s no need to force the dough to reach the edges of the pan immediately, as it will naturally relax, rise, and spread during the second proof. Cover the pan with a clean tea towel and place it in a warm area of your home for its second rise, which should take approximately 3-4 hours. It’s crucial that the dough remains covered to prevent a dry, crusty layer from forming on top.
- Preheat your oven to 200 degrees Celsius (390 degrees Fahrenheit). Once the dough has significantly risen and looks puffy, use your olive oil-coated fingers to gently indent or “dimple” the dough all over. These dimples help create focaccia’s characteristic texture and hold the delicious topping. Generously drizzle the prepared Olive, Herb & Balsamic dressing all over the dimpled focaccia.
- Carefully place the baking dish into the preheated oven and bake for 20-30 minutes, or until the focaccia has developed a beautiful golden-brown crust on top and around the edges. The internal temperature should register around 93-96°C (200-205°F).
- Once baked, remove the focaccia from the oven and allow it to cool slightly in the pan for a few minutes before carefully transferring it to a wire rack. This helps prevent the bottom from becoming soggy.
- Slice the focaccia into generous portions and enjoy it warm, either on its own to savor its rich flavors or dipped into any remaining Olive, Herb & Balsamic sauce for an extra burst of deliciousness.
Video Tutorial

Enjoyed this recipe? Leave a comment below and share your thoughts!