
Jump to Recipe
The Ultimate Crispy Crumbed Chicken & Bacon Salad: A Flavorful Feast for All Seasons
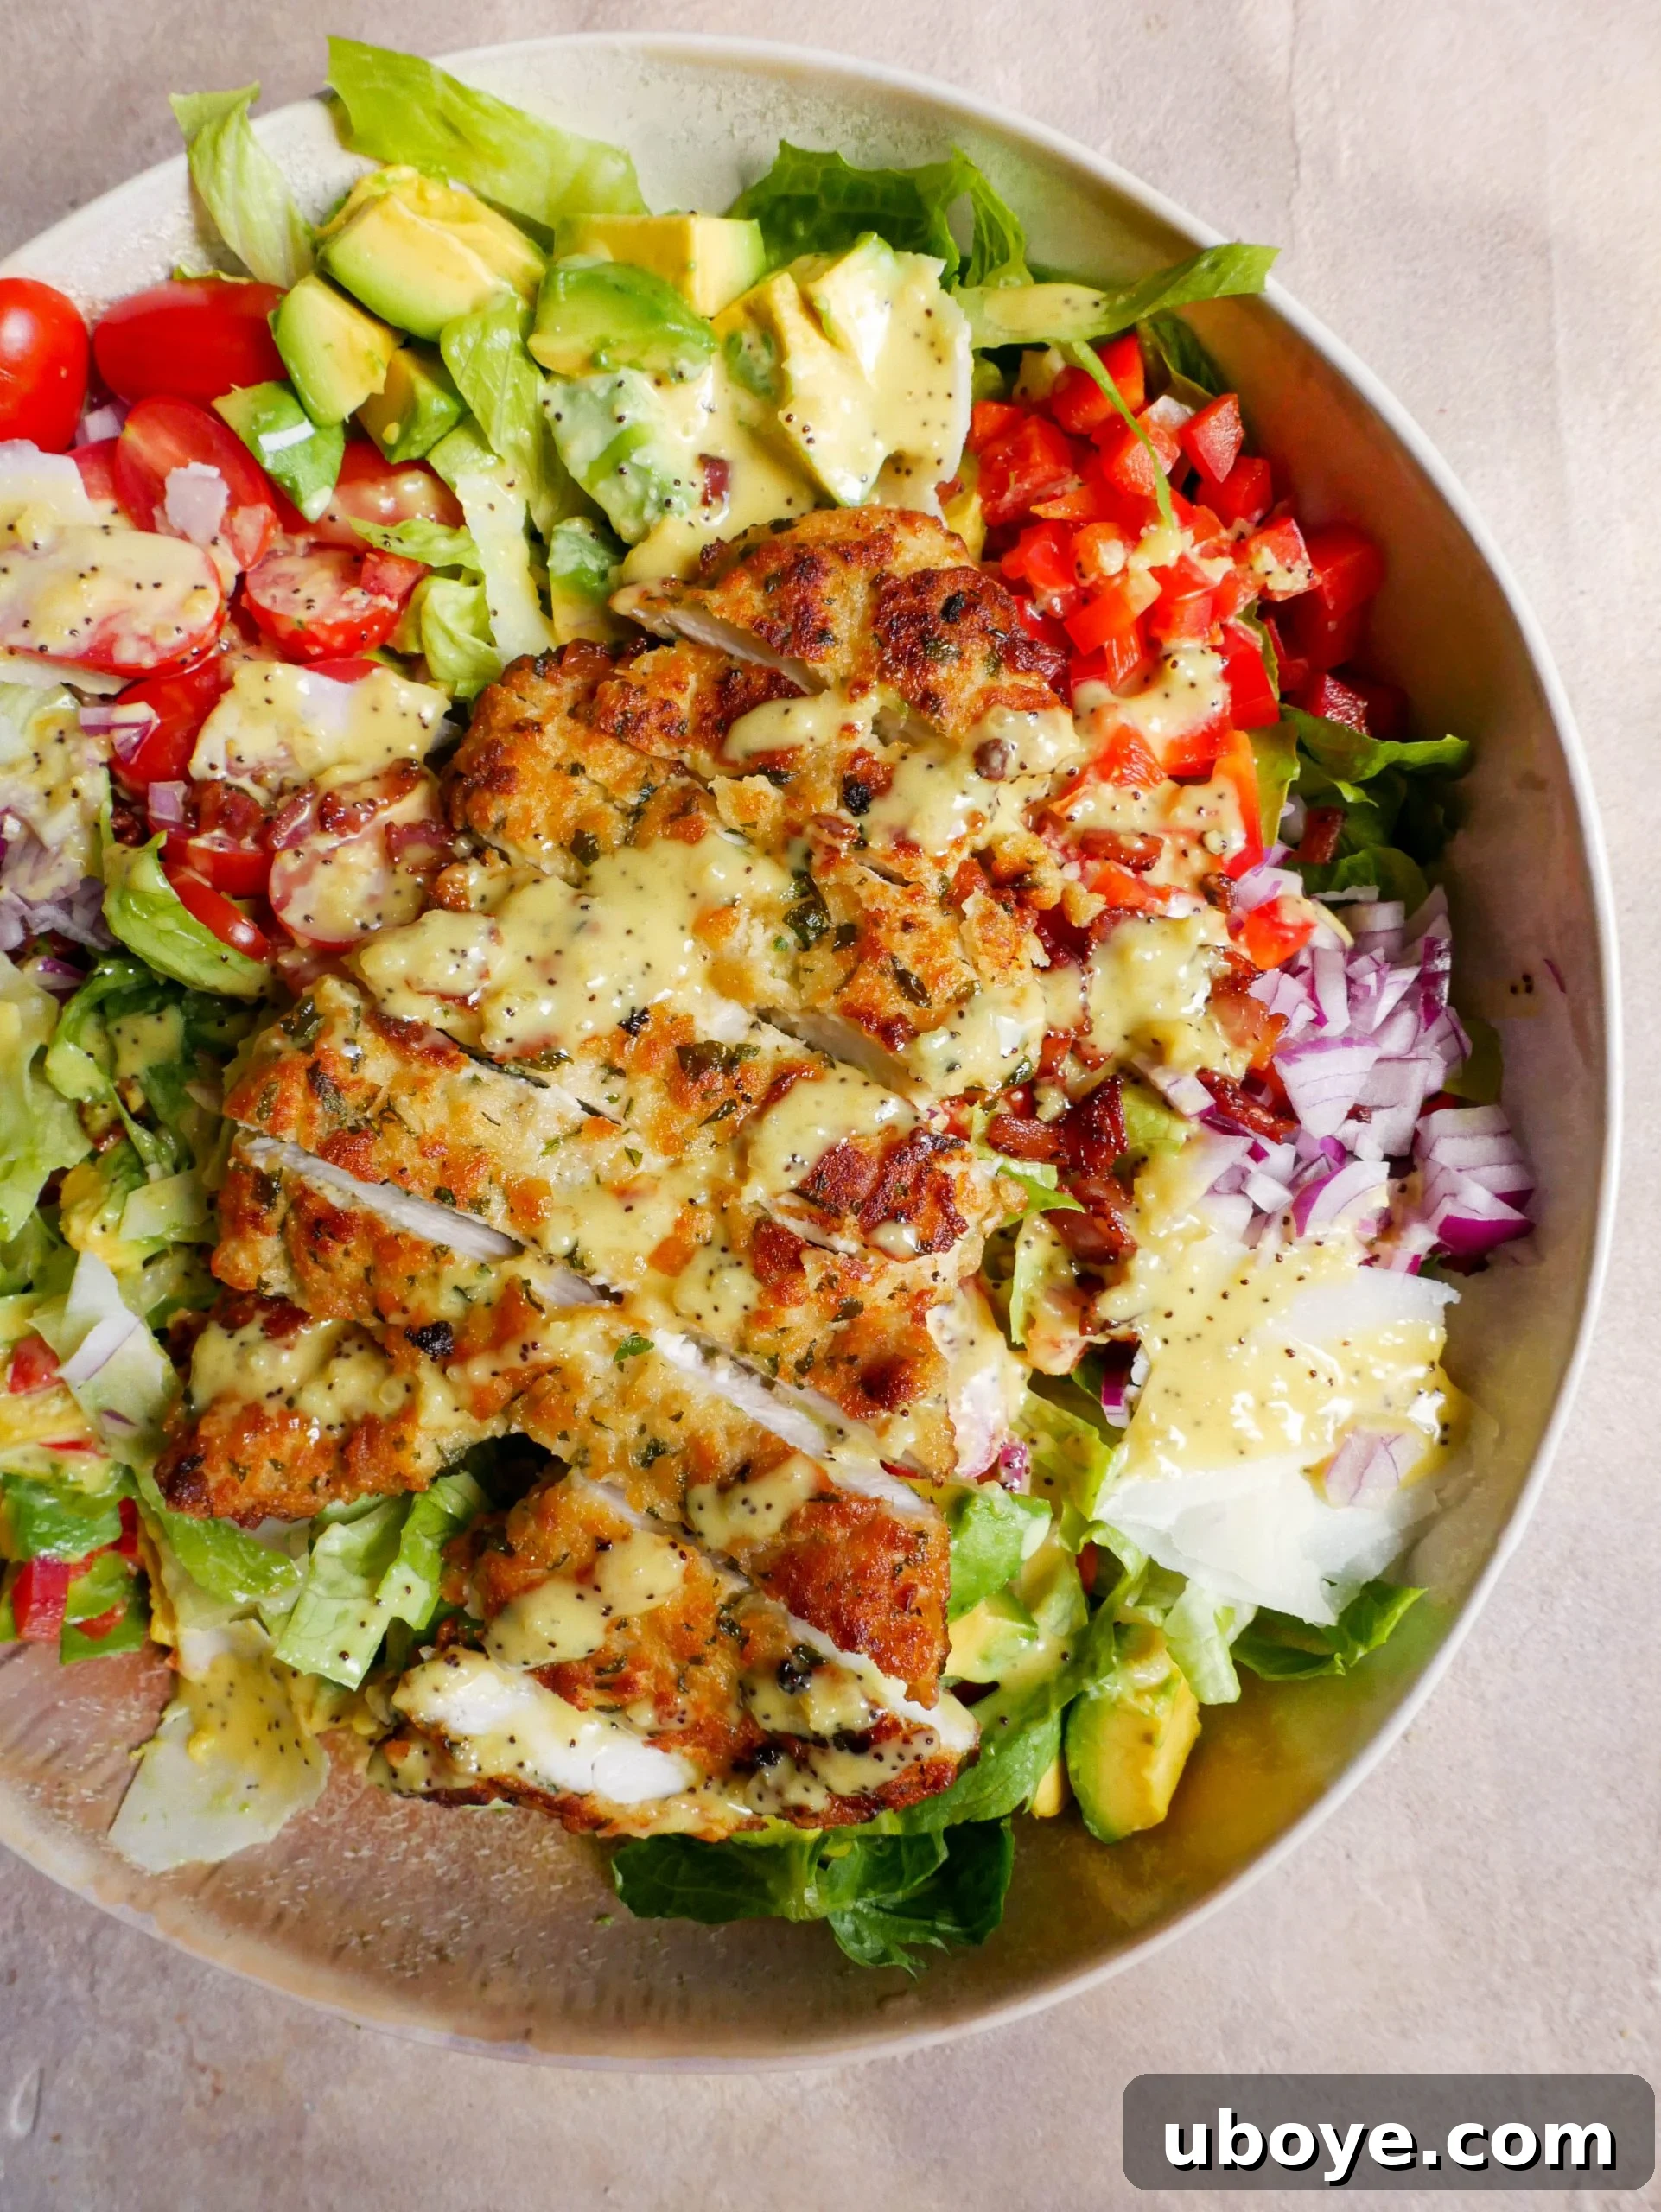
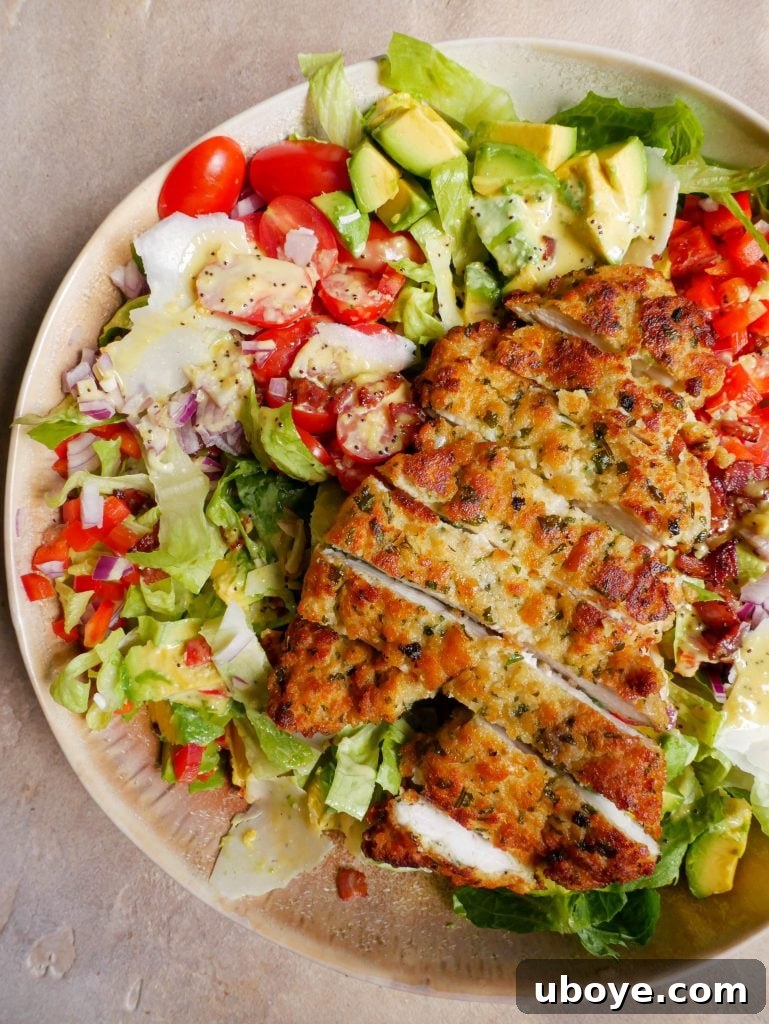
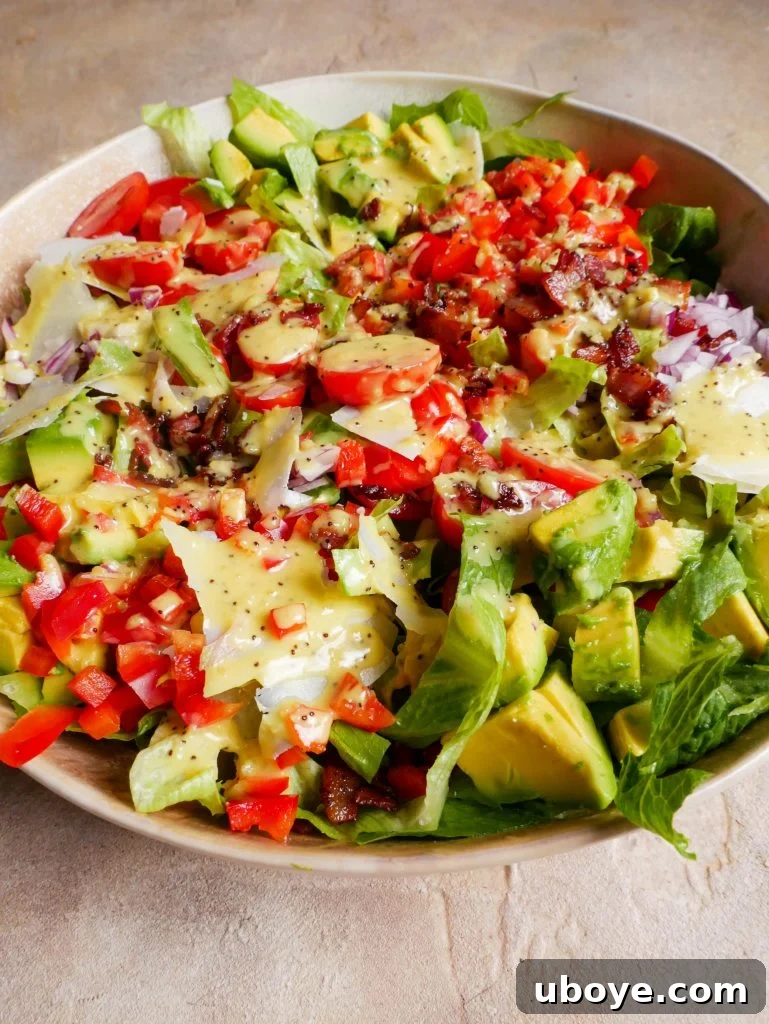
Prepare to elevate your salad experience with a dish that redefines satisfaction and culinary delight. This isn’t just any ordinary salad; it’s a meticulously crafted culinary masterpiece brimming with the freshest garden greens, creamy avocado slices, sharp shaved Pecorino Romano cheese, irresistible crispy bacon bits, and my renowned crispy crumbed chicken. Designed to tantalize your taste buds and leave you feeling truly nourished and content, this salad is perfect for any occasion, from a light lunch to a hearty family dinner.
Why This Crispy Crumbed Chicken & Bacon Salad Will Be Your New Favorite
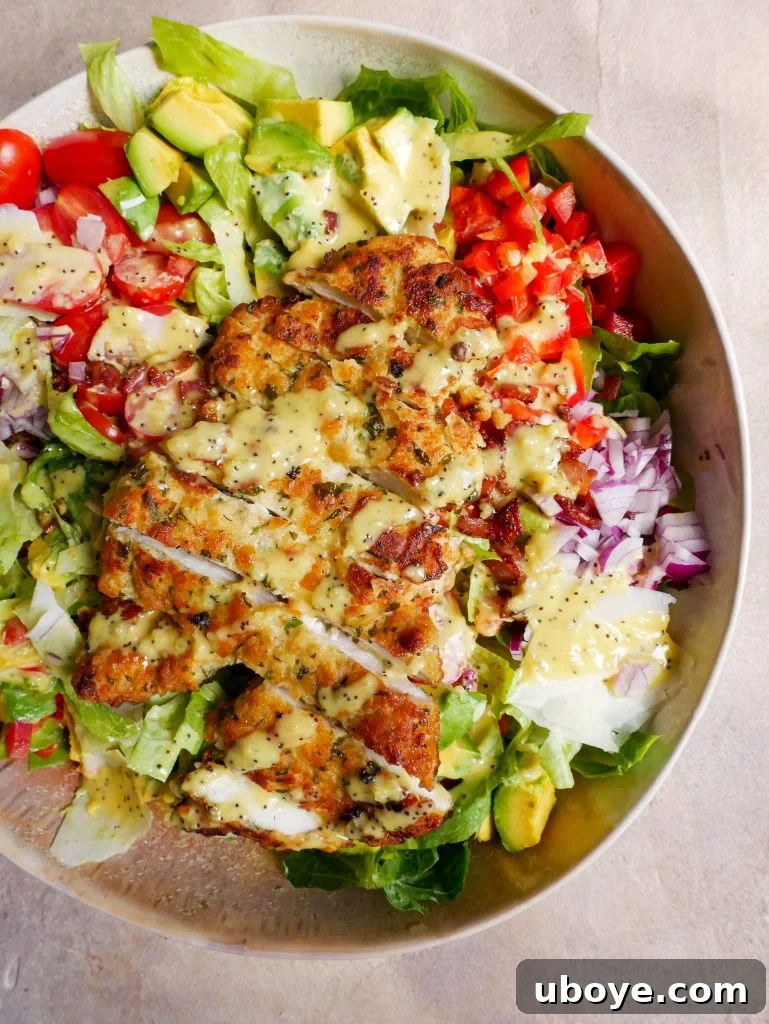
Imagine a symphony of textures and flavors dancing on your palate: vibrant, crisp vegetables providing a refreshing crunch, perfectly cooked, golden-brown crumbed chicken offering a juicy interior encased in an incredibly satisfying, crunchy exterior, and salty, smoky bacon bits adding an extra layer of irresistible deliciousness. All of these incredible elements are harmoniously brought together by a sweet, tangy, and wonderfully creamy dressing that coats every morsel in rich, unforgettable flavor. This salad isn’t just a side dish; it’s a robust and extremely filling main meal that will keep you feeling full and delighted for hours, without the common post-salad hunger pangs. The sophisticated interplay of crunchy bacon, savory chicken, sharp Pecorino, and the exquisite dressing creates a depth of flavor that is truly remarkable and addictive.
For the ultimate salad experience, achieving perfect balance in every bite is key. One crucial tip I always share is to dice all your vegetables into small, uniform pieces. While it might seem like a minor, tedious detail, this attention to size ensures that every forkful delivers a harmonious blend of ingredients, making a significant difference in both the taste and the overall textural enjoyment of the salad. It allows the flavors to meld beautifully and prevents any single ingredient from dominating.
The Secret is in the Dressing: Sweet, Tangy, and Creamy Perfection for Your Salad
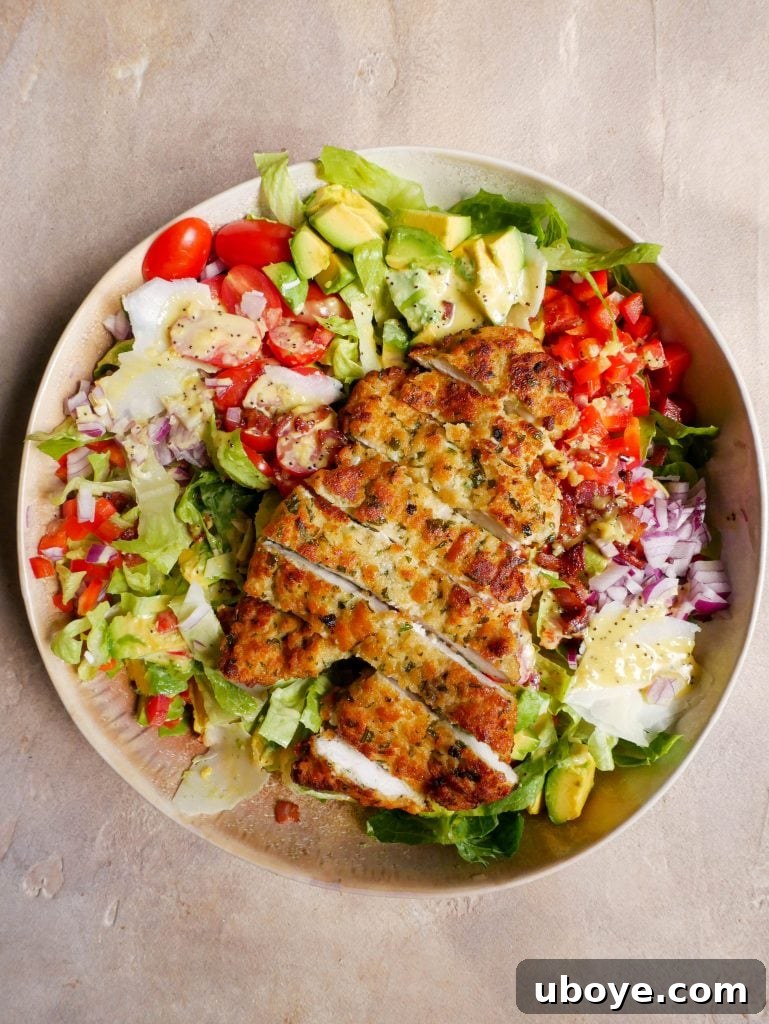
No truly great salad is complete without an exceptional dressing, and this recipe delivers a homemade dressing that truly shines. Boasting a tangy, sweet, and wonderfully creamy profile, it bears a delightful resemblance to a gourmet honey mustard dressing – but with an added brightness from fresh lemon. The best part? It’s incredibly simple to prepare, making it a dream for busy home cooks! Forget complicated emulsification techniques or endless whisking; all you need to do is combine all the dressing ingredients in a jar, secure the lid tightly, and shake vigorously until everything is perfectly blended and emulsified. This hassle-free approach means you can whip up a fresh batch in mere minutes.
What’s more, this versatile dressing stores beautifully, maintaining its vibrant flavor and creamy texture in the refrigerator for several weeks. This makes it an ideal component for your weekly meal prep routine, allowing you to quickly assemble delicious salads throughout the week. Its bright, balanced flavors not only complement the crispy chicken and rich bacon but also enhance the natural freshness of the vegetables, tying the entire salad together with an unforgettable flourish that will have everyone asking for the recipe.
Crafting the Perfect Crispy Crumbed Chicken: A Recipe You’ll Cherish
The undisputed centerpiece of this magnificent salad is undeniably the crispy crumbed chicken. This isn’t just any fried chicken; it’s a cherished family recipe, honed over years and celebrated for its unparalleled flavor and utterly irresistible texture. What exactly makes it so special and ‘famous’? It all starts with the quality of the breadcrumbs. We insist on homemade breadcrumbs, which provide a superior crunch and absorb significantly less oil during frying compared to most store-bought varieties. This results in a lighter, crispier coating that truly makes a difference.
We elevate the flavor profile further by infusing fresh, crushed garlic directly into the egg wash. This simple step creates a subtle yet distinctive aromatic note that permeates the chicken, adding an extra layer of deliciousness without overpowering the natural flavors. For that coveted, deep golden hue and the ultimate crispy crunch, we meticulously shallow fry the chicken in a light extra virgin olive oil. This method ensures an even cook and a delightful crust every single time. This crumbed chicken is remarkably versatile, extending far beyond this salad’s boundaries. It’s excellent tucked into a crumbed chicken sandwich, a delicious addition to various other salads, or even a healthier, homemade alternative to chicken nuggets for children. Once you experience the magic and ease of this preparation method, we’re confident it will become your undisputed go-to crumbed chicken recipe, a beloved staple in your culinary repertoire.
The Art of Pounding Chicken for Even Perfection
Achieving perfectly cooked, juicy, and evenly crispy crumbed chicken begins with proper preparation of the chicken breasts. After carefully removing the tenderloin from each breast (a piece which should also be crumbed and fried – never discard it!), the next critical step is to slice each chicken breast horizontally. This effectively halves its thickness, creating more surface area for crumbing and significantly speeding up the cooking process. The subsequent step, often overlooked by many, is gently but firmly pounding the chicken.
To do this, place each halved chicken piece between two sheets of plastic wrap. Using the smooth side of a meat mallet, gently but firmly pound the chicken from the center outwards. The goal is to achieve a uniform thickness of approximately 2 cm (about 0.8 inches) across the entire breast. This meticulous attention to consistency ensures that every part of the chicken cooks at precisely the same rate, preventing frustrating issues like dry, overcooked edges or undercooked centers. The result is consistently tender, succulent chicken with every single bite, ready to absorb the delicious breadcrumb coating.
Homemade Breadcrumbs: The Foundation of Unbeatable Texture and Flavor
While store-bought breadcrumbs offer undeniable convenience, making your own at home elevates this recipe to an entirely new level of culinary excellence. Our method utilizes a fresh white sandwich loaf, sliced, allowing you to precisely control the final texture. The key to truly superior breadcrumbs lies in drying the bread out. Simply lay the slices onto a baking tray and leave them exposed overnight; this crucial step removes excess moisture, leading to a much crispier, lighter crumb when fried. When it comes time to blend the dried bread with fresh parsley and rosemary in a food processor, resist the common urge to create a fine, powdery texture. Instead, we are aiming for a slightly chunky, rustic consistency. These slightly larger, “crusty parts” are precisely what give our crumbed chicken its distinctive, incredibly satisfying crunch and charming homemade appeal. The inclusion of fresh herbs further infuses the breadcrumbs with vibrant, aromatic notes that are far superior to dried alternatives, making each piece of chicken burst with fresh, herbaceous flavor.
Shallow Frying for Golden Perfection and Ultimate Crispiness
The shallow frying technique employed in this recipe is paramount to achieving that beautiful, coveted golden color and the utterly irresistible crispiness that defines our crumbed chicken. To execute this perfectly, use a large frying pan and pour in a generous amount of extra virgin olive oil, aiming for a depth of about 2-3 cm (approximately 1 inch). Heat the olive oil over a medium flame. You can easily test if the oil has reached the ideal temperature by inserting a wooden skewer into it; if small bubbles immediately form around the skewer, your oil is ready. Once hot, reduce the heat to low-medium. This allows the chicken to cook thoroughly without burning the delicate crust.
It is essential to fry only two pieces of chicken at a time. This prevents overcrowding the pan, which can drastically lower the oil’s temperature and lead to soggy, rather than crispy, chicken. Cook each side for 2-3 minutes, or until the chicken achieves that beautiful golden hue and desired crispiness. I always advise testing one piece first to fine-tune your specific cooking time and heat level, as stovetops vary. Remember that chicken continues to cook slightly even after it’s removed from the heat, so taking it off a few seconds before it seems perfectly done helps maintain its succulence and prevents overcooking. Always place the cooked chicken onto a plate lined with absorbent paper (like paper towels) to drain any excess oil, thus preserving that coveted, delicate crispness.
Making It in Bulk: Smart Meal Prep for Crispy Chicken Anytime
One of the truly fantastic advantages of this crispy crumbed chicken recipe is its exceptional suitability for bulk preparation and efficient freezer storage. This strategic approach means you can enjoy delicious, homemade crumbed chicken anytime you desire, with minimal effort required on those busy weeknights when time is a precious commodity. A single whole sandwich loaf is typically sufficient to create enough breadcrumbs for up to an impressive 2 kg of chicken. This makes it a highly efficient and economical way to stock your freezer with a versatile protein.
Once the chicken breasts are meticulously crumbed – but crucially, before they are fried – it’s absolutely essential to individually wrap each piece tightly in plastic wrap. This vital step prevents the delicate breadcrumbs from becoming soggy due to moisture or suffering from freezer burn, thereby preserving their perfect texture and flavor for later use. Properly wrapped, these uncooked crumbed chicken pieces can be conveniently stored in the freezer for an extended period of up to three months. When you’re ready to cook, simply thaw them slightly in the refrigerator and fry them as directed in the instructions. This proactive meal prep strategy not only saves you significant time during the week but also reduces food waste and ensures you always have a healthy, delicious, and quick-to-prepare protein option on hand for impromptu salads, sandwiches, or satisfying family dinners.
Serving Suggestions and Creative Salad Variations
While this Crispy Crumbed Chicken and Bacon Salad is undeniably a complete and satisfying meal all on its own, its inherent versatility means it also lends itself beautifully to various serving styles and creative customizations. For a lighter touch or as part of a multi-course meal, you can easily serve smaller portions as an elegant appetizer or a refreshing side alongside a perfectly grilled fish or a comforting, light soup. The sheer versatility of the homemade crumbed chicken allows you to further experiment; try cubing it and adding it to wraps, pita pockets, or sandwiches for a delightful textural contrast and an extra burst of flavor.
Feel absolutely free to experiment and personalize the salad components themselves! Introduce some grilled corn kernels for a touch of natural sweetness, add black beans for an extra boost of plant-based protein, or sprinkle in a handful of toasted nuts or seeds for an even greater crunch and nutty flavor. Seasonal vegetables like crisp cucumber, vibrant bell peppers of different colors, or even blanched green beans can effortlessly introduce new dimensions of flavor, color, and nutritional value. Always remember the golden rule for salad assembly: dress the salad just before serving. This crucial step ensures that the greens and other delicate ingredients maintain their optimal crispness and vibrant freshness, providing the best possible eating experience.
Your culinary journey with this recipe doesn’t have to end with the last bite. We genuinely encourage you to share your beautiful creations with our community! Tag us on Instagram, Tik Tok, or Pinterest. We absolutely love seeing your unique interpretations and how you bring our recipes to life in your own kitchens, adding your personal touch and flair.
Do you have any questions at all about the ingredients, the preparation steps, or perhaps some creative serving suggestions you’d like to explore? Or would you simply like to share your valuable feedback or leave a review of this recipe? Please don’t hesitate to leave a comment below! Your insights are incredibly valuable to us, and we always enjoy connecting with our wonderful community about all things food and cooking. Your feedback helps us grow and inspires others!

Crispy Crumbed Chicken & Bacon Salad
By Daen Lia
This is the ultimate salad. It’s filled with fresh veggies, avocado, shaved Pecorino Romano, crispy bacon bits and my famous crispy crumbed chicken.
30 mins
12 mins
6
Ingredients
Crispy Crumbed Chicken
- 1.5 kg chicken breasts
- 1 white sandwich loaf, sliced
- 4 eggs
- 4 garlic cloves, crushed
- 1 cup white all purpose flour
- 1 tsp salt
- 1 bunch fresh parsley, roughly chopped and stalks discarded
- 1 tbsp fresh rosemary
- Extra virgin olive oil, for frying
Salad
- 2 cos lettuce hearts, roughly chopped
- 1 capsicum (bell pepper), finely diced
- 1 red onion, finely diced
- 1 avocado, cut into small squares
- 150 g cherry tomatoes, sliced in half
- 100 g bacon, cooked until crispy
- 30 g pecorino romano, shaved
- 3 tbsp Rich Glen Poppy’s Favourite Dressing (or homemade alternative below)
- 2 pieces crispy crumbed chicken, sliced
Salad Dressing Alternative (Lemon Honey Mustard)
- 1/2 cup olive oil
- 2 tbsp honey
- 1/4 cup lemon juice (freshly squeezed for best flavor)
- 1 tbsp dijon mustard
- 1 garlic clove, crushed
- Zest from 2 lemons
- Salt and freshly ground black pepper, to taste
Instructions
-
Crispy Crumbed Chicken Preparation
- Lay the bread slices onto a large baking tray and leave them exposed overnight to dry out. This crucial step is key for achieving truly crispy, light breadcrumbs that absorb less oil.
- Begin by preparing your egg wash. In a shallow, wide bowl, whisk together the eggs, finely crushed garlic, and a splash of water (approximately 1-2 tablespoons, if needed for a thinner consistency). Set this mixture aside; allowing it to sit for a while helps the garlic infuse its aromatic flavor more deeply into the eggs.
- Prepare the chicken breasts: Carefully cut the tenderloin off each chicken breast. Do not discard these smaller pieces, as they can also be crumbed and fried alongside the larger breasts. Using a sharp knife, carefully slice through the middle of each chicken breast horizontally, effectively halving its thickness. Allow the knife to do most of the work, applying gentle, steady pressure. Placing one hand firmly on top of the breast can help stabilize it during this cut. Repeat this precise step for all chicken breasts.
- To ensure uniform cooking, place one piece of the sliced chicken between two sheets of plastic wrap. Using the smooth side of a meat mallet, gently but firmly pound the chicken from the center outwards until it is roughly 2 cm (approximately 0.8 inches) thick and has a uniform thickness throughout. This prevents thinner edges from overcooking prematurely while the center remains raw, guaranteeing tender and succulent chicken. Repeat this pounding process for all chicken pieces.
- Prepare the breadcrumbs: Roughly tear apart the dried bread slices and place them into a food processor or high-speed blender along with the fresh parsley and rosemary. Pulse the mixture until the bread is still quite chunky – we are explicitly not aiming for a fine, powdery texture. Those slightly larger, rustic, and crusty pieces are precisely what give our crumbed chicken its signature, satisfying crunch and appealing homemade charm. If your blender is small, you may need to process this step in batches. Transfer the prepared breadcrumbs to a large, shallow bowl.
- Set up your dredging station: Arrange three separate shallow, wide bowls in a neat line. The first bowl should contain the all-purpose flour mixed thoroughly with salt. The second bowl will hold the prepared garlic egg wash. The third bowl is designated for the homemade breadcrumbs. Finally, have a large clean plate or tray ready at the end of your station for the crumbed chicken, ensuring ample space.
- Crumb the chicken: Take one piece of the pounded chicken breast. First, coat both sides evenly with the seasoned flour, ensuring to shake off any excess flour gently. Next, dip the floured chicken into the egg wash, ensuring both sides are fully and evenly coated. Lastly, place it into the breadcrumb mixture. Press firmly with your hands as you flip the chicken to ensure the breadcrumbs adhere well and completely cover the entire surface. Transfer the fully crumbed chicken breast to your clean plate. Repeat this methodical process for all remaining chicken pieces.
- Fry the chicken: In a large frying pan, pour a generous amount of extra virgin olive oil, aiming for a depth of about 2-3 cm (approximately 1 inch). Heat the olive oil over medium heat. To test if the oil is hot enough, carefully insert a wooden skewer into it; if small bubbles immediately form around the skewer, the oil has reached the ideal temperature. Reduce the heat to low-medium. Fry 2 pieces of chicken at a time for 2-3 minutes on each side, or until they achieve a beautiful golden color and are wonderfully crispy. It’s advisable to test one piece first to precisely fine-tune your cooking time and heat level, as stovetops and pan types vary. Remember that chicken continues to cook slightly even after it’s removed from the heat, so taking it off a few seconds before it seems perfectly done helps maintain its juiciness and prevents overcooking. Place the cooked chicken onto a plate lined with absorbent paper (such as paper towels) to drain any excess oil, thus preserving that coveted, delicate crispness.
- For future meals, individually wrap any uncooked, crumbed chicken pieces tightly in plastic wrap. They can be conveniently stored in the refrigerator for up to 2 days or frozen for up to 3 months, offering excellent meal prep flexibility.
-
Salad Assembly
- In a dry pan on high heat, fry the bacon pieces until they are wonderfully crispy and golden. Remove the bacon from the pan with a slotted spoon and set aside on a paper-lined plate, allowing any excess fat to drain, which enhances crispiness.
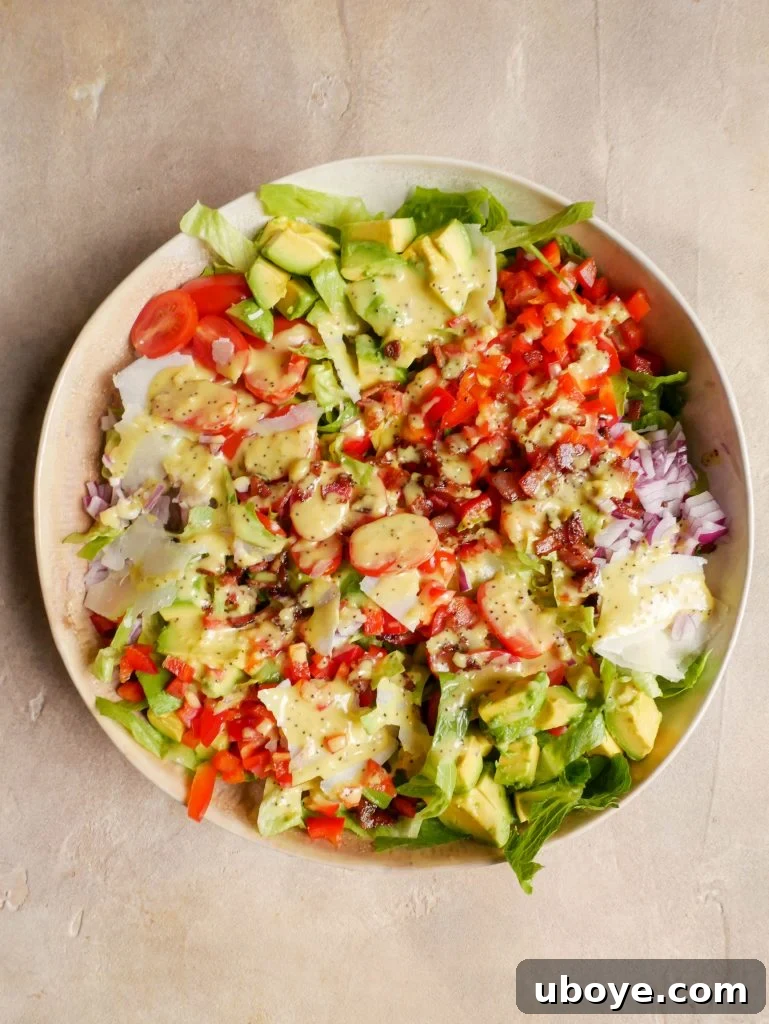
- In a large serving bowl, combine all the prepared salad ingredients: the roughly chopped cos lettuce, finely diced capsicum, finely diced red onion, small avocado squares, and halved cherry tomatoes. Toss them gently but thoroughly to mix all the fresh components. Slice the crispy crumbed chicken into neat strips or bite-sized pieces and arrange them artistically on top of the mixed salad. Finally, sprinkle the crispy bacon bits and the elegantly shaved Pecorino Romano cheese generously over everything.
- If you are using the Rich Glen Poppy’s Favourite Dressing, drizzle it generously and evenly over the salad. If opting for the homemade lemon honey mustard dressing (recipe provided below), ensure you give the jar a final good shake to re-emulsify before dressing the salad. Serve immediately to ensure you enjoy the freshest flavors and optimal textures.
-
Salad Dressing Alternative (Lemon Honey Mustard)
- For the homemade dressing, simply combine all the listed ingredients (olive oil, honey, fresh lemon juice, Dijon mustard, crushed garlic, fresh lemon zest, salt, and pepper) into a small, clean jar. Secure the lid tightly and shake vigorously until all ingredients are thoroughly combined and beautifully emulsified into a creamy, smooth, and vibrant dressing. This versatile dressing can be stored in the refrigerator for up to several weeks, making it a convenient staple.
Did you love this recipe? We’d be thrilled if you left a comment and shared your thoughts below! Your feedback helps us improve and inspires other home cooks.