
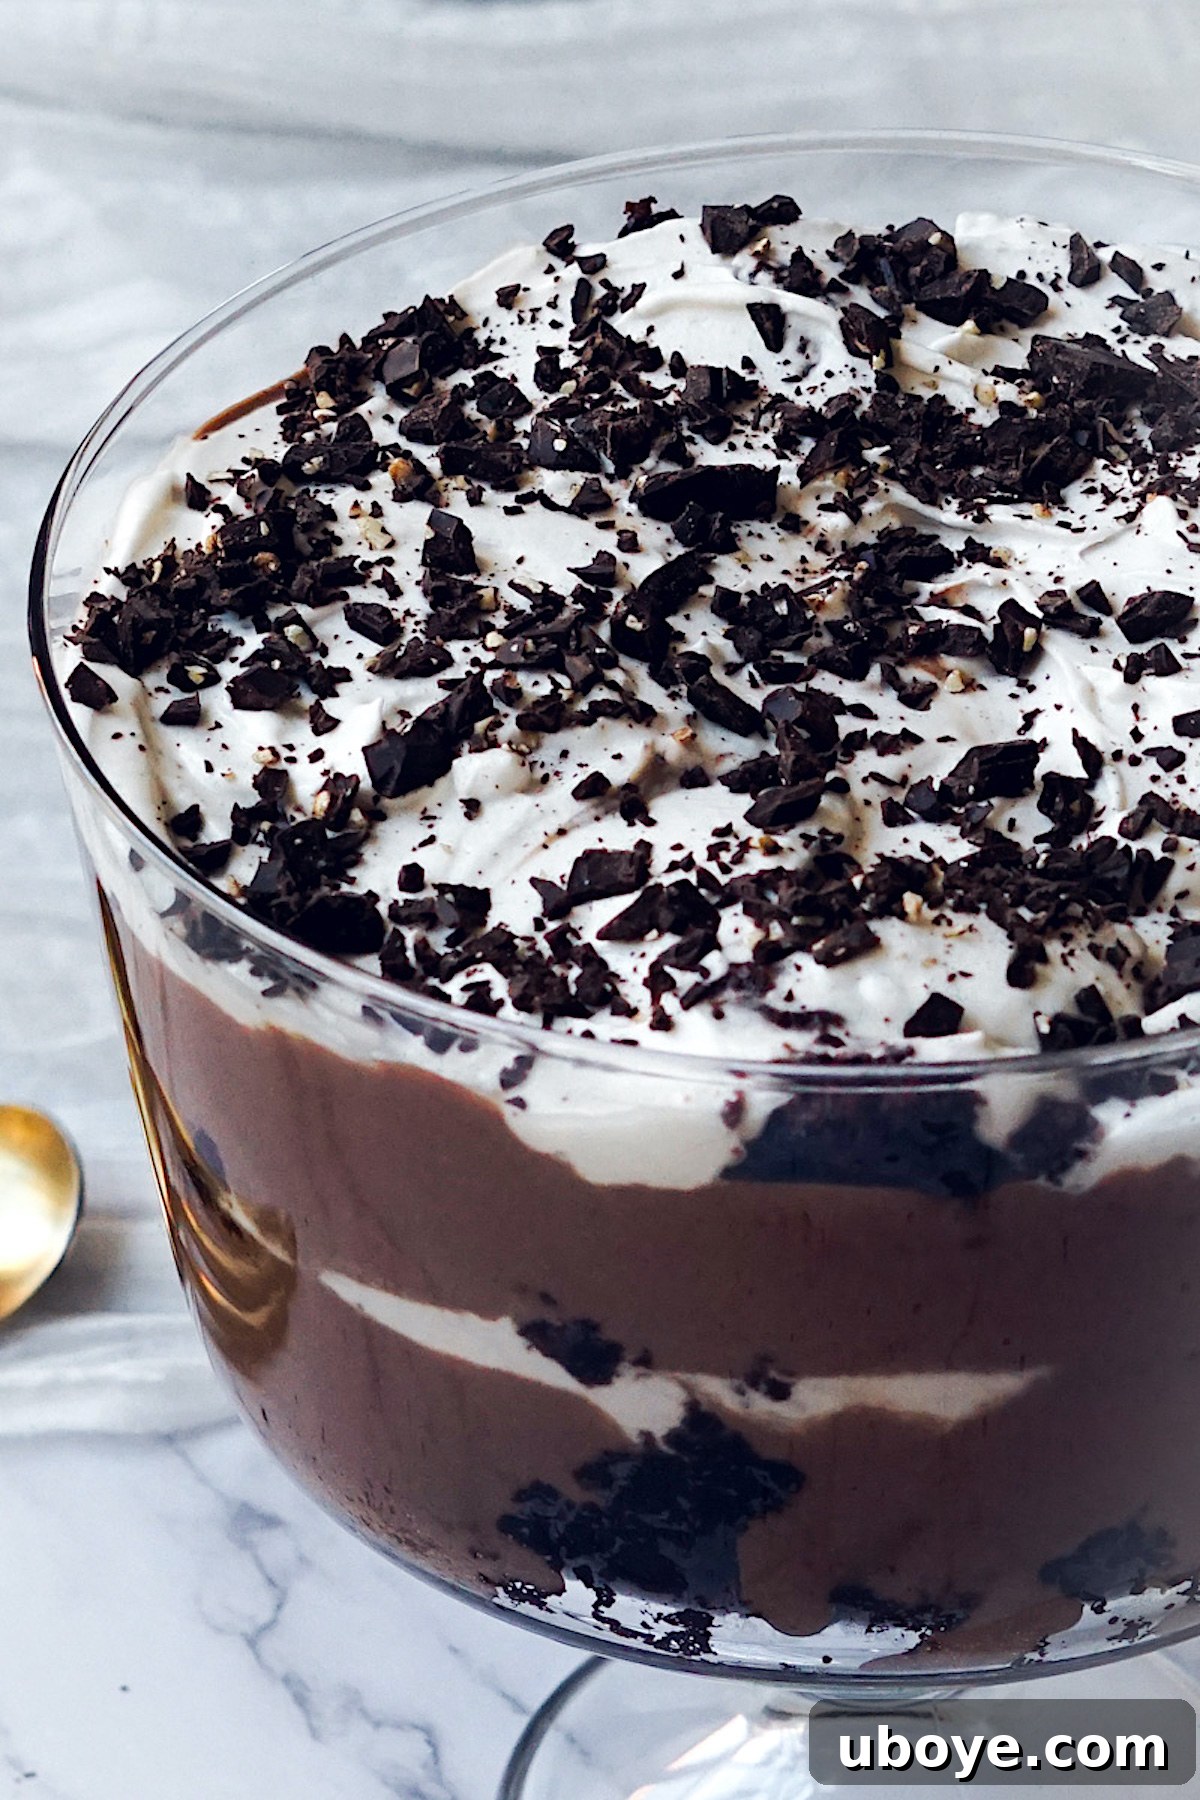
The Ultimate Easy Dairy-Free Chocolate Trifle: Layers of Pure Chocolate Bliss
Prepare to be amazed by this incredibly simple yet utterly luxurious Easy Chocolate Trifle! Imagine sinking your spoon into a dessert featuring decadent layers of moist chocolate cake, silken chocolate pudding, and light-as-air whipped cream. This show-stopping chocolate dessert is guaranteed to impress everyone, and the best part? It’s completely dairy-free, making it accessible and enjoyable for even more guests without compromising on flavor or texture.
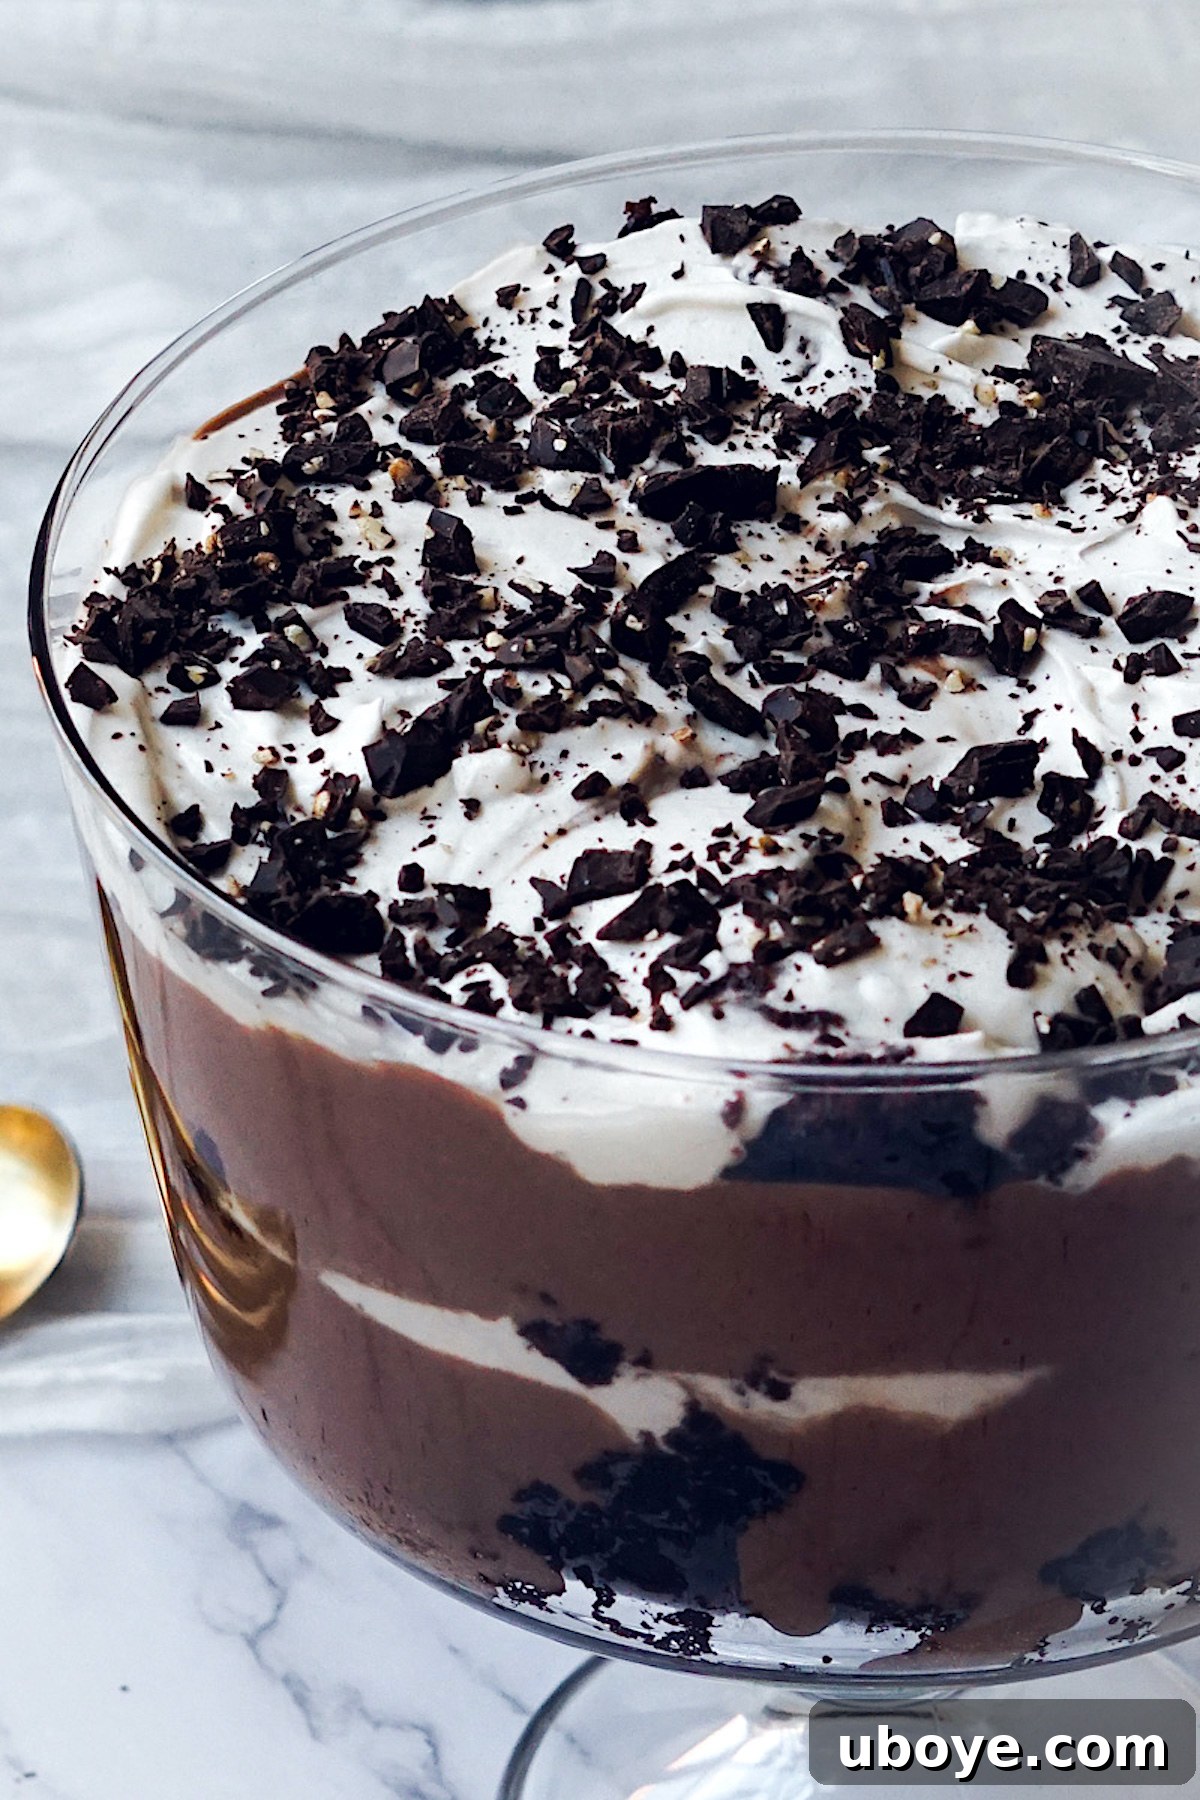
This comprehensive guide will walk you through creating the most delightful Easy Chocolate Trifle, perfect for your next gathering!
A trifle dessert is a classic masterpiece, celebrated for its striking visual appeal and delightful medley of textures and flavors. Traditionally, it involves layering sponge cake, fruit, custard, and whipped cream in a deep, transparent bowl. Our version elevates this concept into a truly indulgent chocolate experience, replacing traditional dairy components with plant-based alternatives that taste just as rich and satisfying. This chocolate trifle recipe is a testament to how effortless it can be to create a dessert that is both sophisticated and incredibly easy to assemble. It’s rich and deeply chocolatey, yet surprisingly light and airy, thanks to the generous, fluffy layers of dairy-free whipped cream.
One of the greatest advantages of making this homemade chocolate trifle is its sheer ease of preparation. You don’t need to be a pastry chef to create a stunning dessert that looks like it came from a gourmet bakery. Furthermore, this recipe is designed to serve a crowd, yielding 10-12 servings, making it an ideal choice for dinner parties, holidays, potlucks, or any special occasion where you want to impress your guests with minimal stress.
If you’re a devoted chocolate enthusiast always on the hunt for new sweet treats, be sure to explore more of our decadent chocolate dessert recipes! You might love my Vegan Chocolate Hazelnut Cookies, which offer a delightful crunch and nutty flavor, or perhaps this unique Strawberry Chocolate Chip Cookie recipe for a fruity twist on a classic.
See How Easy It Is: Watch Me Make This Trifle
To give you an even clearer understanding of each step and to boost your confidence, I’ve put together a video tutorial demonstrating the entire process of making this irresistible chocolate trifle. Watch along to see how simple it truly is!
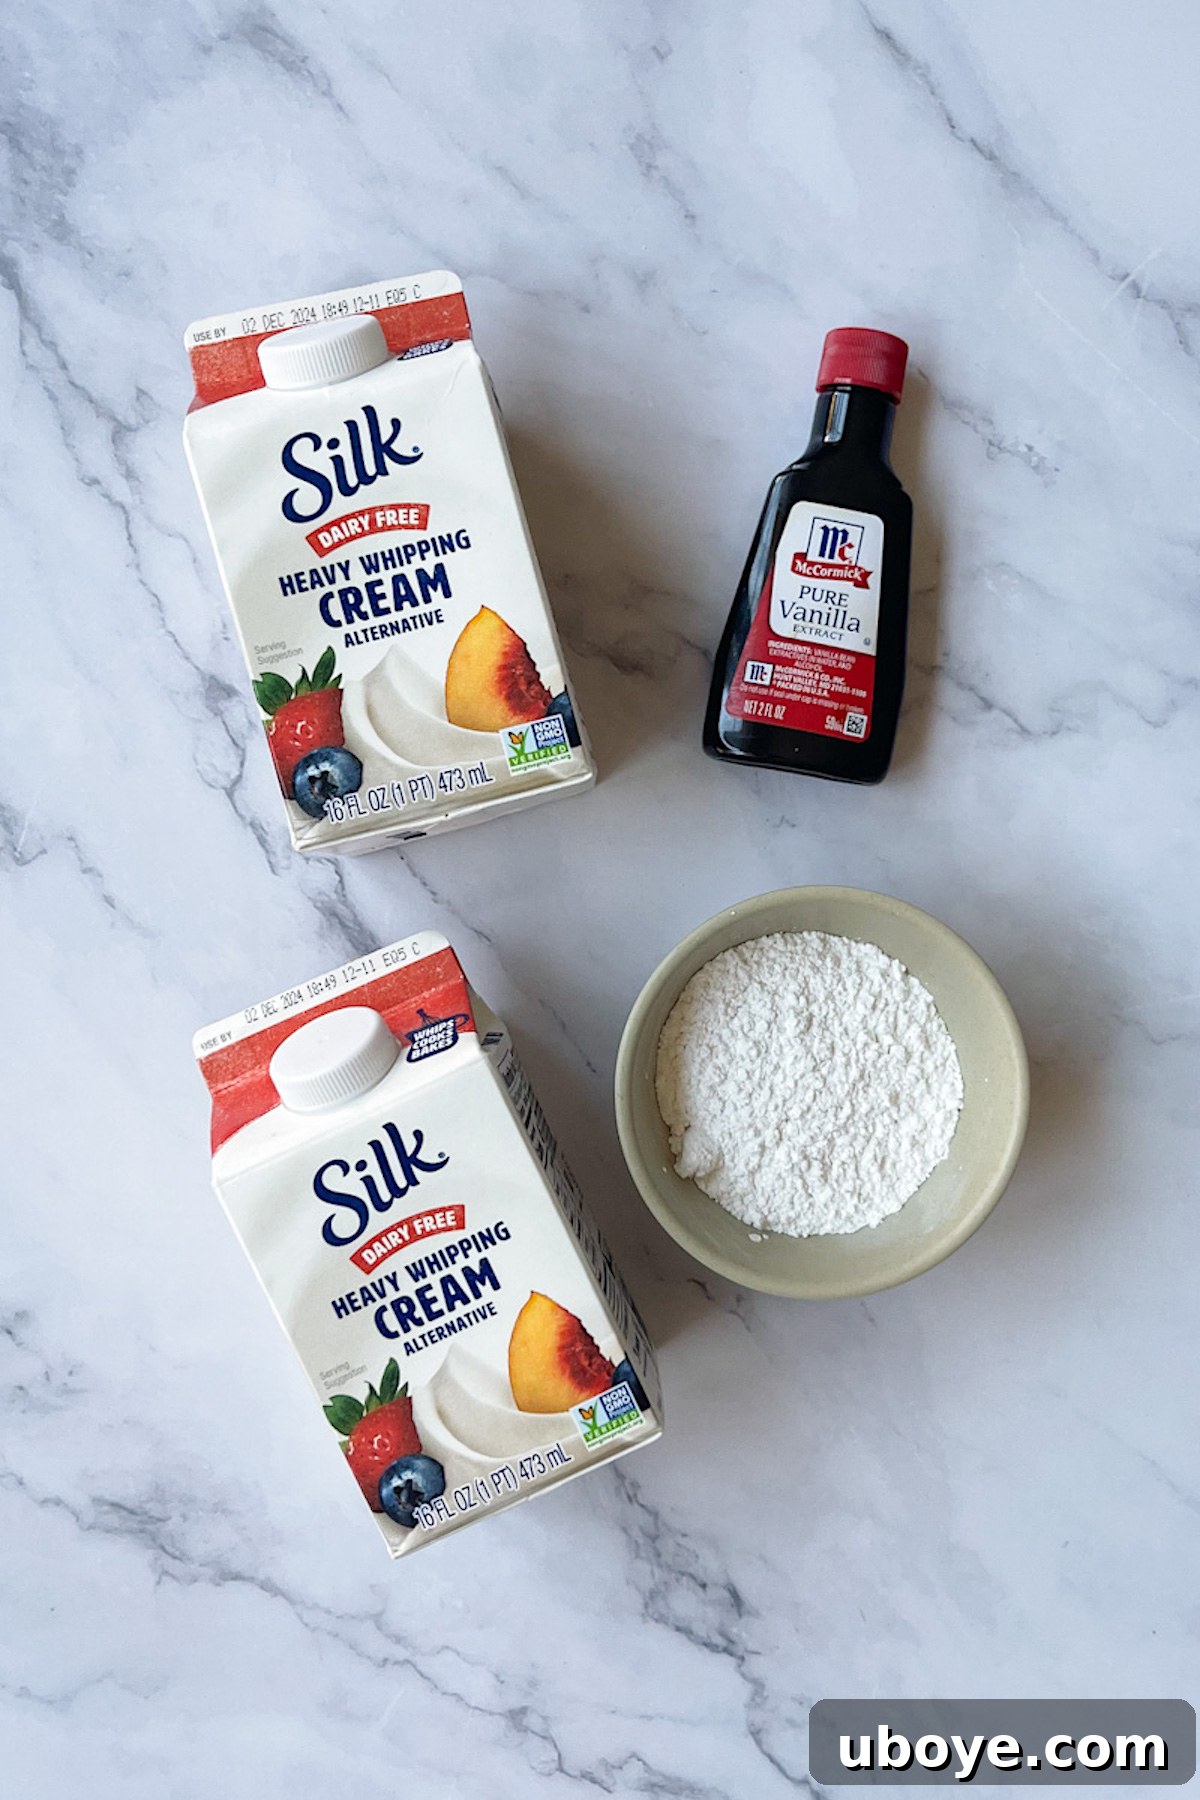
Gather Your Ingredients: What You’ll Need for This Dairy-Free Chocolate Trifle
The beauty of this recipe lies in its accessible ingredients, all contributing to a rich, authentic chocolate flavor without any dairy. Below is a comprehensive overview of the components you’ll need for each layer, with precise measurements detailed in the recipe card at the end of this post. Let’s explore the role of each key ingredient:
- For the Moist Chocolate Cake Base:
- All-Purpose Flour, Cane Sugar, Baking Powder, Baking Soda, and Sea Salt: These form the structural foundation of our tender, fluffy chocolate cake. Ensure your leavening agents (baking powder and soda) are fresh for optimal rise.
- Raw Cacao Powder: For the deepest, richest chocolate flavor, I highly recommend using raw cacao powder over regular cocoa powder. Cacao is less processed, retaining more nutrients and delivering a more intense, pure chocolate taste that truly shines in this trifle.
- Ground Flax Seeds: These are our ingenious vegan “eggs”! When mixed with water, ground flax seeds create a gelatinous mixture that acts as a binder, ensuring our cake holds together beautifully without the need for traditional eggs.
- Unsweetened Soy Milk: Essential for both the cake batter and the pudding, soy milk provides the necessary liquid for moisture and richness, while keeping the recipe dairy-free. Ensure it’s unsweetened to control the overall sweetness of the dessert.
- Oil (Melted Refined Coconut Oil or Organic Canola Oil): Oil contributes to the cake’s tender crumb and moist texture. If using coconut oil, melt it first and then measure for accuracy. Refined coconut oil has a neutral flavor, making it perfect for baking where you don’t want a coconut taste.
- Vanilla Extract: The unsung hero of many desserts! Vanilla extract enhances and rounds out the chocolate flavors, adding a hint of warmth and sweetness that makes everything taste better. You’ll use this star ingredient multiple times throughout the recipe.
- Boiling Water: This seemingly simple addition reacts with the cacao powder to “bloom” it, intensifying its chocolate flavor and contributing to the cake’s incredibly moist texture.
- For the Silky Chocolate Pudding:
- Soft Silken Tofu: Don’t let the tofu scare you – it’s the secret to an unbelievably creamy, thick, and smooth pudding! When blended, silken tofu adds body and richness without imparting any discernible flavor. It’s a game-changer for dairy-free puddings.
- Unsweetened Soy Milk: Again, this provides the liquid base for our creamy pudding.
- Natural Almond Butter: A key ingredient for a truly rich and deep chocolate pudding. Look for natural almond butter that lists only almonds and salt in its ingredients for the best flavor and texture. It adds a subtle nuttiness that complements the chocolate beautifully.
- Sea Salt: A pinch of salt is crucial for balancing the sweetness and enhancing the chocolate notes in the pudding.
- Cornstarch: This acts as a thickener, ensuring our pudding sets up perfectly to create those distinct layers in the trifle.
- Cane Sugar: Provides the perfect level of sweetness to our chocolate pudding.
- Vegan Chocolate Chips (Semi-Sweet): High-quality vegan chocolate chips are essential for a luscious chocolate flavor. I’m a big fan of Enjoy Life chocolate chips for their excellent melt and taste.
- Vanilla Extract: A touch more vanilla helps to brighten and deepen the chocolate flavor profile of the pudding.
- For the Light and Airy Whipped Cream:
- Vegan Whipping Cream (e.g., Silk’s Vegan Whipping Cream): This is the star for our dairy-free whipped topping. Ensure it’s very cold for optimal whipping.
- Powdered Sugar: Adds sweetness and helps stabilize the whipped cream.
- Vanilla Extract: Infuses the whipped cream with a lovely aromatic sweetness.
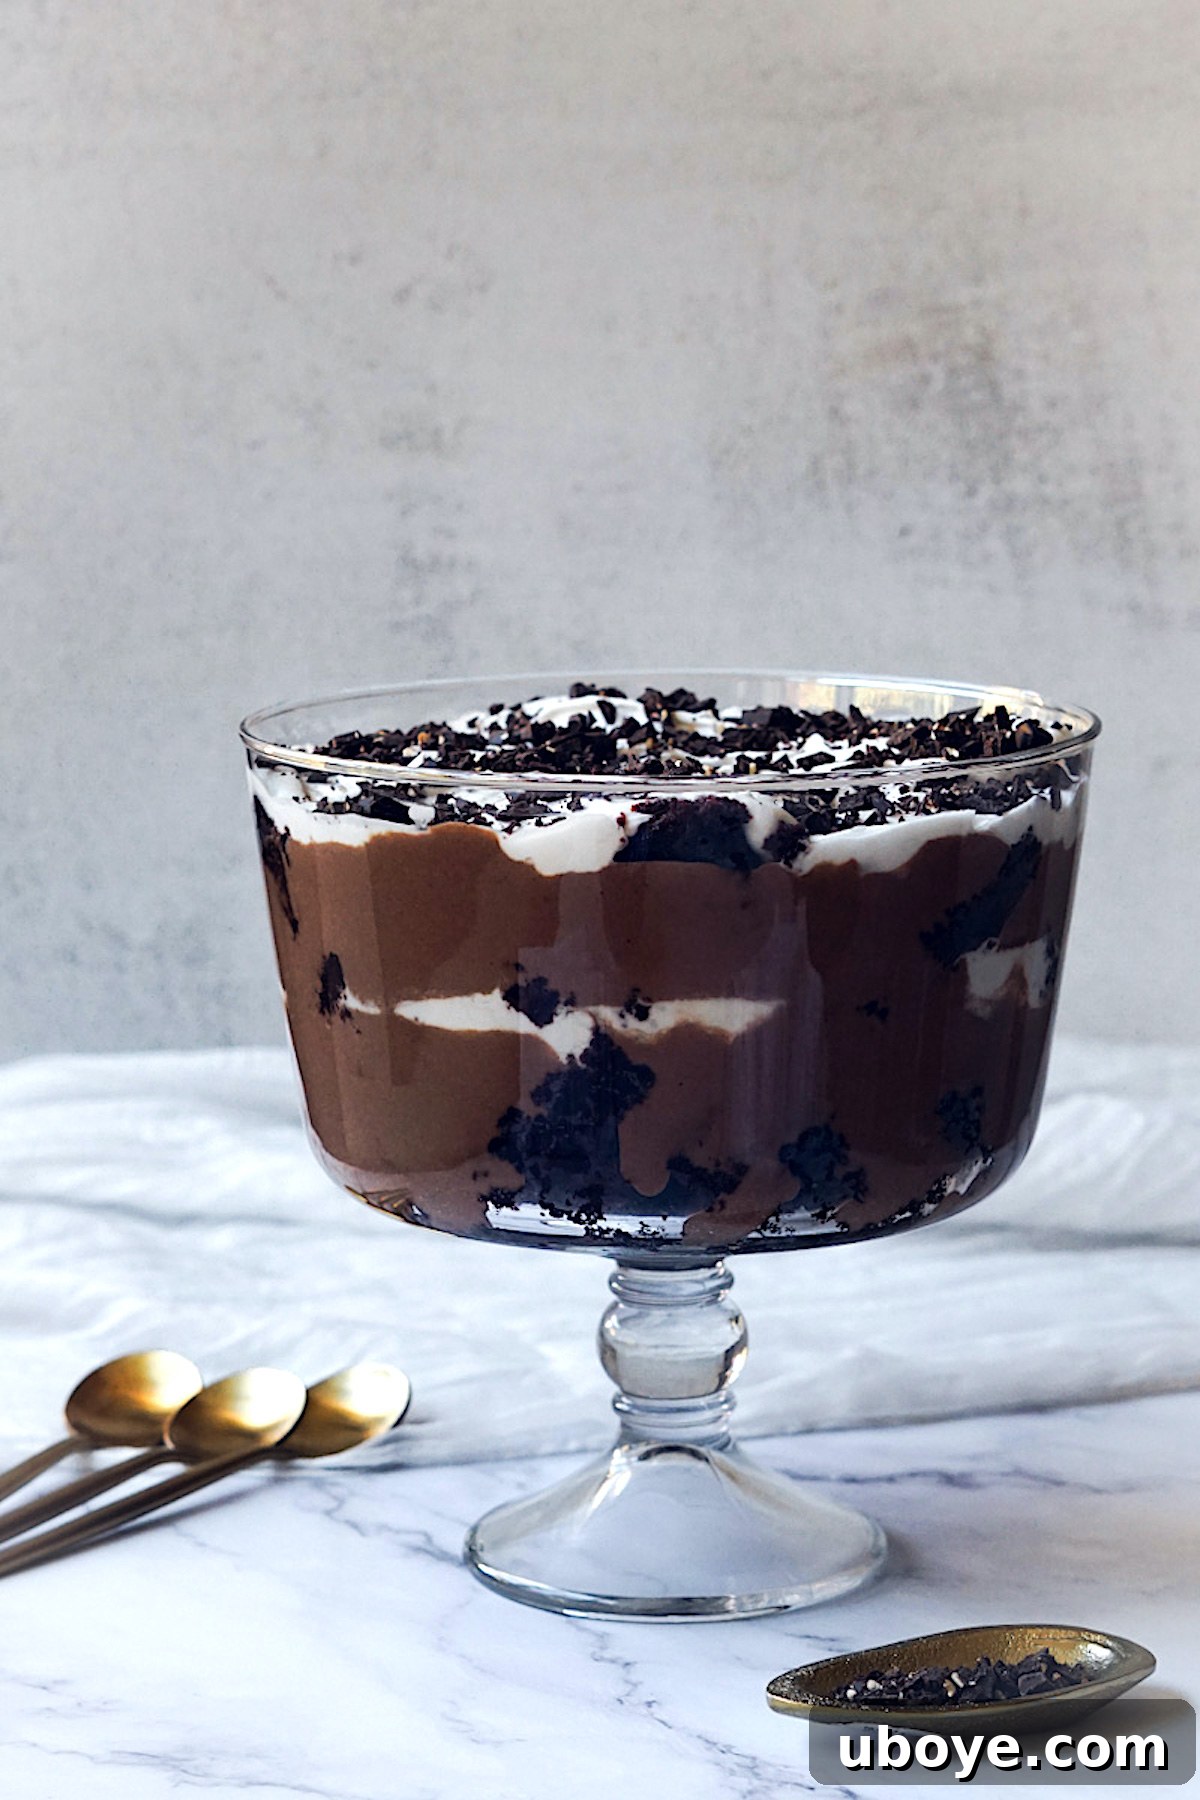
Essential Tools: What You’ll Need to Create This Masterpiece
While the ingredients are key, having the right equipment makes the process even smoother and ensures your trifle looks as good as it tastes. The most crucial item is, of course, the trifle dish itself!
- A Trifle Dish: This is non-negotiable for showcasing the stunning layers of your dessert. I recommend a clear glass trifle dish, such as this classic design or this one with a lovely scalloped edge. The transparent sides are part of the fun, allowing everyone to admire the beautiful contrasts between the chocolate cake, dark pudding, and white whipped cream. If you don’t have a dedicated trifle dish, a large, deep glass dessert bowl will work perfectly as an alternative. Any large, clear bowl will suffice, as long as it allows those delightful layers to be seen!
- 9×13 inch Baking Pan: For baking the chocolate cake.
- Mixing Bowls: Several medium and large bowls for combining dry and wet ingredients, and for whipping cream.
- Whisk: Essential for mixing batter and stirring the pudding on the stove.
- Blender: For achieving perfectly smooth chocolate pudding.
- Saucepan: To cook the pudding until it thickens.
- Electric Mixer (Handheld or Stand): Highly recommended for whipping the vegan cream to its optimal fluffy consistency.
- Wire Rack: For cooling the cake completely before assembly.
- Spatula or Offset Spatula: Useful for spreading layers evenly.
Mastering the Layers: How to Make This Easy Chocolate Trifle
Crafting this homemade chocolate trifle is a delightful process, broken down into three simple stages: baking the cake, preparing the pudding, and whipping the cream. Follow these tips for success! Remember, the full, detailed recipe with exact measurements is provided in the recipe card below.
Step One: Bake the Perfect Vegan Chocolate Cake
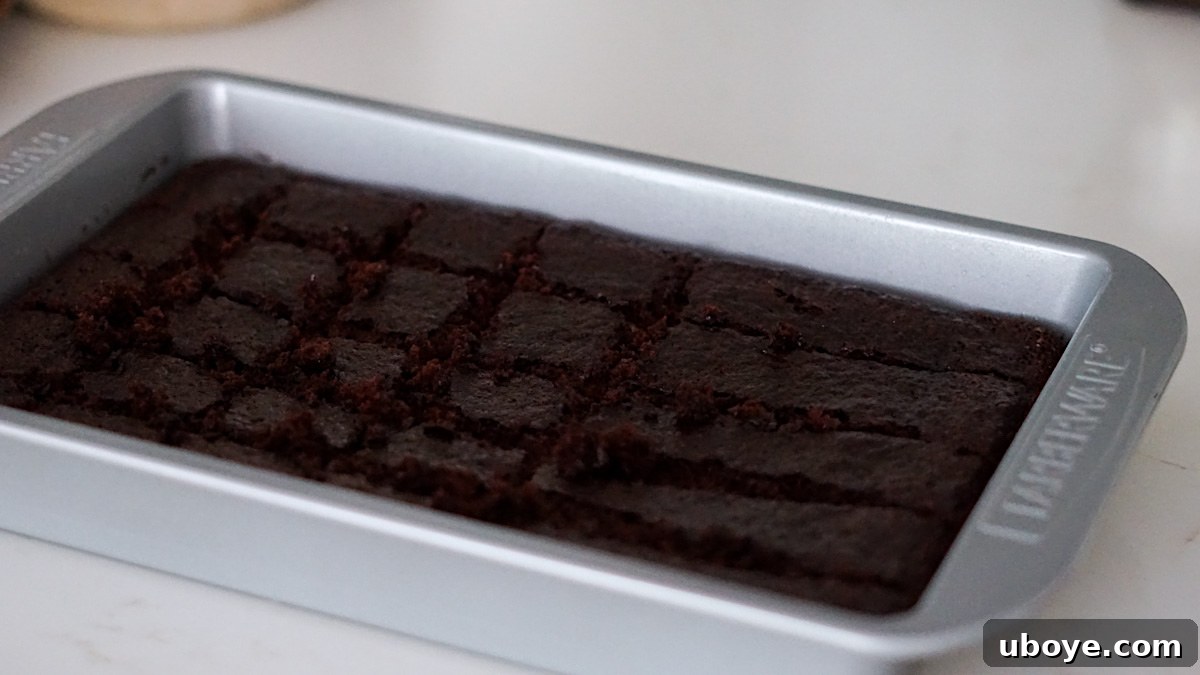
Our journey begins with the foundation of this incredible dessert: a rich and moist vegan chocolate cake. This cake is designed to be straightforward, taking only a few minutes to prepare before baking for about half an hour. Ensure your oven is preheated to 350°F (175°C) with a rack in the center. Lightly grease your 9×13 inch baking pan. Start by creating your flax “egg” by mixing ground flax seeds with water and setting it aside to thicken. Combine all your dry ingredients in one bowl, sifting the cacao powder to prevent lumps. In a separate bowl, whisk together the wet ingredients (soy milk, oil, vanilla), then incorporate them into the dry ingredients along with the thickened flax egg. Finally, whisk in the boiling water until just combined. Pour the batter into your prepared pan and bake until a toothpick inserted into the center comes out clean. Cooling the cake completely on a wire rack is crucial before assembly; a warm cake will melt your beautiful pudding and whipped cream layers!
Step Two: Crafting the Silky Dairy-Free Chocolate Pudding
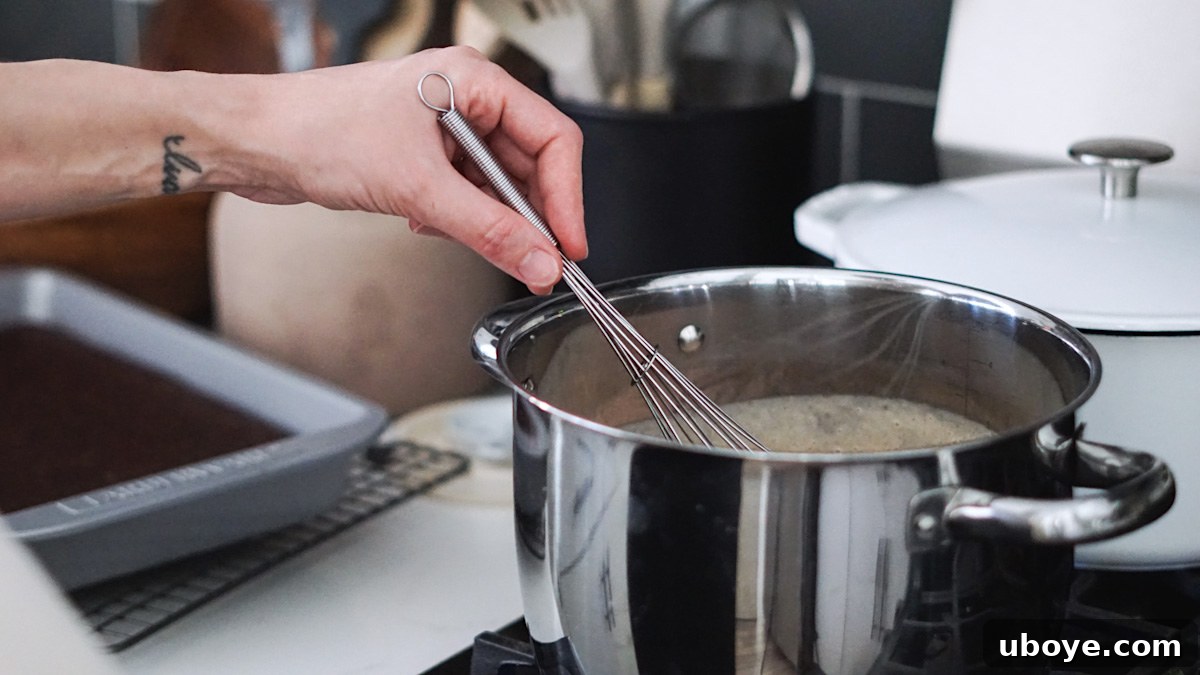
While your cake bakes and cools, you can swiftly prepare the luscious chocolate pudding. This step is surprisingly quick and simple, taking only about 10-15 minutes from start to finish. Begin by combining the silken tofu, soy milk, almond butter, salt, and cornstarch in a blender. Blend until the mixture is incredibly smooth and velvety – aim for no visible tofu chunks. Pour this smooth mixture into a saucepan, then add the sugar, vegan chocolate chips, and a touch of vanilla. Heat this mixture over medium-high heat, whisking constantly. The key here is continuous whisking to prevent the pudding from sticking to the bottom and burning. Bring it to a soft boil, then reduce the heat to low and let it simmer for 2-3 minutes, whisking frequently, until it thickens to a beautiful, glossy consistency. Remove from heat and allow it to cool completely. For best results, you can transfer it to a separate bowl, cover the surface with plastic wrap (to prevent a skin from forming), and chill it in the refrigerator. Just like the cake, it must be thoroughly chilled before assembly.
Step Three: Whipping Up the Fluffy Dairy-Free Cream
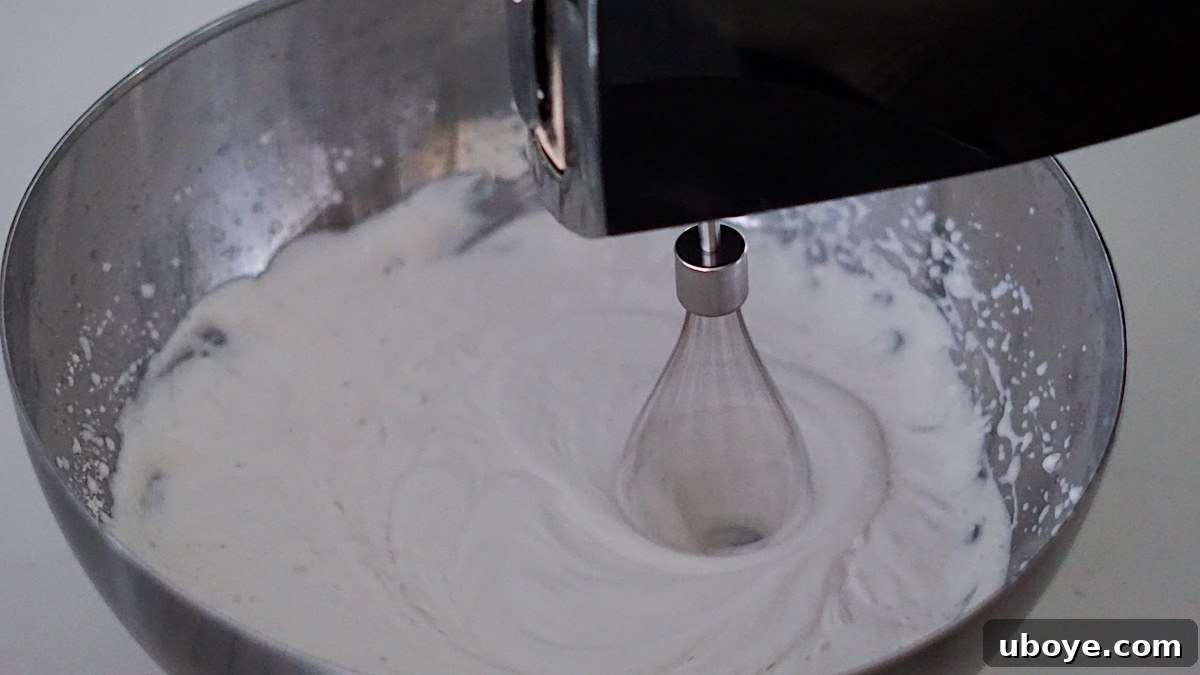
Once both your chocolate cake and pudding are completely cool, it’s time to prepare the crowning glory: the dairy-free whipped cream. This step is quick and transformative, adding an essential lightness and creaminess to the trifle. The most important tip here is to ensure your vegan whipping cream is very, very cold. Chilling your mixing bowl and beaters beforehand can also help achieve maximum fluffiness. Pour the cold vegan whipping cream into a large bowl with the powdered sugar and vanilla extract. Using an electric mixer, beat on high speed for 2-3 minutes, or until the cream has thickened and holds soft peaks. Be careful not to over-whip, as some vegan creams can become grainy if beaten for too long. This airy, sweet cloud of cream will perfectly complement the rich chocolate layers.
The Art of Layering: How to Assemble Your Trifle Dessert
Now for the most satisfying part: assembling your beautiful trifle! Remember, both your cake and pudding must be completely cool to the touch before you begin, otherwise, your delicate whipped cream will melt and compromise the stunning layers. Precision in layering not only creates a visually appealing dessert but also ensures every spoonful delivers a perfect balance of flavors and textures.
Layer One: The Chocolate Cake Base
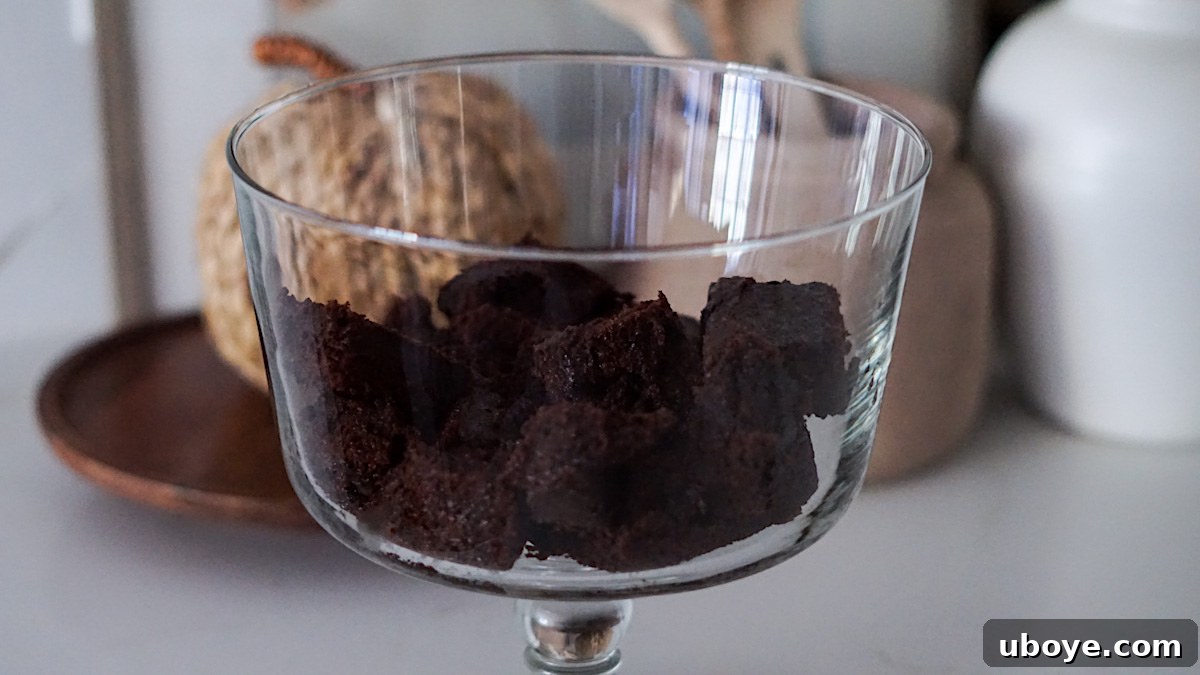
Start by cutting your cooled chocolate cake into uniform 1-2 inch cubes. This size is ideal for easily arranging them in the trifle dish and for serving. Place approximately one-third of the cake cubes evenly on the bottom of your trifle dish, forming the foundational layer. You might need to gently press them down slightly to create a relatively flat surface.
Layer Two: Rich Chocolate Pudding
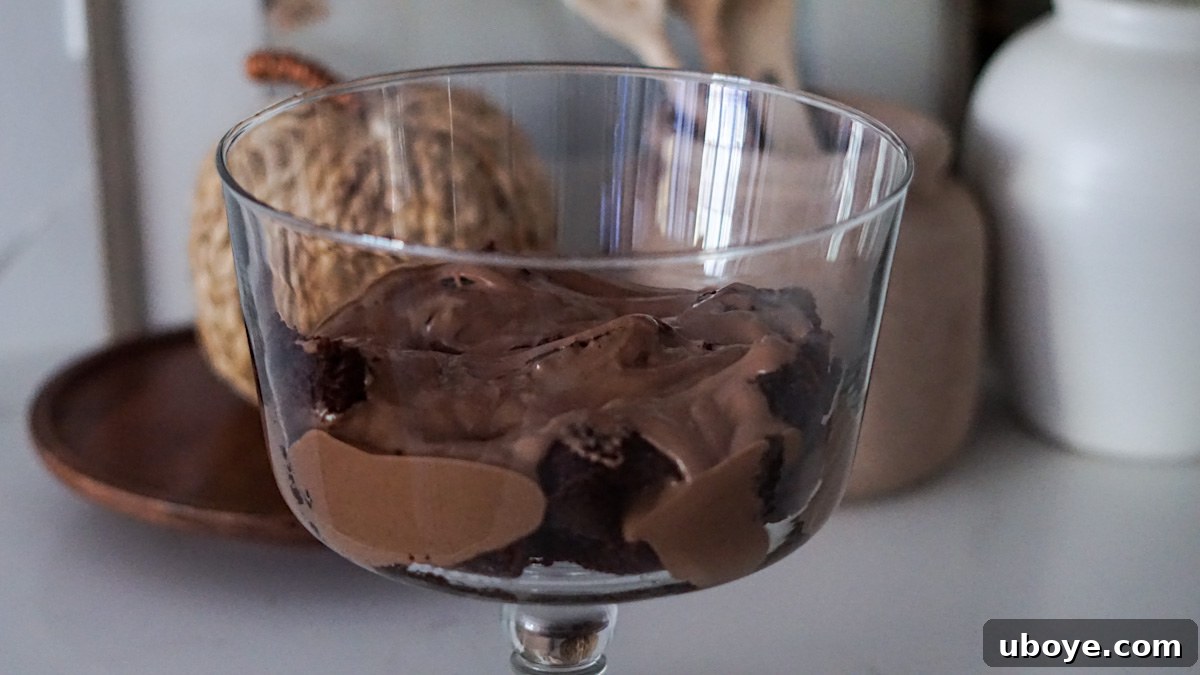
Next, spoon about half of your thoroughly chilled chocolate pudding over the cake layer. Gently spread the pudding out to the edges of the dish using a spatula or the back of a spoon, ensuring it covers the cake completely and creates a distinct, smooth layer. This creamy layer will start to soak into the cake slightly, adding even more moisture.
Layer Three: Fluffy Whipped Cream
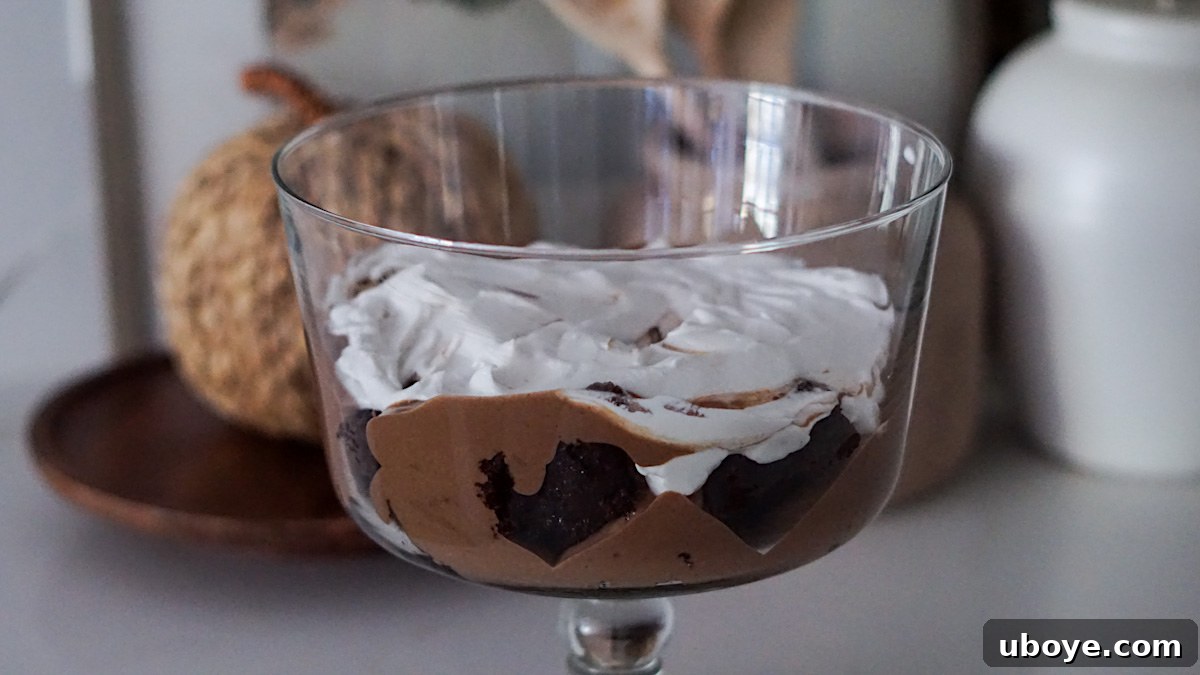
Now, it’s time for the light touch! Dollop about one-third of your freshly whipped dairy-free cream over the chocolate pudding. Carefully spread it out to the edges, creating a soft, cloud-like layer. This layer provides a beautiful color contrast and a delightful airiness that balances the richness of the chocolate.
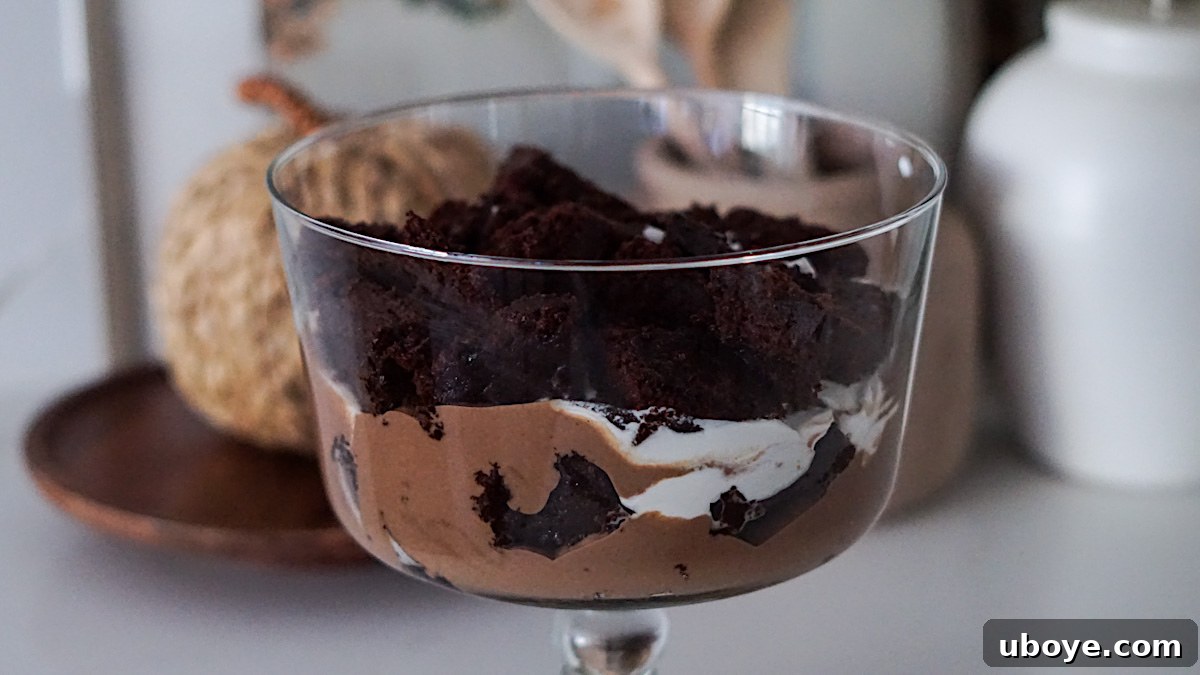
Repeat these layers: another one-third of the cake cubes, followed by the remaining half of the chocolate pudding, and then another one-third of the whipped cream. Finally, crown your trifle with the remaining cake cubes and the last portion of whipped cream, artfully spreading it to cover the top. For a truly professional finish, you can pipe the top layer of whipped cream with a decorative nozzle.
Once assembled, chill your beautiful chocolate trifle in the refrigerator for a minimum of 1 hour. This crucial step allows the layers to meld together, the flavors to deepen, and the dessert to set firmly, making it easier to serve. Once chilled, spoon generous portions into your favorite dessert bowls and enjoy this spectacular homemade delight!
Elevate Your Trifle: Creative Add-Ins and Toppings
While this Easy Chocolate Trifle is absolutely divine on its own, adding a few extra touches can elevate it to new heights of flavor and visual appeal. Get creative with these fun add-ins and toppings to customize your dessert!
- Crushed Chocolate Cookies: For an irresistible crunch and an extra layer of chocolatey goodness, sprinkle crushed vegan chocolate sandwich cookies (like Oreos) or your favorite chocolate chip cookies between layers or generously on top. This adds a delightful textural contrast that everyone will love.
- Fresh Raspberries: One of my absolute favorite toppings for this rich chocolate trifle! The vibrant color and tart sweetness of fresh raspberries offer a wonderful counterpoint to the deep chocolate flavors. Their acidity cuts through the richness, creating a beautifully balanced and refreshing bite. Arrange them artfully on top or gently fold a few into the whipped cream layer for bursts of fruitiness.
- Chocolate Candies & Sprinkles: If you’re looking to add a playful touch, layer vegan chocolate candies (such as Unreal Gems) or sprinkle vegan-friendly sprinkles between the layers. This not only adds a fun pop of color but also introduces a delightful crunchy texture that makes each spoonful exciting.
- Chopped Salted Peanuts: For those who love the classic peanut butter cup combination, chopped roasted salted peanuts are a fantastic addition. The saltiness of the peanuts beautifully enhances the nutty flavor and provides a wonderful textural contrast to the smooth pudding and soft cake. Sprinkle them on top or incorporate them into the layers for a truly indulgent experience.
- Shaved Vegan Chocolate: A simple yet elegant garnish. Use a vegetable peeler or grater to create delicate curls of your favorite vegan chocolate bar over the top layer of whipped cream for a sophisticated finish.
- Coffee Liqueur (Optional, for adults): For a more mature and complex flavor profile, you could lightly brush the cake layers with a small amount of coffee liqueur before adding the pudding. This infuses the cake with a subtle coffee note that perfectly complements chocolate.
Easy Dairy-Free Chocolate Trifle Recipe
By: Nicole Vranjican
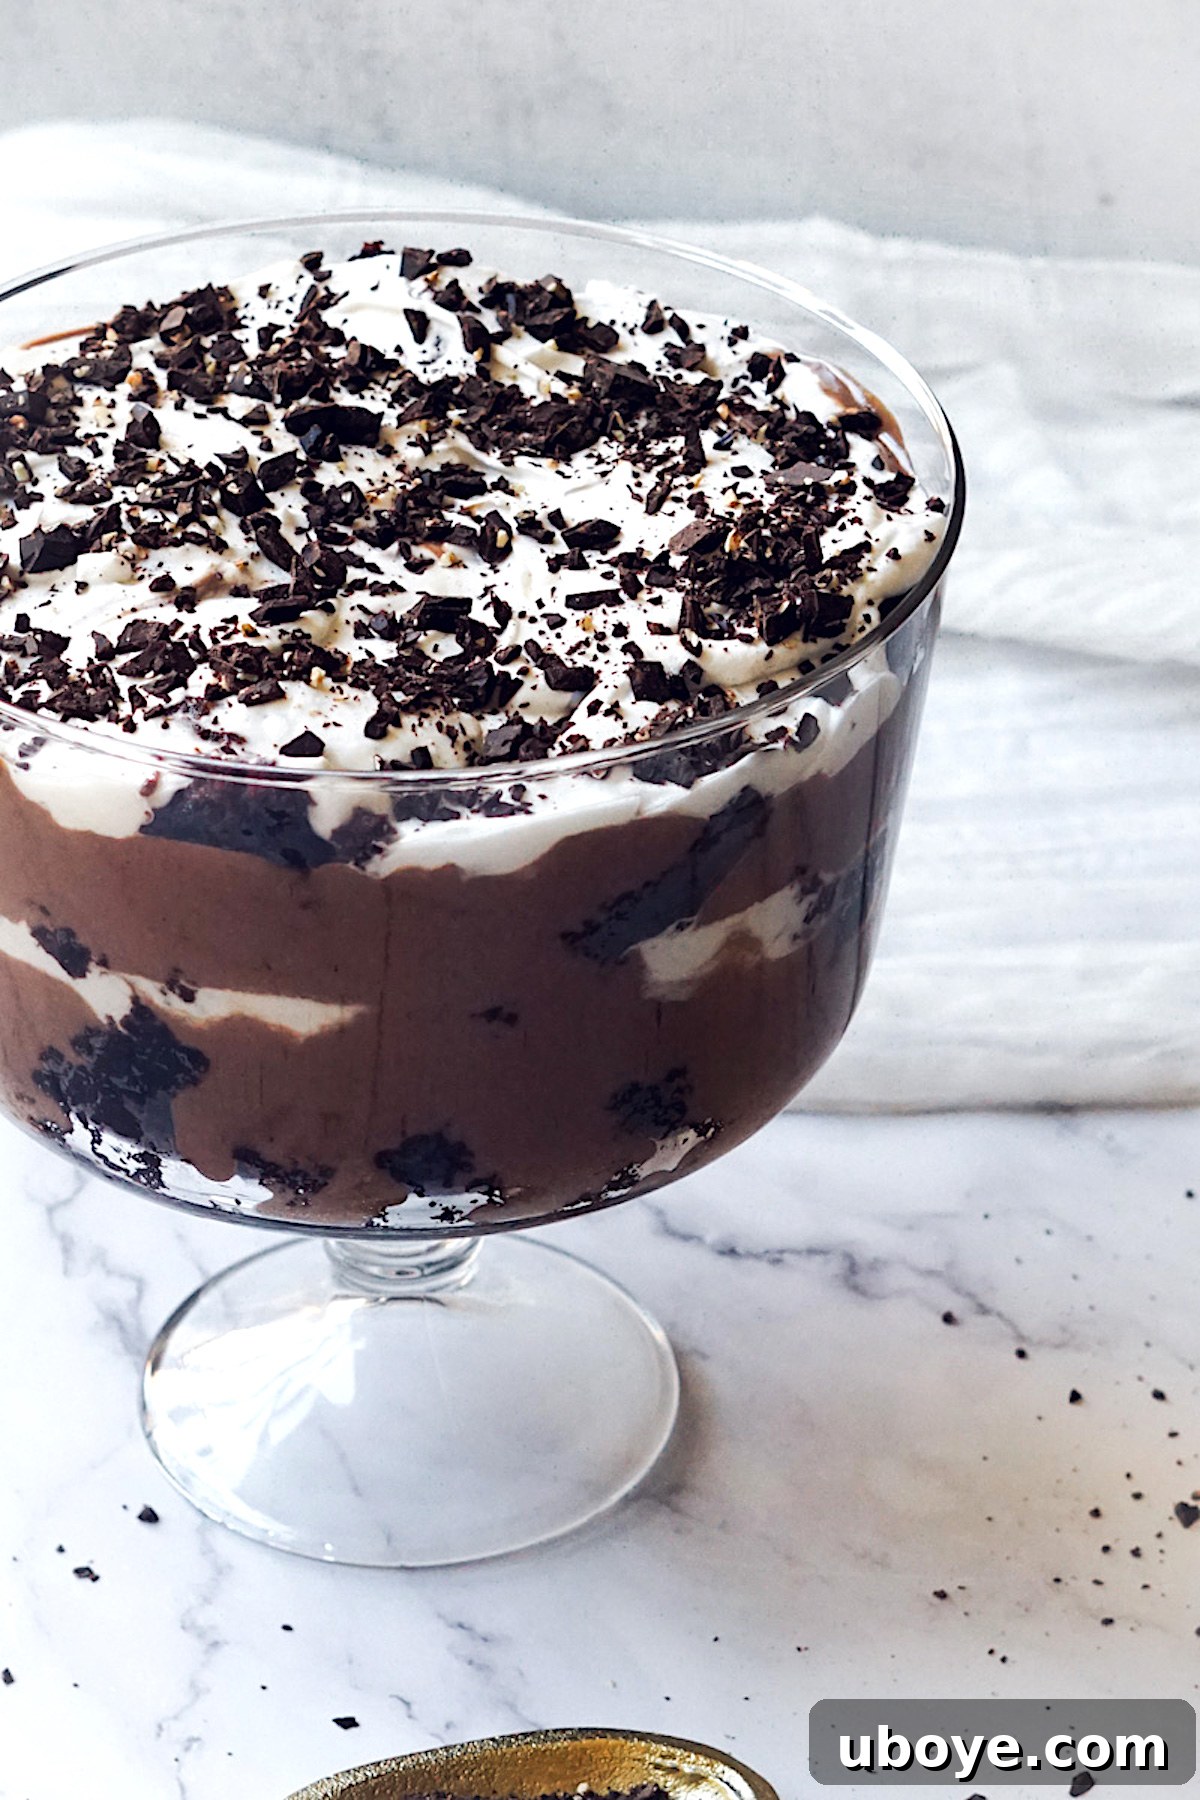
This dairy-free chocolate trifle has layers upon layers of chocolate cake, chocolate pudding, and whipped cream! It’s a delicious chocolate dessert that is easy to make and fun to eat.
Servings: 12 servings
Ingredients
For the Cake
- 2 tbsp ground flax seeds
- 6 tbsp water
- 1¾ cup all purpose flour
- 2 cup cane sugar
- 1 tsp sea salt
- ¾ cup raw cacao powder
- 1 tsp baking powder
- 1 tsp baking soda
- 1 cup unsweetened soy milk
- ½ cup organic canola oil or melted refined coconut oil
- 2 tsp vanilla extract
- 1 cup boiling water
For the Pudding
- 16 oz soft silken tofu, must be silken
- 1 cup unsweetened soy milk
- ⅓ cup natural almond butter
- ½ tsp sea salt
- 2 tbsp cornstarch
- ⅓ cup cane sugar
- 1 cup vegan chocolate chips, semi-sweet
- ½ tsp vanilla extract
For the Whipped Cream
- 2 pints vegan whipping cream, I use Silk
- 3 tbsp powdered sugar
- 1 tsp vanilla extract
Instructions
Prep
- Place the oven rack in the center of the oven and pre-heat to 350 degrees F (175 C). Then lightly grease a 9×13 inch baking dish and set aside.
- Make the flax “egg” by combining the ground flax and water in a small bowl. Stir and set aside to thicken.
Mix the Dry Ingredients
- Add the flour, sugar, and salt to a large bowl. Then sift in the cacao powder, baking powder, and baking soda and whisk well to combine. Set aside.
Mix the Wet Ingredients
- Next, combine the soy milk, oil, and vanilla extract in another bowl and whisk well. Then add the wet ingredients to the dry ingredients along with the now thickened flax “egg.” Whisk just until combined for about 10-15 seconds (the batter will be thick at this point) and then add the boiling water. Whisk until the water is fully incorporated and then pour into the prepared baking dish.
Bake
- Bake for 30-35 minutes or until a toothpick inserted into the center comes out clean. Then remove from the oven, and let cool completely on a wire rack.
Make the Pudding
- Combine the tofu, soy milk, almond butter, salt, and cornstarch in a blender. Blend until very smooth (about 30 seconds) and then pour into a saucepan. Add the sugar, chocolate chips, and vanilla extract and whisk continually over medium-high heat until the mixture is at a soft boil. Then reduce the heat to low and simmer for 2-3 minutes, whisking often. Remove from the heat and let cool completely. For best results, cover with plastic wrap pressed directly onto the surface to prevent a skin from forming, and chill in the refrigerator until cold.
Make the Whipped Cream
- Combine the very cold vegan whipping cream in a large bowl with the powdered sugar and vanilla extract. Beat on high for 2-3 minutes with an electric mixer until thickened and holds soft peaks.
Assemble
- When the cake and the pudding are completely cool and chilled, you can start layering the trifle. They must be cold before assembly or the whipped cream will melt.
- Start by cutting the cake into 1-2 inch cubes and place approximately 1/3 of the cake on the bottom of the trifle dish.
- Then spoon in 1/2 of the chocolate pudding and gently spread it out to the edges of the dish.
- Dollop in 1/3 of the whipped cream and spread it out to the edges of the dish as well.
- Repeat with another 1/3 of the cake, the remaining 1/2 of pudding, and another 1/3 of the whipped cream.
- Then top with the remaining cake cubes and the last portion of whipped cream.
- Chill for a minimum of 1 hour to allow the flavors to meld and the trifle to set. Then serve in your favorite dessert bowls and enjoy this spectacular dairy-free indulgence!
Conclusion: A Trifle Beyond Expectations
This Easy Dairy-Free Chocolate Trifle is more than just a dessert; it’s an experience. It proves that creating a deeply flavorful, stunning, and satisfying treat doesn’t require complex techniques or traditional dairy. Each layer – from the rich, moist chocolate cake to the silky, decadent pudding and the light, fluffy whipped cream – plays a crucial role in delivering a harmonious blend of textures and tastes that will delight every palate. Whether you’re a seasoned vegan baker or simply looking for an impressive dessert that accommodates dietary preferences, this trifle is your answer.
So, gather your ingredients, follow these simple steps, and prepare to create a show-stopping dessert that will leave your guests asking for the recipe. This chocolate trifle is not just easy to make; it’s a celebration of indulgent flavors that everyone can enjoy. Happy baking (and layering)!