
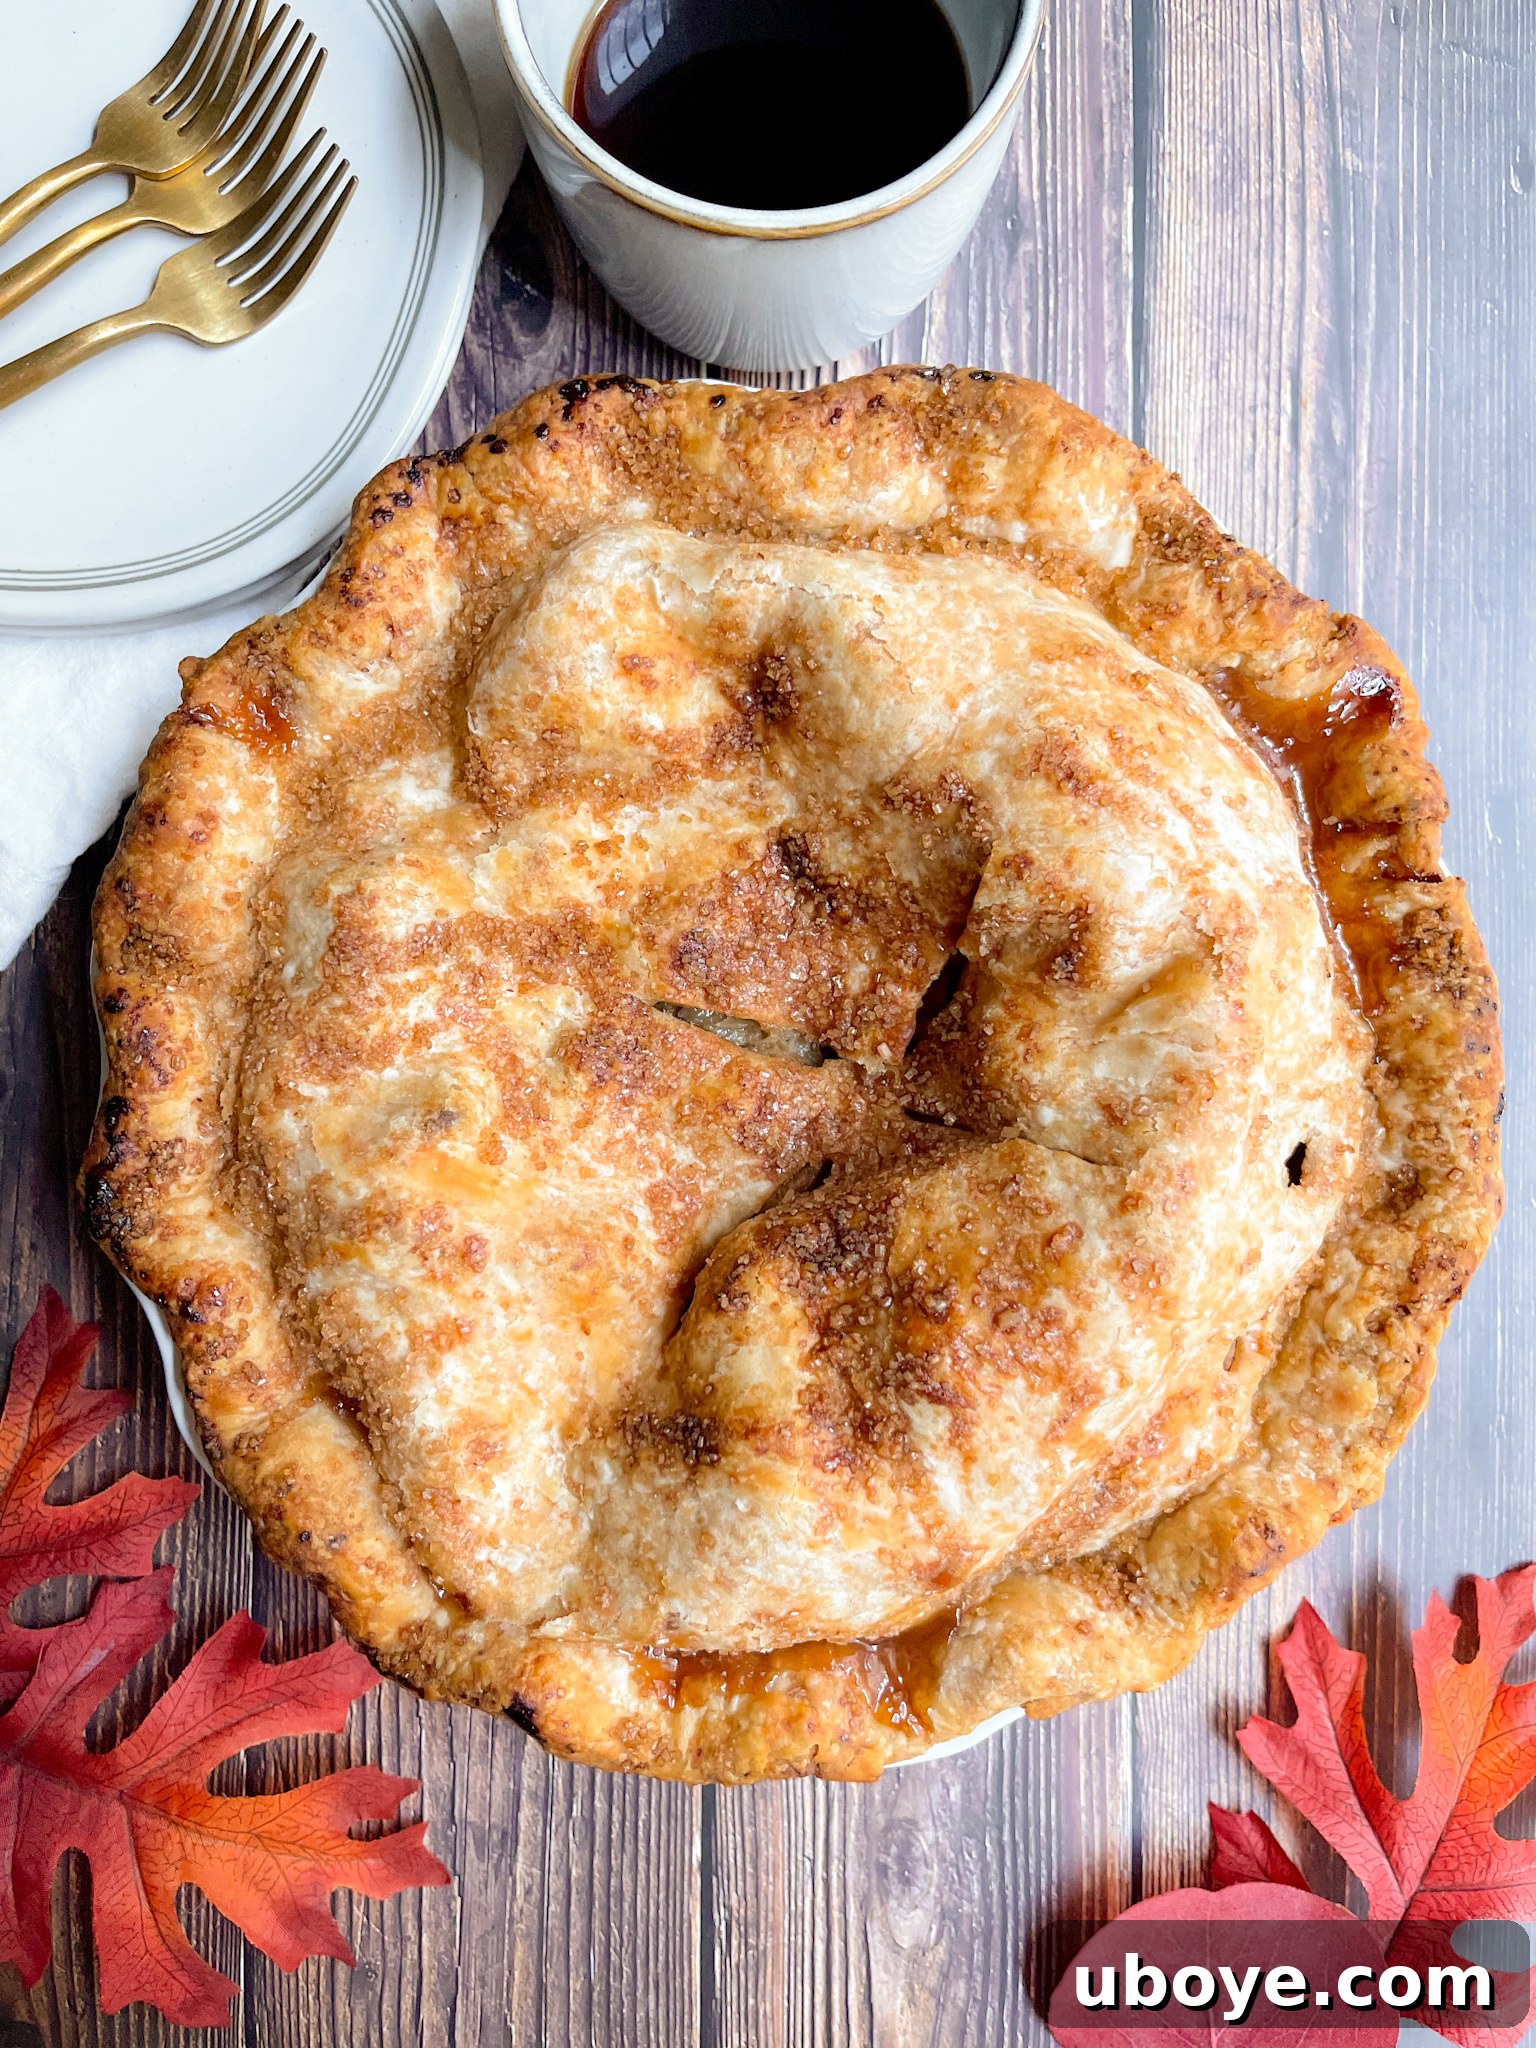
Indulge in the heartwarming embrace of a true classic with this **ultimate vegan apple pie recipe**. Forget everything you thought you knew about plant-based desserts, because this pie delivers all the rich, buttery flavor and tender, flaky crust of its traditional counterpart, without any dairy. Perfectly spiced cinnamon apples are lovingly baked beneath a golden, crisp pastry, creating a dessert that is not just vegan, but truly irresistible. It’s the quintessential holiday treat, guaranteed to be a crowd-pleaser for every guest at your table.
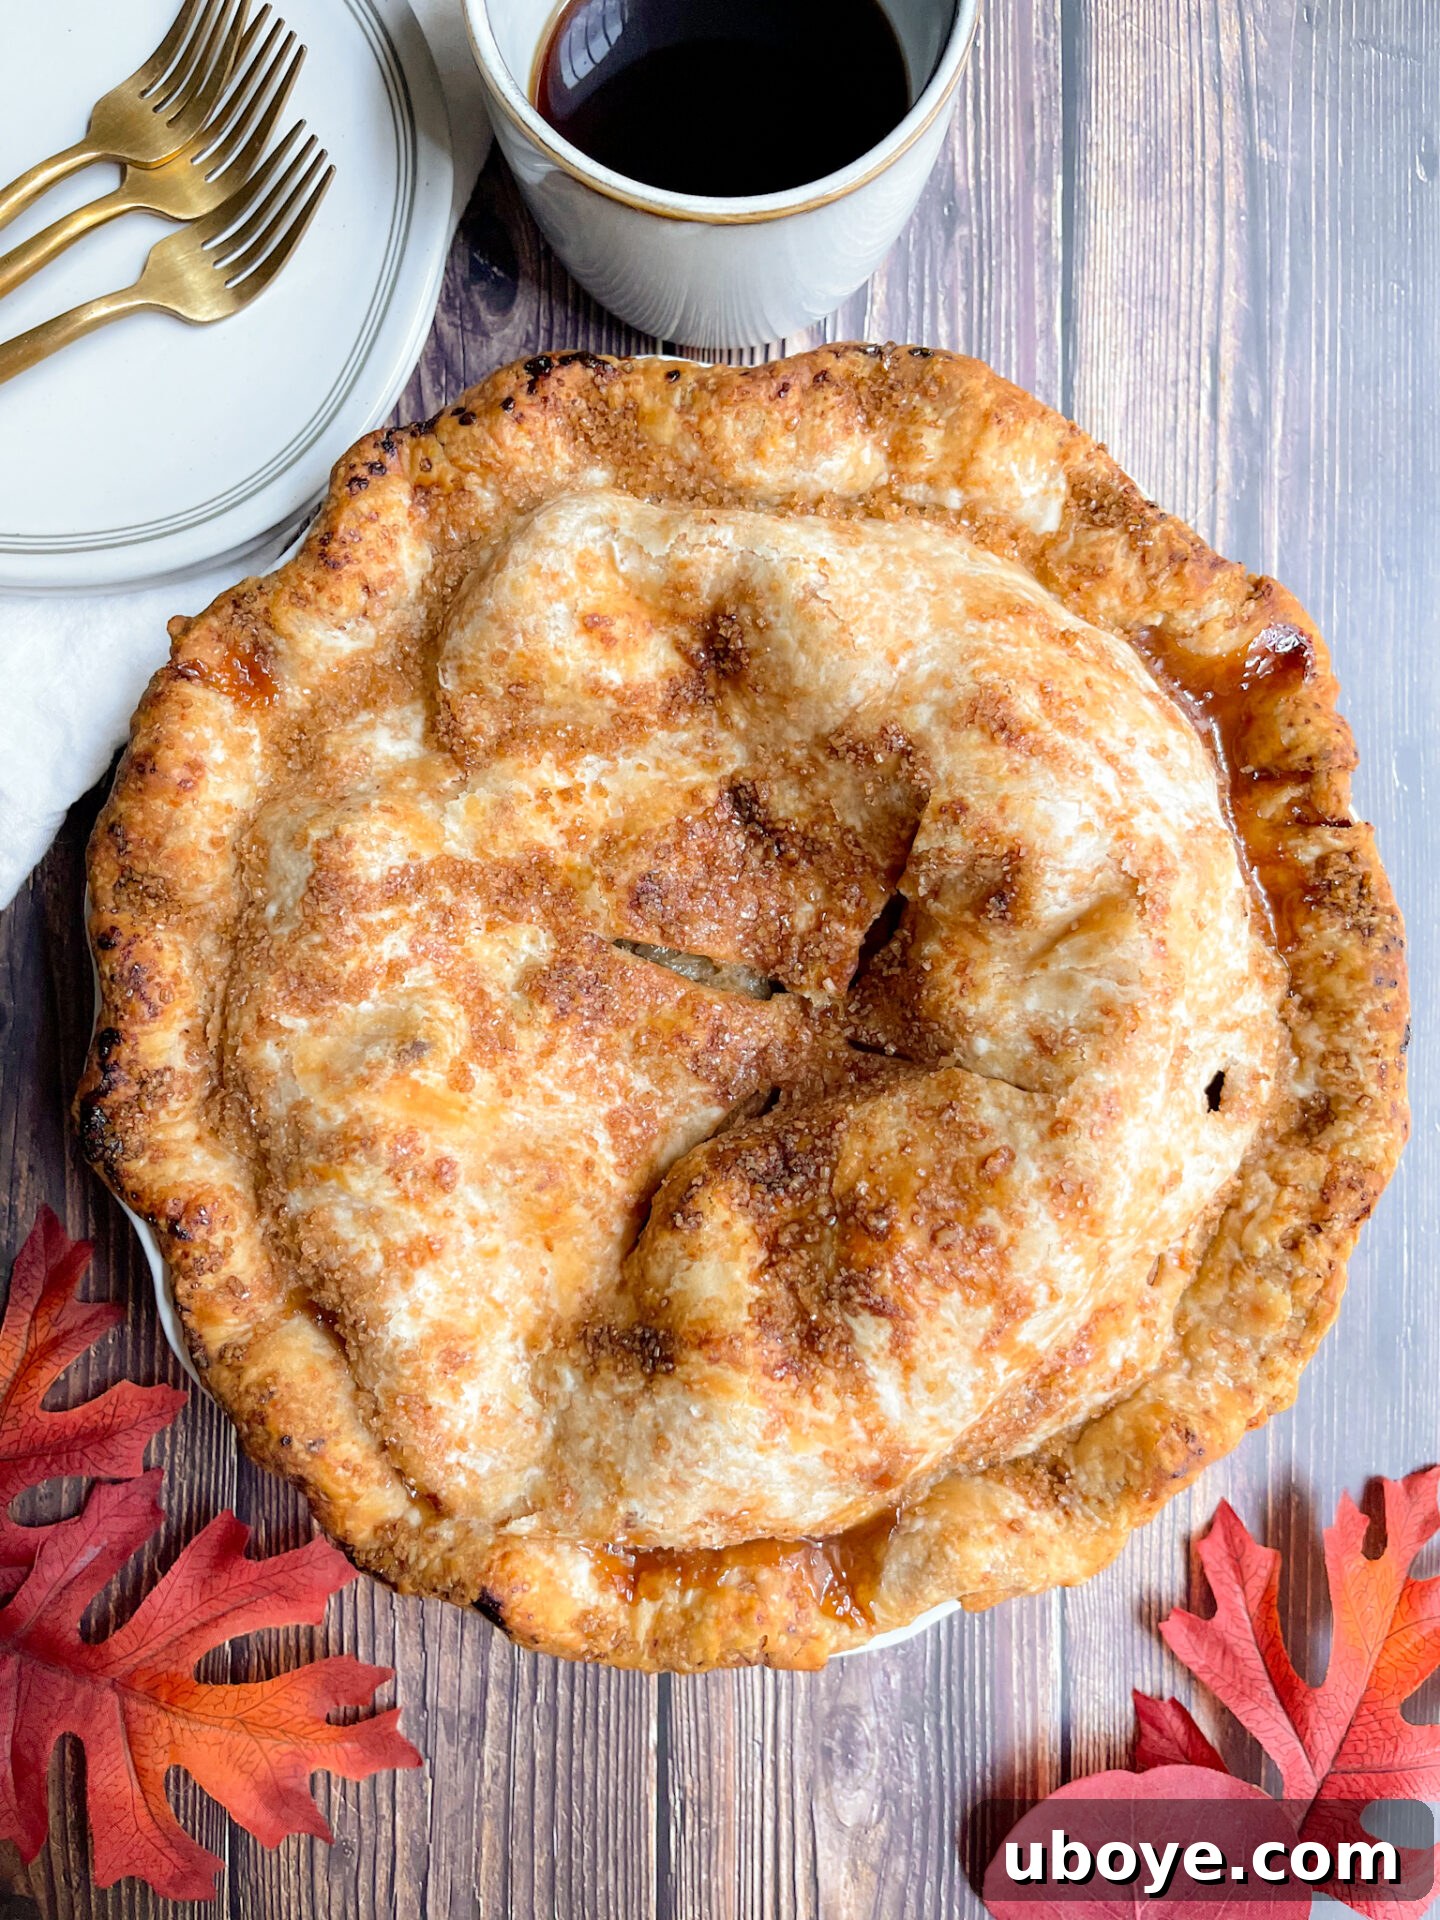
The secret to any truly magnificent pie begins with its foundation: a stellar **homemade pie crust**. For this classic vegan apple pie, we opt for an “all-butter” style crust, meticulously crafted with high-quality vegan butter. Unlike shortening or lard, vegan butter lends an exceptional flavor and texture that’s incredibly similar to traditional butter. This very same vegan pie crust recipe is a staple in many of my other dessert creations, including my beloved Old Fashioned Vegan Blueberry Pie. The result is a crust that is wonderfully **flakey**, intensely **buttery**, and boasts a subtle hint of saltiness. This delicate balance perfectly complements the sweet, spicy, and fragrant apple pie filling, creating a harmonious symphony of flavors in every bite.
Essential Ingredients for the Best Vegan Apple Pie
Crafting this phenomenal vegan apple pie requires just a handful of straightforward ingredients, many of which are likely already in your pantry, especially if you enjoy Fall baking. While the comprehensive measurements and steps are detailed in the recipe card below, here’s a closer look at the key components that bring this pie to life:
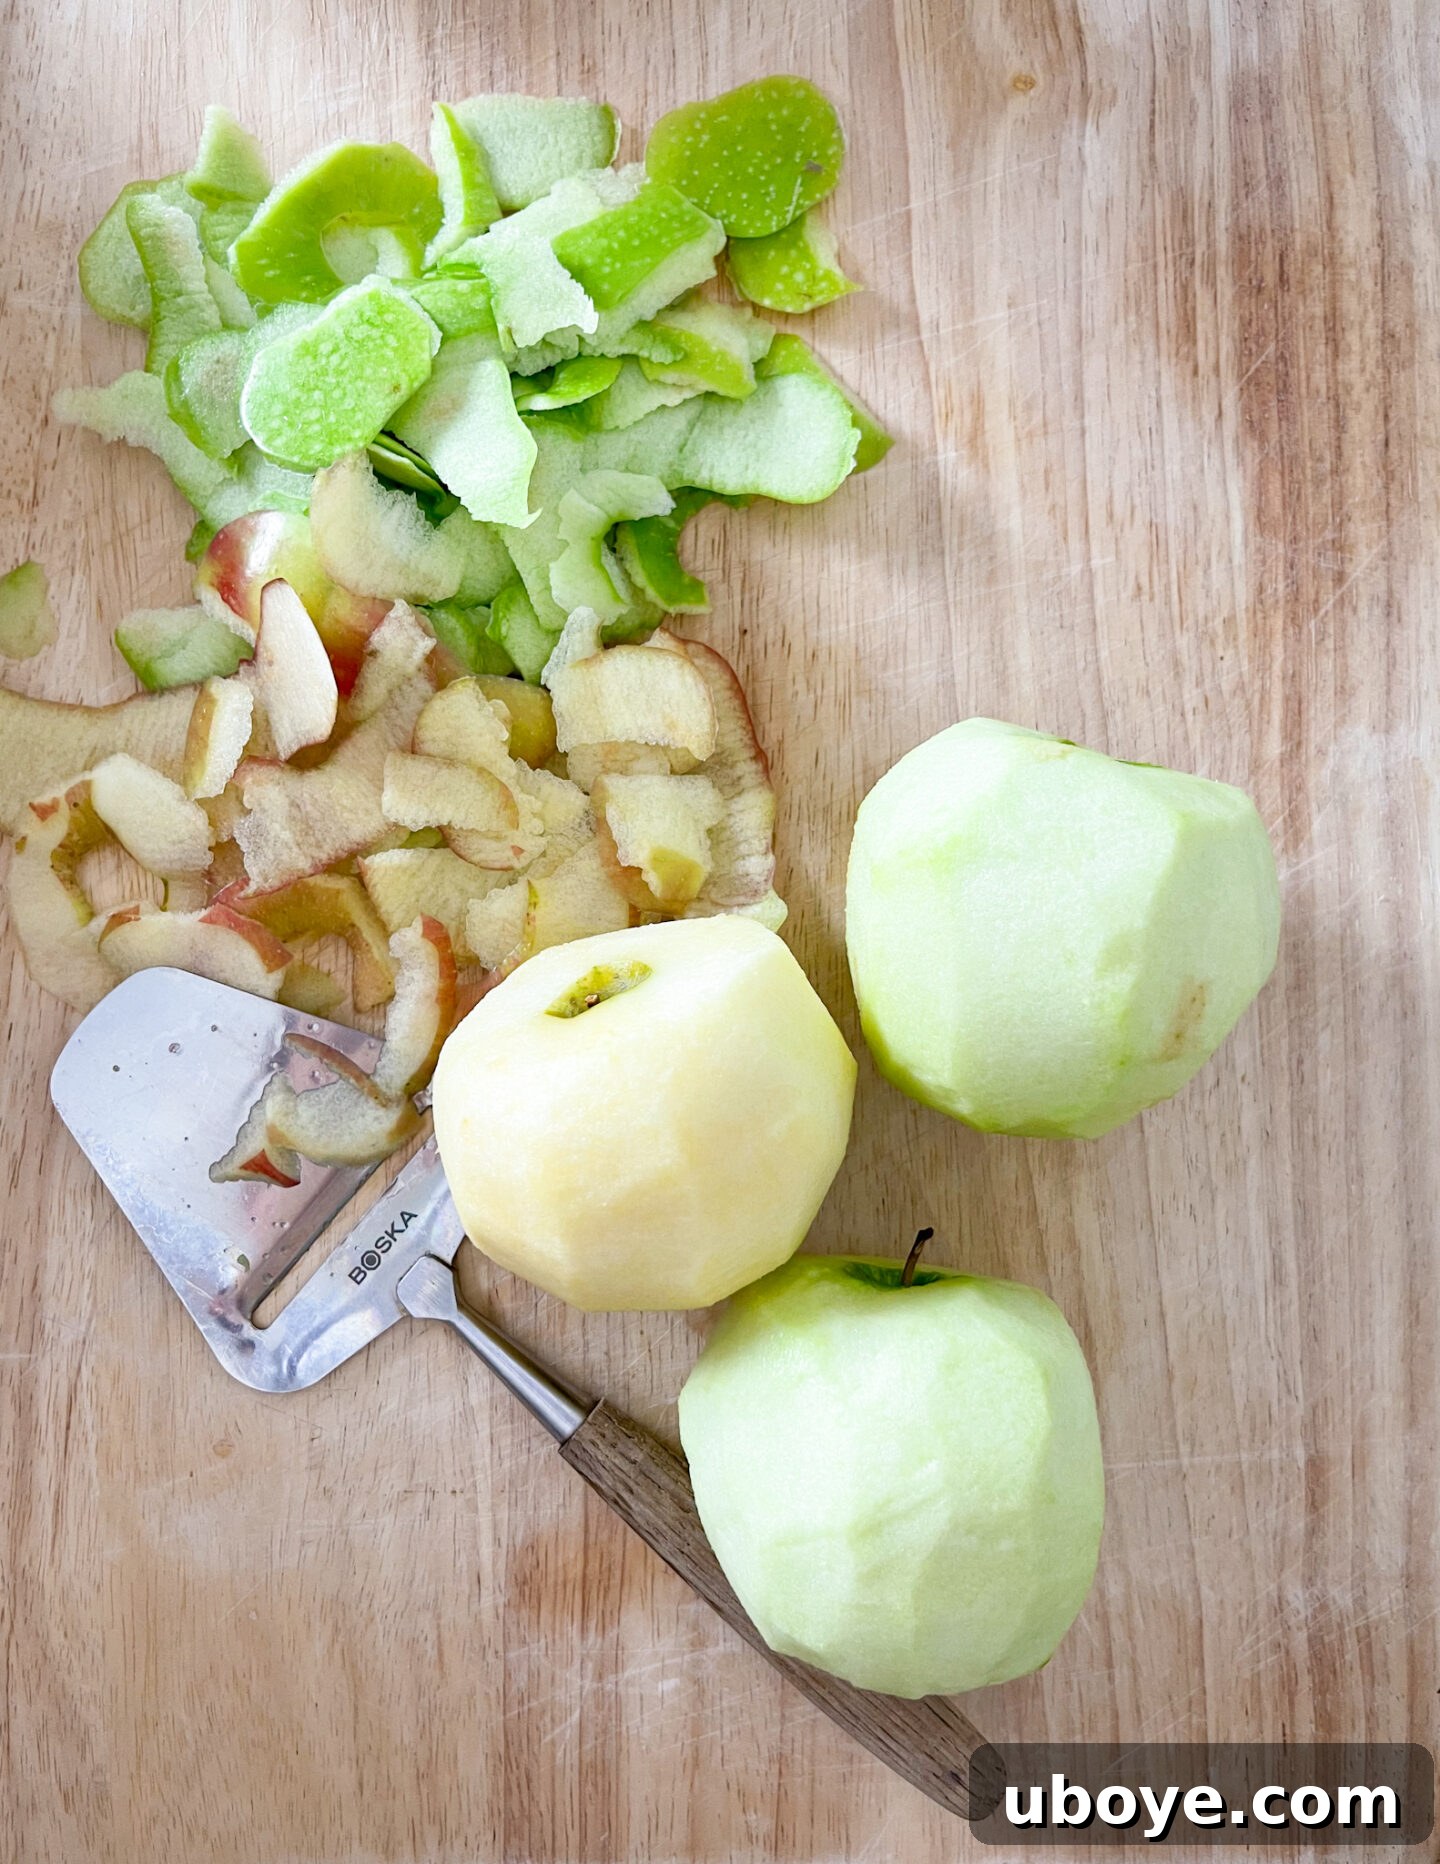
- Apples: The star of the show! For the ideal texture and flavor, I recommend a blend of firm baking apples. My preferred combination includes tart Granny Smith apples for their vibrant acidity and ability to hold their shape, alongside sweeter varieties like Fuji or Honeycrisp. This mix ensures a complex flavor profile and prevents the filling from becoming overly mushy during baking.
- Lemon: A crucial addition! Just a splash of fresh lemon juice not only brightens the natural sweetness of the apples but also helps prevent them from browning prematurely, preserving their fresh appearance and tangy notes.
- Cane Sugar and Brown Sugar: This dynamic duo of sweeteners provides depth and a beautiful caramel-like undertone to the apple filling. Cane sugar offers clean sweetness, while brown sugar contributes a molasses-rich flavor and extra moisture, resulting in a luscious, well-rounded taste without being excessively sweet.
- Cinnamon, Nutmeg, and Cloves: These are the quintessential “cozy warming spices” that instantly evoke the spirit of the holidays and home baking. Their aromatic blend infuses the apples with a comforting warmth that is simply irresistible.
- Vegan Butter: The secret to our “all-butter” flaky crust. For baking, I highly recommend using **Earth Balance sticks** over the tub variety. The stick form has a firmer consistency, which is critical for achieving a perfectly flaky pie crust. Opt for the salted variety, as the touch of salt enhances the overall flavor.
- All-Purpose Flour: Essential for both the pie crust structure and as a thickening agent for the apple filling, ensuring it sets beautifully without being runny.
- Cold Water: A minimal but vital ingredient for binding the pie crust dough together without developing too much gluten, which would make it tough.
Mastering the Homemade Vegan Pie Crust
Creating a truly exceptional homemade pie crust might seem daunting, but it’s surprisingly simple with just five core ingredients and a few key techniques. This section provides an in-depth overview; the full recipe with precise measurements is available in the recipe card below.
The Simple Ingredients for a Flaky Crust:
- All-Purpose Flour
- Kosher Salt (I prefer Morton’s for its crystal structure)
- Cane Sugar
- Cold Vegan Butter (specifically sticks, like Earth Balance)
- Ice Cold Water
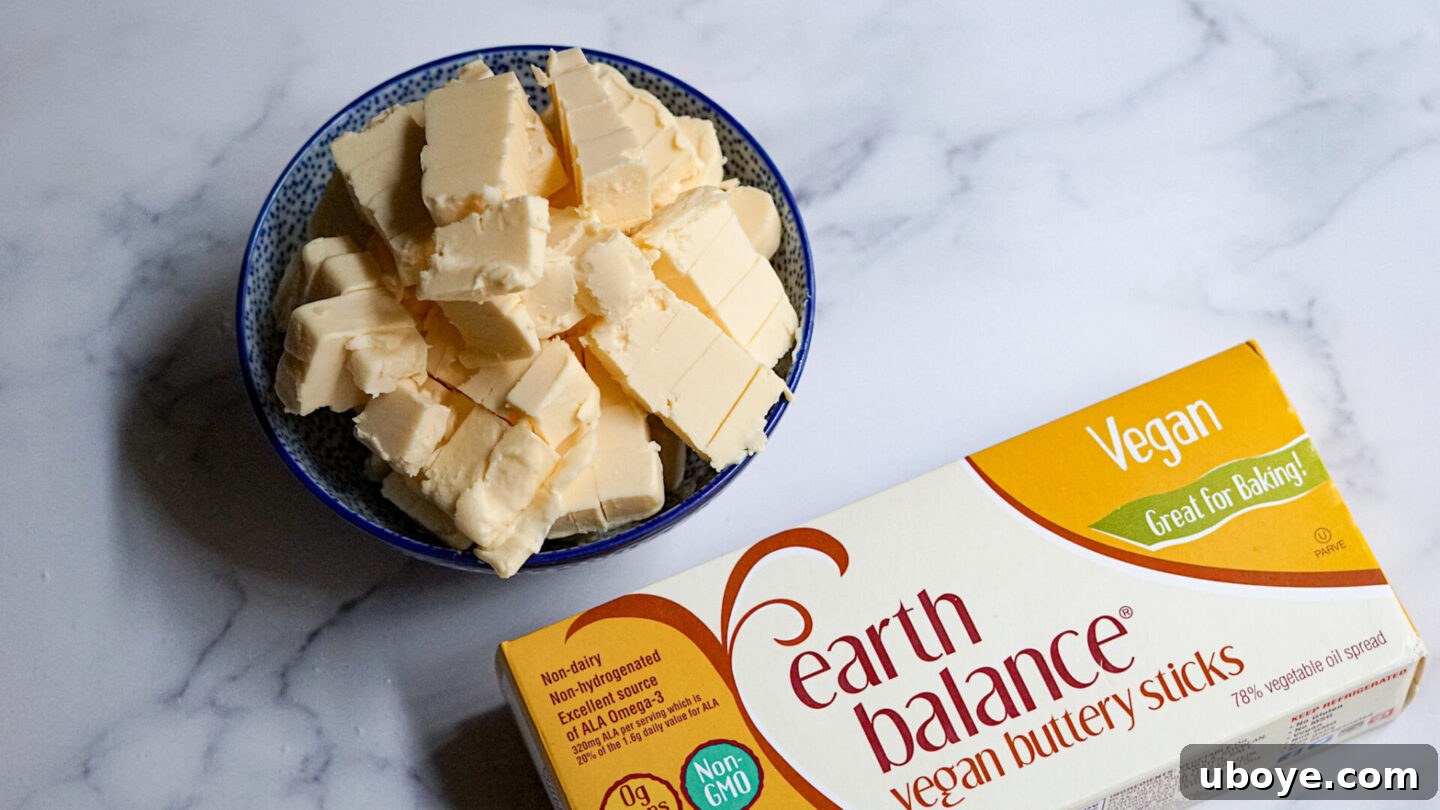
The journey to a perfect flaky crust begins with the **vegan butter**. It’s paramount that your butter is as cold as possible. Start by cutting two sticks of cold vegan butter (Earth Balance sticks are highly recommended for their texture consistency) into small, uniform cubes. Immediately cover these cubes and return them to the refrigerator while you prepare the dry ingredients. This ensures the butter remains firm, which is critical for developing those desirable flaky layers in the baked crust.
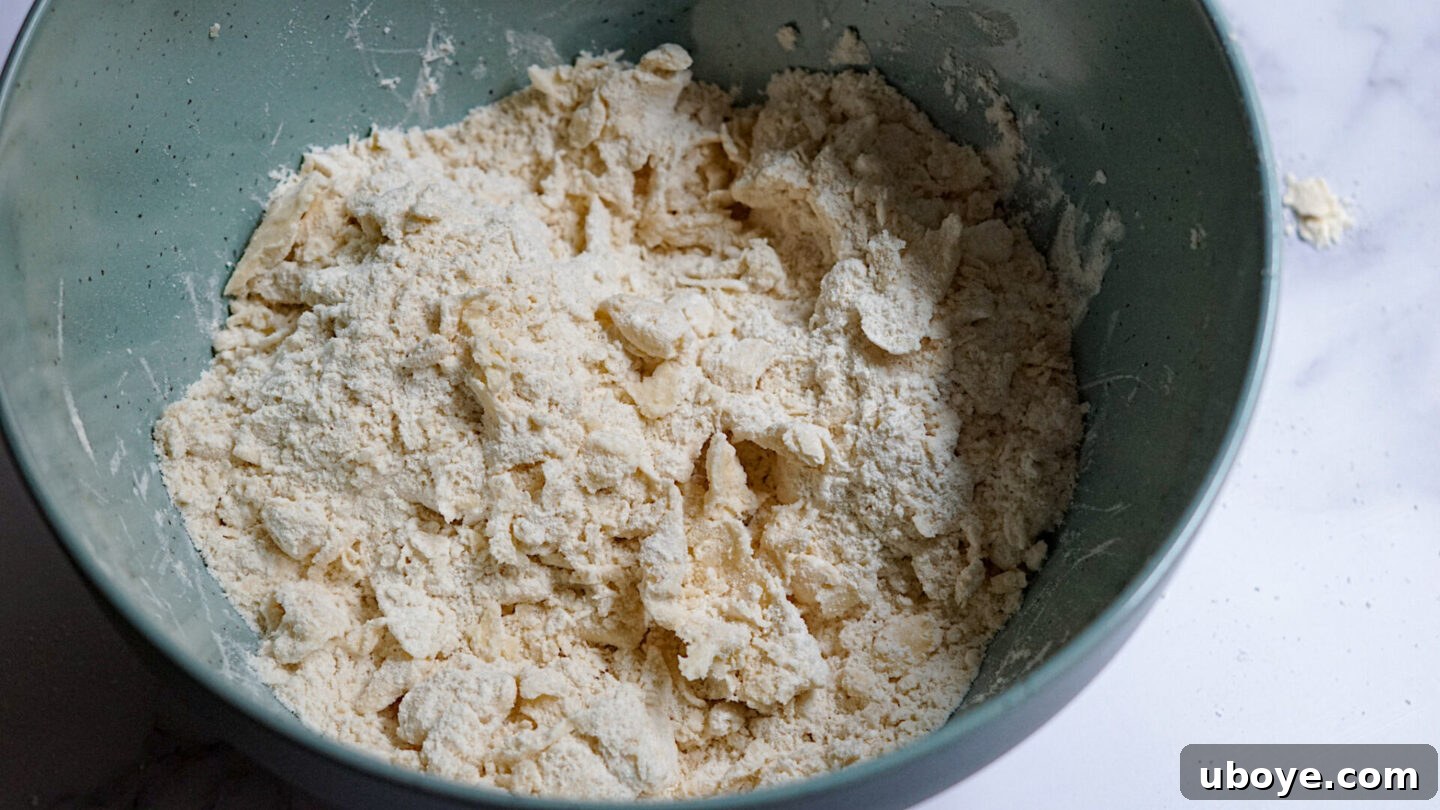
In a large mixing bowl, combine your all-purpose flour, kosher salt, and cane sugar. Whisk them thoroughly to ensure an even distribution. Next, add the chilled vegan butter cubes to the dry mixture. Using a fork or a pastry blender, begin to mash the butter into the flour. The goal is to break down the butter until the pieces are roughly the size of almonds and peanuts. This step creates small pockets of butter within the dough. Once this texture is achieved, set aside your fork and use your clean hands to gently work the flour into the butter. The warmth of your hands should be minimal; the goal is to further integrate the butter without melting it. The mixture should resemble coarse crumbs with visible butter pieces.
Next, it’s time to introduce the ice-cold water. Make a well in the center of your flour and butter mixture and add 6 tablespoons of cold water. Gently mix until the dough just begins to come together into a crumbly, shaggy consistency. Avoid overmixing at this stage. Turn the mixture out onto a lightly floured countertop. Gently knead the dough just until it forms a cohesive ball. Overworking the dough develops gluten, which can lead to a tough crust. The key is minimal handling to keep it tender and flaky.
Once the dough is formed, divide it into two equal halves. Shape each half into a flat disk, about an inch thick. These disks should be wrapped tightly in plastic wrap to prevent them from drying out and to lock in moisture. Refrigerate the dough for a minimum of 1 hour. This chilling period is crucial: it allows the gluten to relax, which makes the dough easier to roll out without shrinking, and it firms up the butter, setting the stage for those beautiful, flaky layers. You can chill the dough for **up to 2 days** or even freeze it for future use. Planning ahead means less stress on baking day!
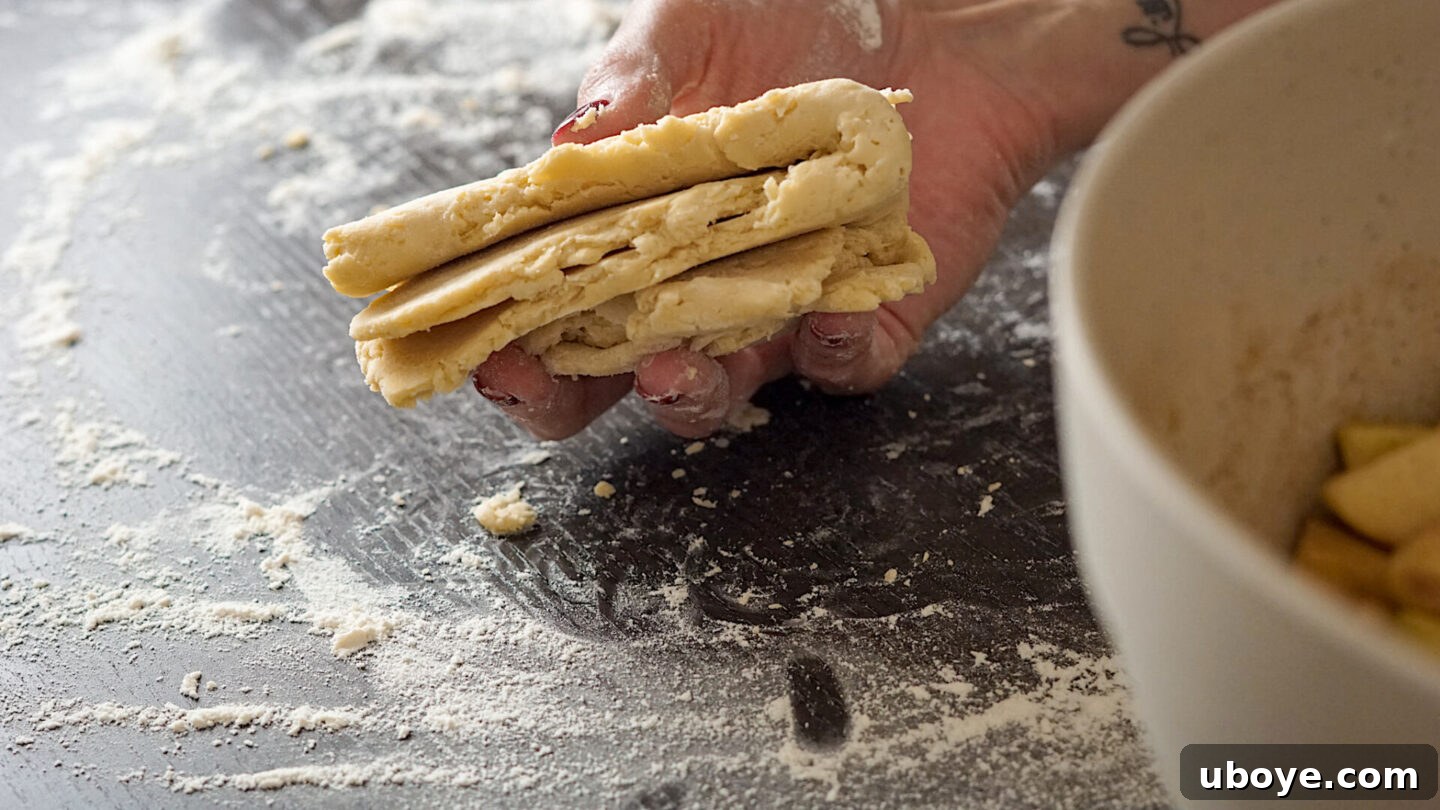
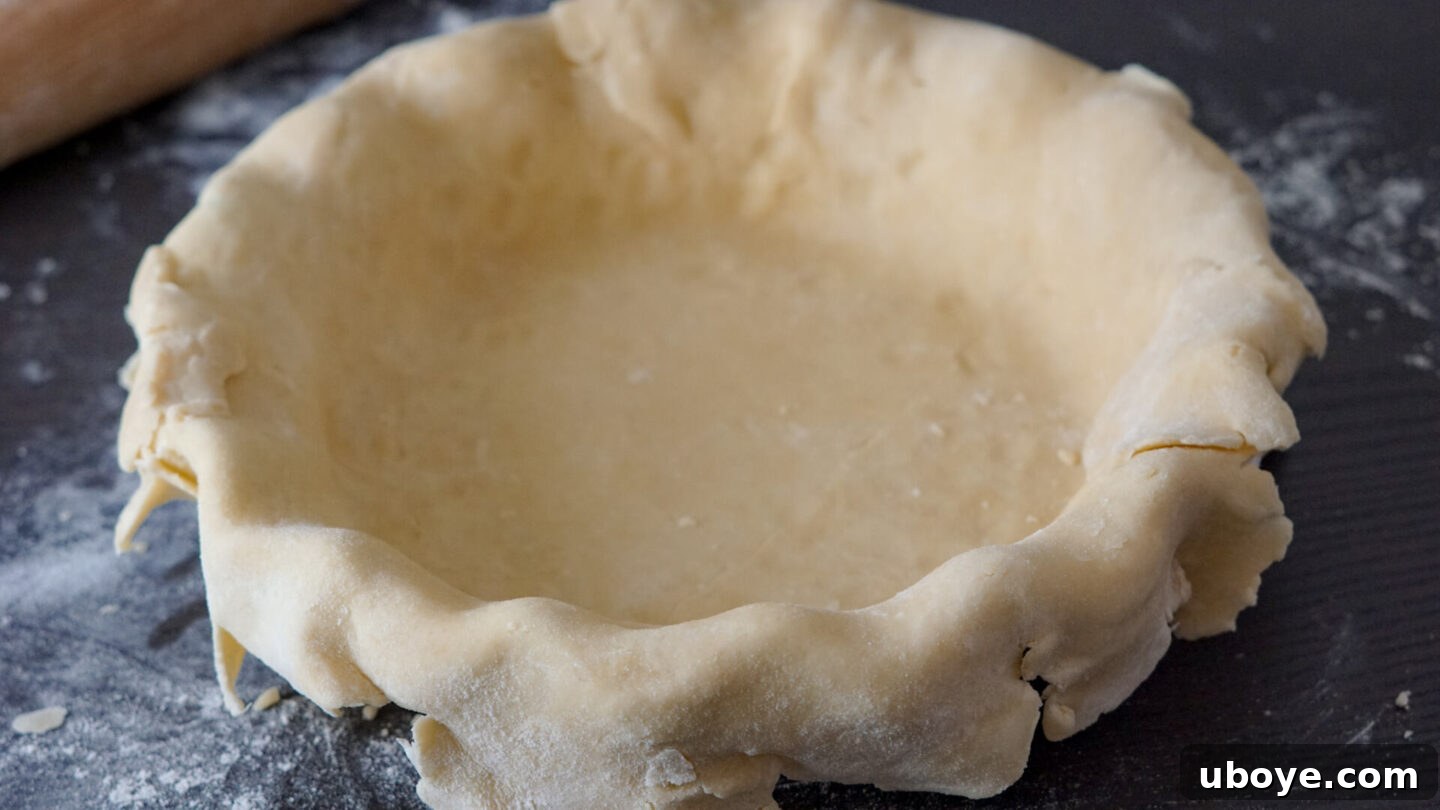
Rolling Out the Dough for a Perfect Crust:
Before rolling, take one disk of chilled pie dough from the refrigerator and let it sit at room temperature for about 10-15 minutes. It should be pliable enough to roll without cracking but still cool to the touch. Lightly flour your countertop and a rolling pin. Starting from the center of the disk, roll outwards in all directions, rotating the dough frequently (every quarter turn) and dusting with a little more flour as needed to prevent sticking. Aim for a 14-inch circle for your bottom crust.
For an extra flaky crust, try this trick: once you’ve rolled the dough partially, fold it in half, then fold it in half again to create a small stack. Roll it out again. This process helps create additional layers. Carefully transfer the rolled dough to your 10.5-inch pie dish (I recommend a 10.5″ Dia. x 2.36″ H size for this recipe). Gently press the dough into the contours of the dish, ensuring no air gaps. Leave about an inch of overhang around the edges – this prevents the crust from shrinking too much during baking. Cover the filled pie dish with a clean kitchen towel and return it to the fridge while you prepare the filling and the top crust.
Repeat the rolling process for the second disk of dough, rolling it into another 14-inch circle for the top crust. This time, carefully transfer it to a cookie sheet, cover it, and place it in the fridge to keep it chilled until assembly.
Crafting the Irresistible Apple Pie Filling
The heart of our vegan apple pie is its rich and aromatic filling. Let’s dive into how to prepare it for optimal flavor and texture.
Begin by selecting approximately **5 pounds of firm apples** (this usually translates to about 10-12 medium-sized apples, depending on variety). Peel all the apples, then slice around the core, cutting them into thick, uniform slices, about 1/4 to 1/3 inch thick. Place these slices into a large mixing bowl.
A note on slicing: While some recipes (and even an older video of mine, this video) might suggest cutting apples into chunks, I’ve found that slicing them uniformly into 1/4-inch pieces yields superior results. Sliced apples bake more evenly, retain their shape better, and create a more elegant texture in the finished pie. Avoid large chunks, as they can lead to an inconsistent bake, with some pieces still firm and others overly soft.
Next, add the **cane sugar, brown sugar, and fresh lemon juice** to the bowl with the sliced apples. The lemon juice is crucial here, not just for flavor balance, but also to prevent the apples from oxidizing and turning brown. Toss gently to ensure all apple slices are coated. Then, mix in your aromatic spices: **cinnamon, nutmeg, and ground cloves**, along with the **all-purpose flour**. The flour acts as a thickener, helping to create a beautifully set filling. Mix everything thoroughly but gently, ensuring the apples are evenly coated with the sugar and spice mixture. The apples will start to release some juice as they sit with the sugar; this is normal.
Assembling Your Vegan Apple Pie
With both the flaky crust and the delicious filling prepared, it’s time to bring your vegan apple pie together!
Retrieve your pie dish with the bottom crust from the refrigerator. Using a slotted spoon, carefully transfer the apple filling into the pie crust. The slotted spoon is key here, as it allows you to drain off any excess apple juice that has accumulated in the bowl. This prevents a soggy bottom crust, ensuring your pie remains gloriously crisp. Discard any remaining juice in the bowl.
Optional Tip: For an extra layer of flavor and richness, you can dice about 1 tablespoon of cold vegan butter into small cubes and dot them over the top of the apple filling before adding the top crust. This creates little pockets of melted buttery goodness as the pie bakes.
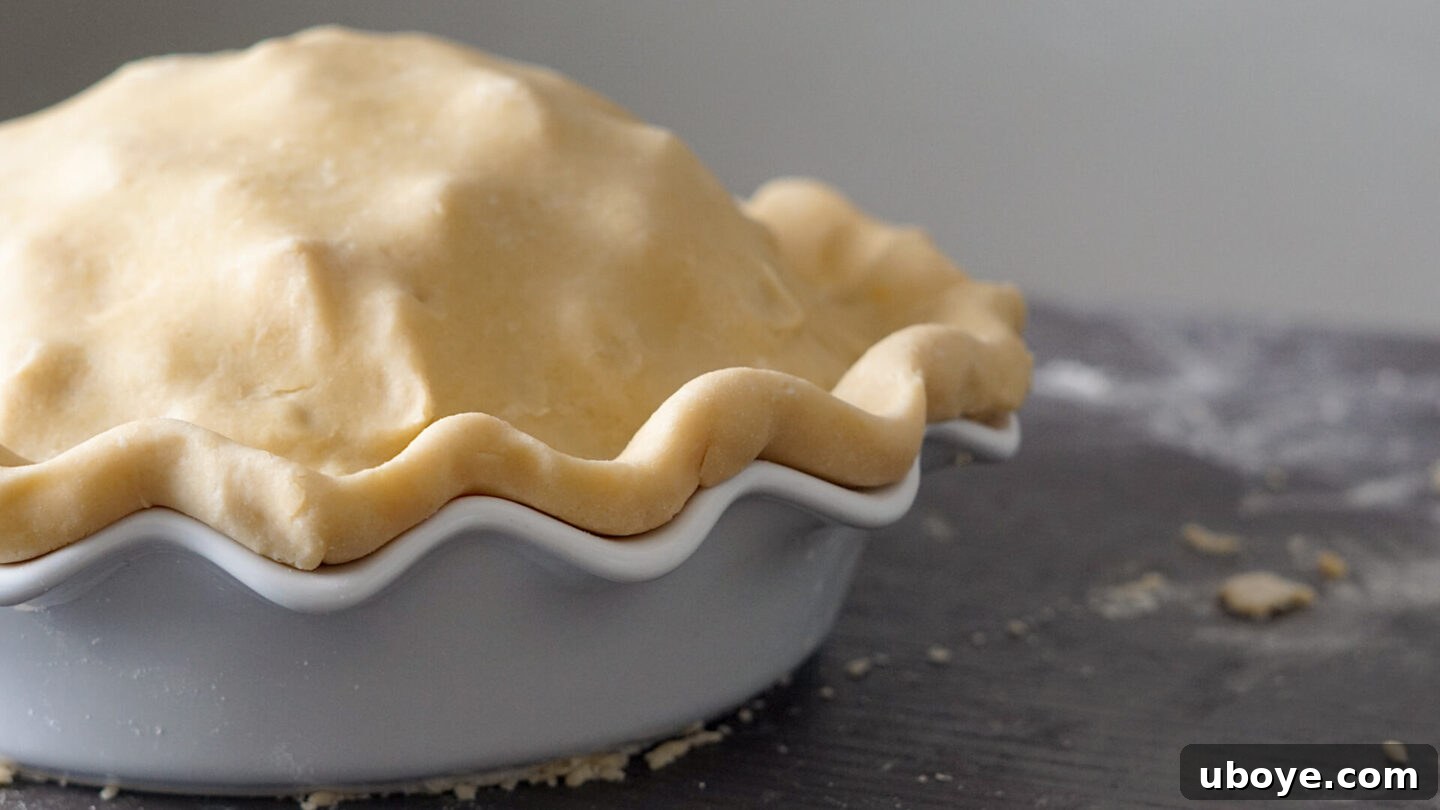
Now, take the second disk of rolled pie dough (your top crust) from the cookie sheet in the fridge. Carefully center it over the apple filling. If there’s more than an inch of overhang, trim off the excess dough. Then, tuck the edges of the top crust under the bottom crust’s overhang, pressing them together to create a thick, unified rim. Use your fingers to crimp the edge of the pie crust, creating a beautiful, decorative design. Finally, use a sharp knife to cut several small slits or a decorative pattern on the top crust. These vents are essential for allowing steam to escape during baking, preventing the crust from bubbling up and ensuring an even bake.
For a golden finish and added sparkle, lightly brush the top and crimped edges of the crust with unsweetened soy milk. Then, generously sprinkle turbinado sugar over the entire top crust. This optional step is highly recommended, as it creates a wonderfully golden, slightly crunchy, and glistening finish that truly elevates the pie’s appearance and texture.
Baking Your Masterpiece
Achieving that perfectly golden-brown, bubbling, and aromatic apple pie requires a specific baking technique. Before you even start assembling, remember to place a large cookie sheet on the center rack of your oven. Then, preheat your oven to 425°F (220°C). This preheated cookie sheet serves multiple purposes: it helps conduct heat evenly to the bottom of the pie, ensuring a wonderfully crisp crust, and acts as a safety net to catch any delicious, caramelly apple juices that might bubble over during baking.
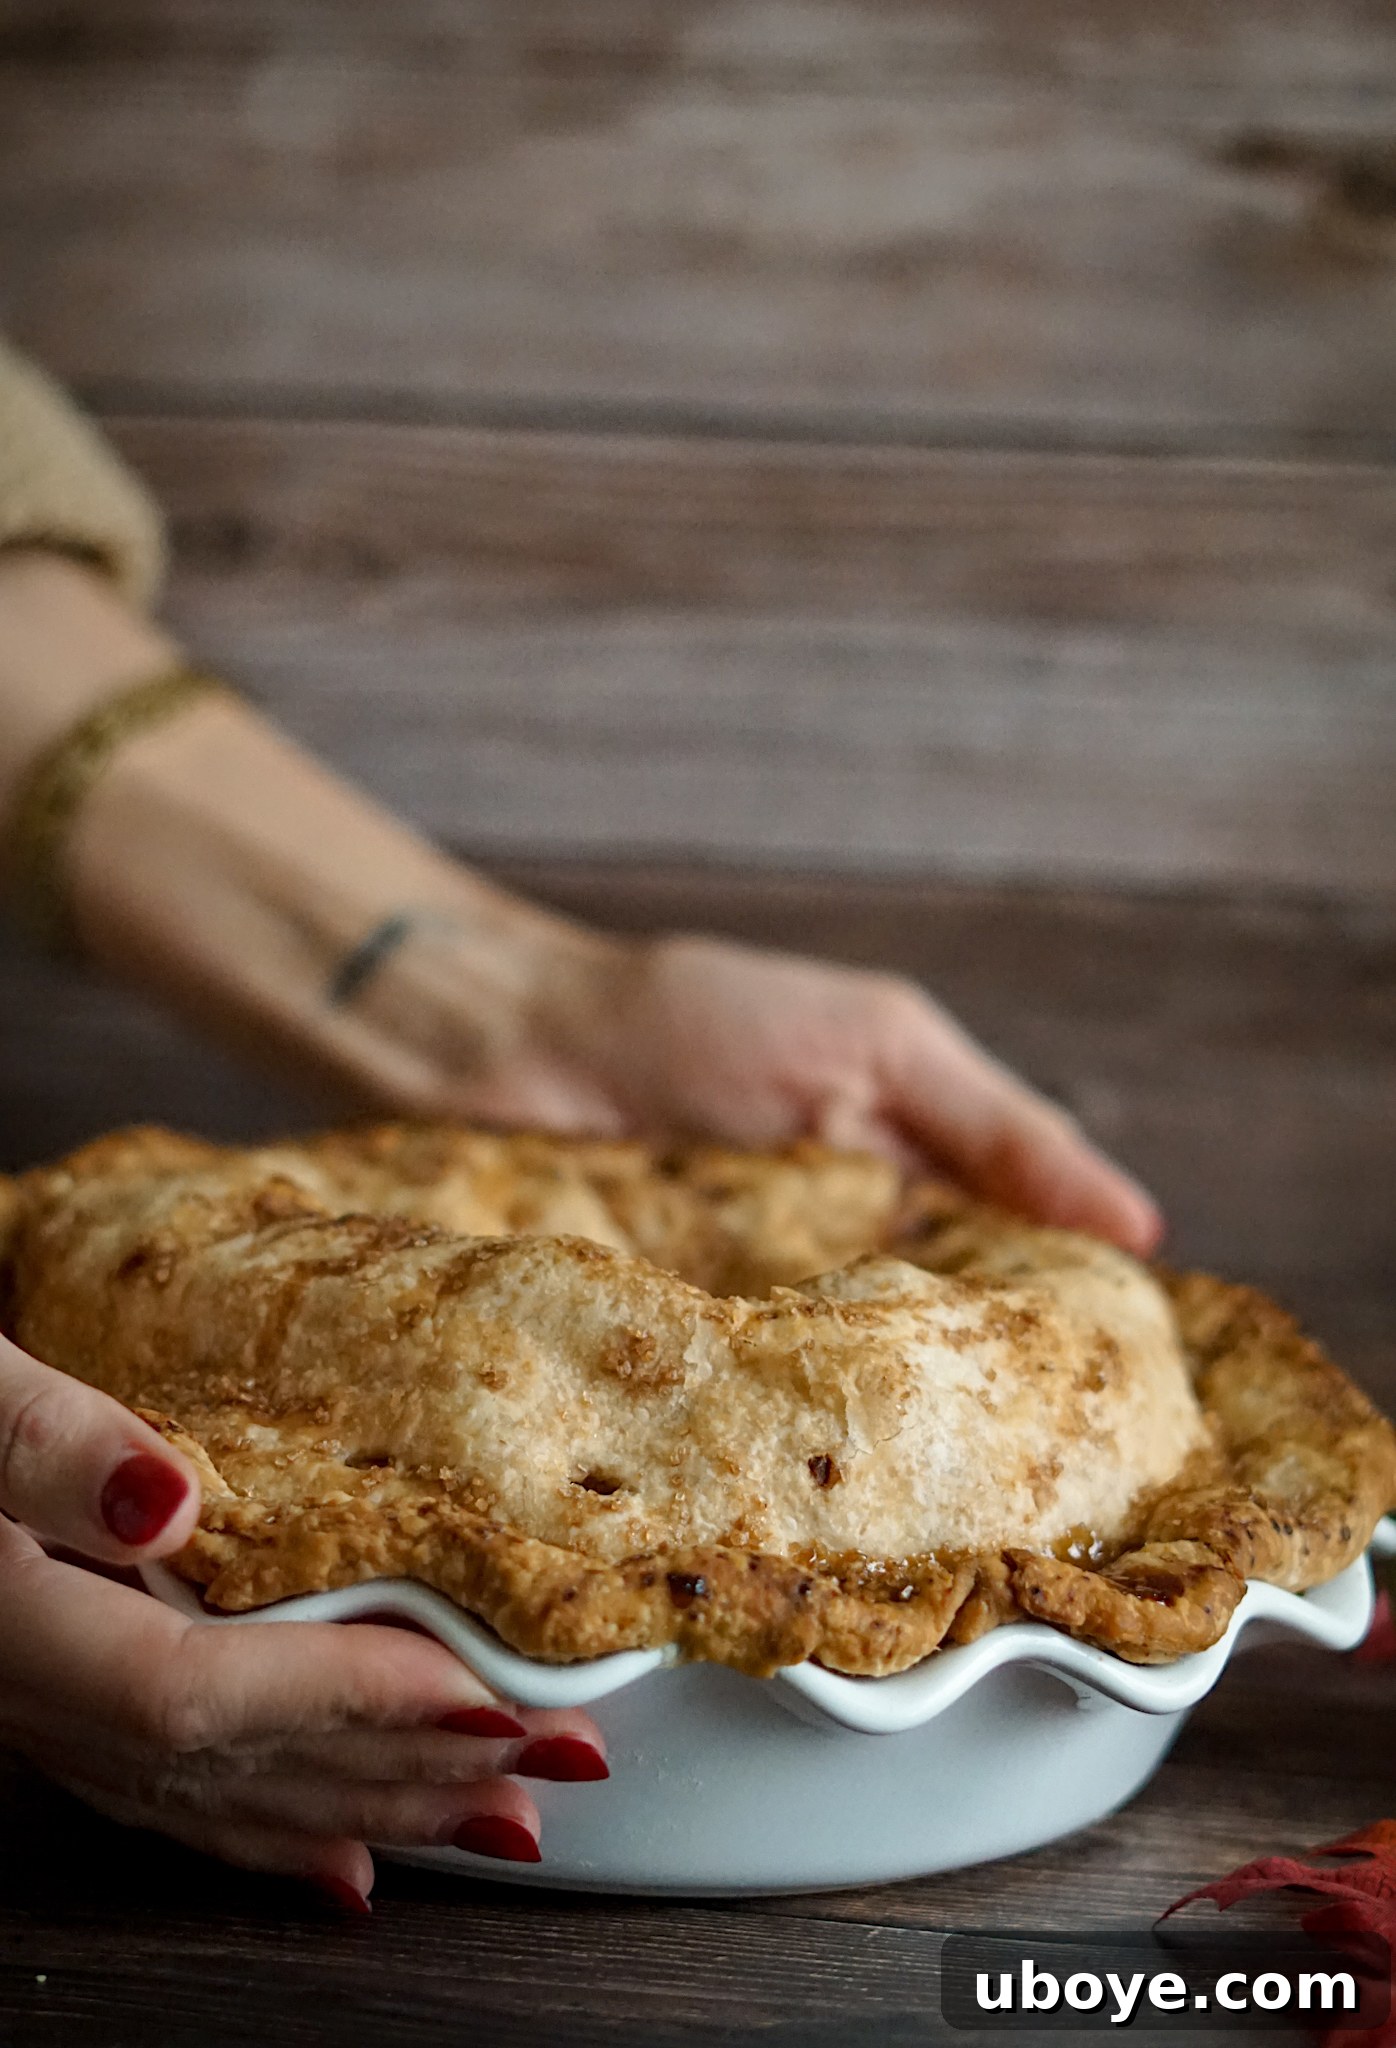
Once your oven reaches 425°F (220°C), carefully place your assembled pie dish directly onto the hot cookie sheet. Bake at this initial high temperature for 15 minutes. This quick burst of high heat helps to set the crust rapidly and begin the browning process. After 15 minutes, **without opening the oven door**, reduce the oven temperature to 375°F (190°C) and continue baking for another 1 hour to 1 hour and 15 minutes. The pie is done when the crust is deeply golden brown, and you can see the apple juices bubbling through the vents. Your kitchen should, at this point, smell absolutely incredible – that’s your cue that a perfect vegan apple pie is almost ready!
Expert Tips for Your Best Homemade Vegan Apple Pie:
Making a spectacular apple pie is an art, but these tips will guide you to perfection:
Use Good Quality Apples: The type of apple significantly impacts your pie’s flavor and texture. I predominantly use **Granny Smith apples** because their firm texture holds up beautifully during baking, preventing a mushy filling. Their natural tartness also provides a fantastic contrast to the sweetness of the sugars and spices, creating a balanced flavor profile. To add complexity, I often include a few **Fuji or Honeycrisp apples**. These varieties are also firm but contribute a lovely sweetness and subtle floral notes that enhance the overall apple flavor. This combination delivers a perfect balance of tartness, sweetness, and texture.
Chill the Pie Dough Religiously: This is arguably the most crucial tip for a flaky crust. **Keep your pie dough cold at all times.** The butter in the dough needs to remain solid until it hits the hot oven. As the butter melts, it releases steam, which creates those incredible pockets of air that result in a light, flaky crust. If you notice your dough becoming soft, sticky, or shiny at any point during preparation (especially while rolling), immediately pop it back into the fridge for 10-15 minutes to firm up. Cold dough equals a truly flakey, tender crust – never compromise on chilling!
Employ the Correct Size Pie Plate: For this recipe, I recommend using a **10.5-inch pie plate** (specifically, one that is approximately 10.5″ in diameter and 2.36″ high). If you use a smaller 9-inch pie pan, you will need to adjust the amount of apple filling. Over-filling a smaller pie plate can lead to juices bubbling over excessively and, more importantly, a soggy bottom crust because the pie takes longer to cook through. If you find yourself with leftover apple filling, don’t waste it! Sauté it gently in a saucepan until tender and serve it warm over oatmeal, vegan yogurt with granola, or as a delightful Fall breakfast treat.
Preheat a Cookie Sheet with the Oven: As mentioned in the baking instructions, always place a cookie sheet in your oven *before* preheating. Once the oven reaches temperature, you’ll place your pie directly onto this hot sheet. This method offers two significant benefits: firstly, it ensures a consistent, high heat transfer to the bottom of your pie, promoting a gorgeously golden and crisp bottom crust. Secondly, it acts as an invaluable shield, catching any potential overflow of delicious, caramelly apple juices that might bubble up during baking, saving you from a messy oven cleanup.
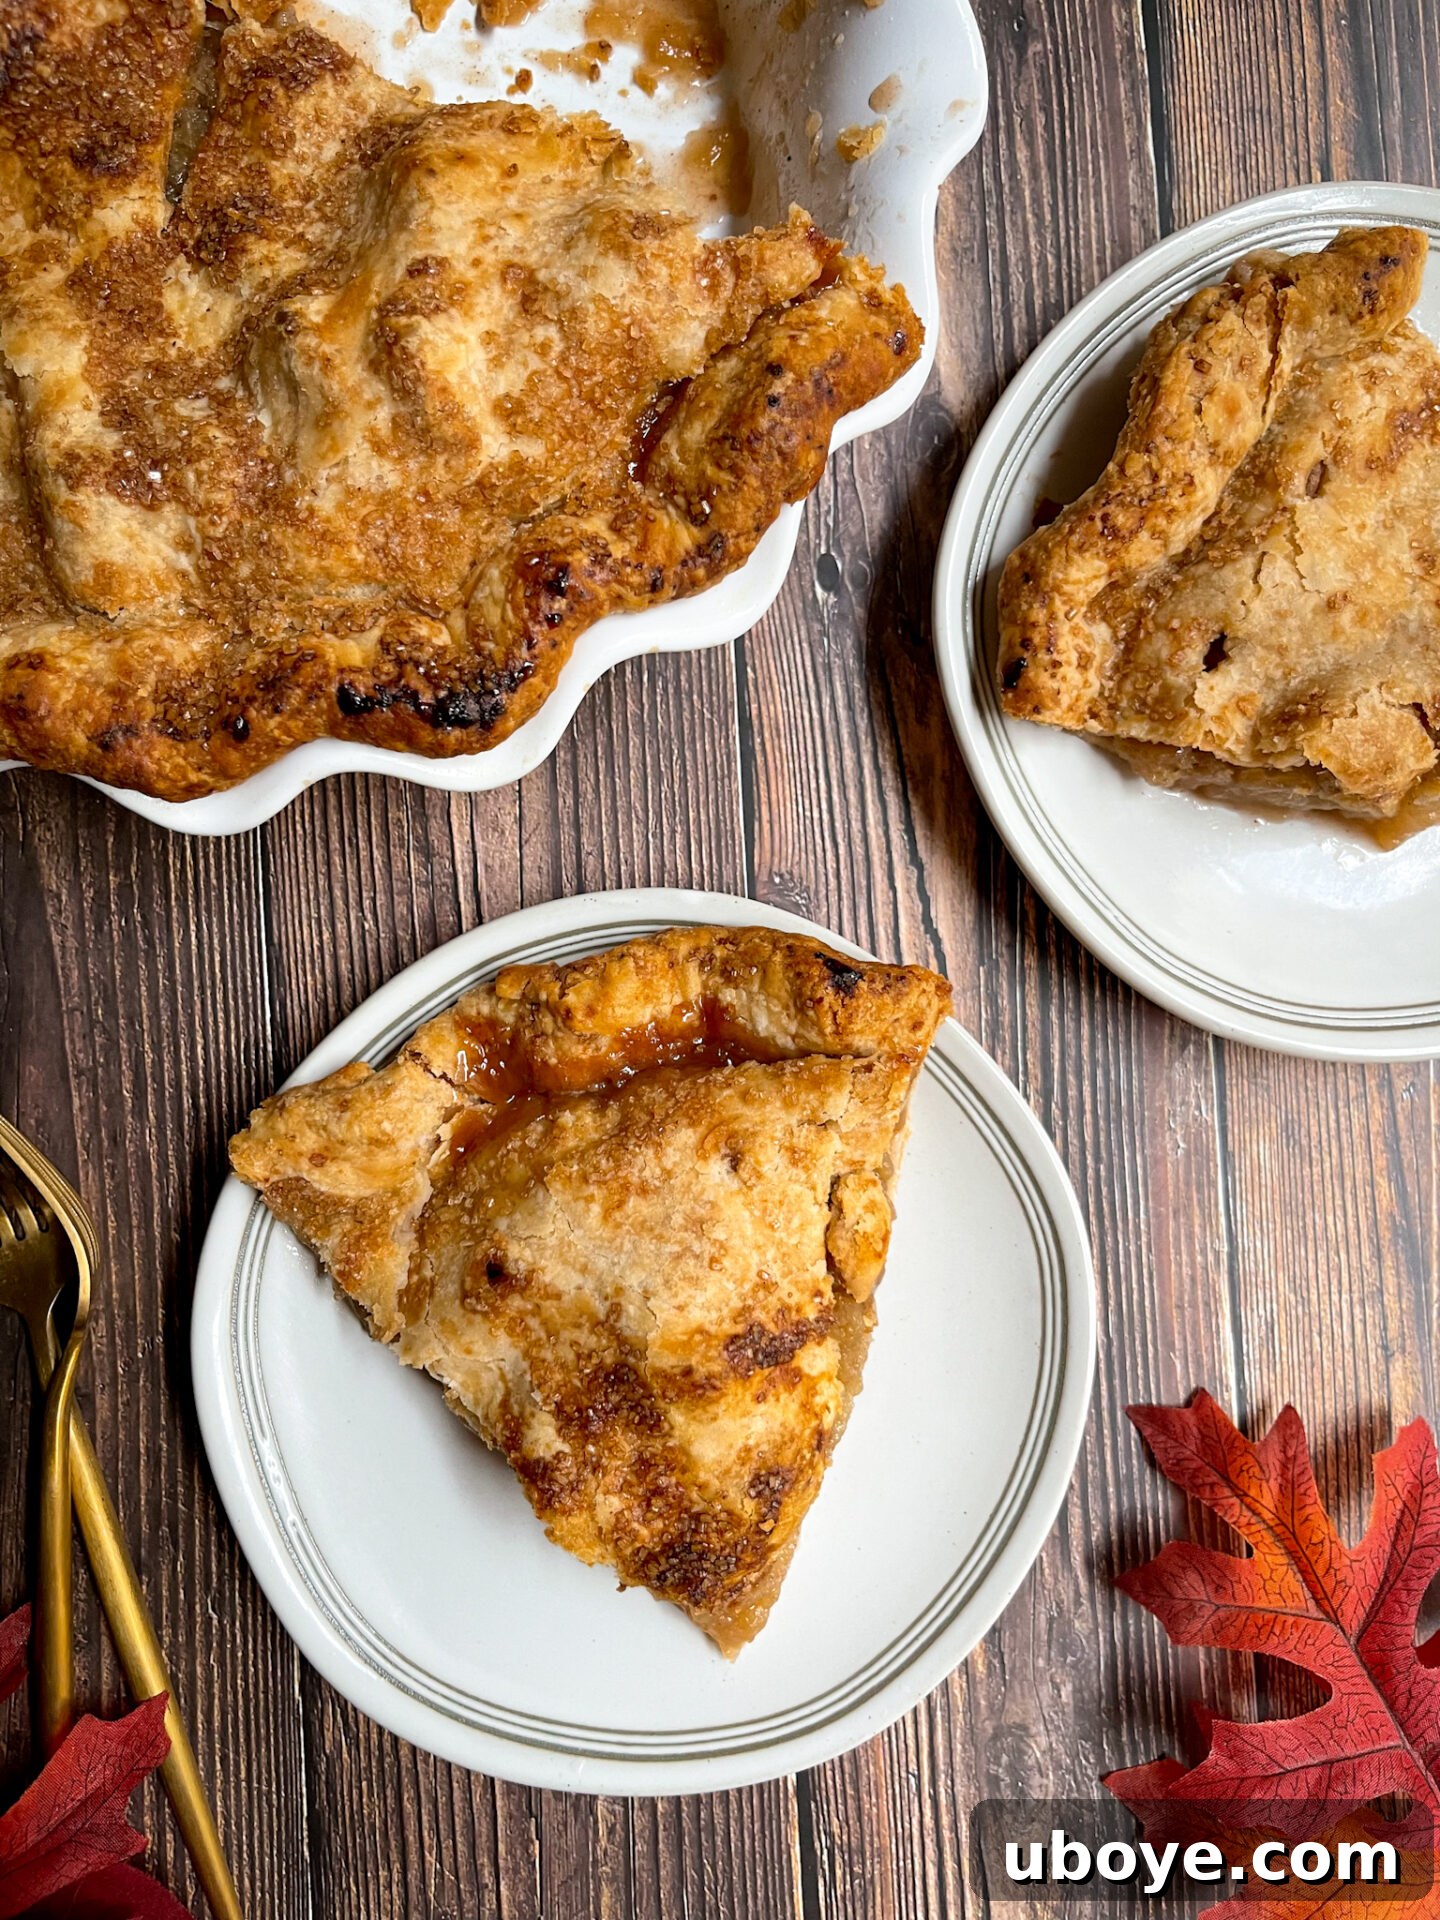
Patience is a Virtue: Cool Before Slicing: I know, the aroma alone makes it incredibly tempting to cut into a hot pie straight from the oven. However, resisting this urge is critical for a perfectly set and delicious pie. **Cutting into a hot pie means all the hot, liquidy juices will immediately run out.** This results in a runny filling that won’t taste as good and a crust that will quickly become soggy. To avoid this disappointment, allow your pie to **cool completely** – for at least 2 to 4 hours – before slicing. During this time, the filling’s natural pectins and thickeners set, transforming the liquid juices into a firm, luscious consistency. Trust me, the wait is absolutely worth it for a beautifully presented and flavorful slice. In fact, I often make this pie the day before I plan to serve it, as the flavors deepen and the filling sets even more perfectly overnight, making it even better the next day!
Serving and Storing Your Vegan Apple Pie
Once your vegan apple pie has cooled completely and the filling has set, it’s ready to be enjoyed! Serve generous slices on their own, or elevate the experience with a scoop of creamy vegan vanilla ice cream or a dollop of coconut whipped cream. The contrast of the warm, spiced apples with cold, rich ice cream is pure bliss.
Leftover pie can be stored at room temperature, loosely covered, for up to 2 days, or in the refrigerator for up to 4-5 days. For longer storage, slices can be individually wrapped and frozen for up to 2-3 months. Thaw in the refrigerator and gently reheat in the oven for a few minutes to restore its warmth and crispness.

Classic Vegan Apple Pie
Nicole Vranjican
30 mins
1 hr 10 mins
4 hrs
Rate Recipe
Print Recipe
Equipment
-
1 10.5″ pie dish (10.5″ Dia. x 2.36″ H)
-
1 Rolling Pin
-
2 cookie sheets
Ingredients
Pie Crust
- 2.5 cups all purpose flour
- 1 tsp kosher salt, I use Morton’s Kosher Salt
- 2 tsp cane sugar
- 2 sticks cold vegan butter , 1 cup, sticks not tub
- 6-7 tbsp cold water
Filling
- 5 lbs firm apples, I use a mix of Fuji, Honey Crisp, and Granny Smith
- 1 tbsp fresh lemon juice
- 2 tsp ground cinnamon
- ½ tsp ground nutmeg
- ⅛ tsp ground cloves
- ¼ cup cane sugar
- ½ cup packed light brown sugar
- 2½ tbsp flour
Toppings
- 1-2 tbsp unsweetened soy milk
- 2 tbsp turbinado sugar , optional but so yum!
Instructions
Make the Pie Dough
-
Start by cutting the cold vegan butter sticks into small cubes. Cover and refrigerate immediately until ready to use.
-
In a large bowl, combine the all-purpose flour, kosher salt, and cane sugar. Whisk thoroughly to combine, then add the chilled butter cubes.
-
Use a fork or pastry blender to mash the butter into the flour mixture until the butter pieces are about the size of peas and almonds. You can also use clean hands to gently squish the butter and flour together, being careful not to overwork it or melt the butter.
-
Stop mixing when a shaggy dough appears with distinct chunky pieces of butter. These butter pockets are crucial for a flaky crust. If the butter pieces are too small or uniform, your crust won’t be as flaky.
-
Make a well in the center of the bowl and add 6 tablespoons of ice-cold water. Mix just long enough to bring the dough together into a crumbly mixture. If it still feels too dry, add another tablespoon of cold water, one at a time, until it just holds together. Turn the mixture out onto a lightly floured countertop.
-
Gently knead the dough for only a few seconds, just enough to bring it into a cohesive ball. Avoid over-working the dough at this point, as it can develop gluten and lead to a tough, less tender crust.
Shape the dough into a ball, working quickly to prevent the butter from softening too much. Cut the ball in half and shape each half into a flat disk. Wrap each disk tightly in plastic wrap and refrigerate for at least 1-2 hours (or up to 2 days) to chill thoroughly.
Tip: If at any point the butter starts to get soft, melty, or shiny, place the entire bowl (or dough disks) in the fridge for 5-10 minutes to firm up.
Roll Out the Dough
-
Place a cookie sheet on the center rack of your oven and preheat the oven to 425°F (220°C).
-
Unwrap one of the chilled pie dough disks and let it sit at room temperature for about 10-15 minutes. It should be soft enough to roll out without cracking, but still cool to the touch so the butter doesn’t melt within the dough.
-
Lightly flour your countertop and rolling pin. Begin rolling the first disk of dough into a 14-inch circle. Start with the rolling pin in the middle of the disk and roll forward, backward, and to each side. Rotate the dough 90 degrees after every few rolls and dust with a light amount of flour as needed to prevent sticking.
For extra flaky layers: Roll the dough out, then fold it in half. Fold it in half one more time to create a small stack, then roll it out again into a 13-14 inch circle. This stacking and rolling process enhances flakiness!
Tip: Flip the dough over every fourth rotation to ensure even rolling and prevent sticking.
-
To easily transport the pie crust, gently roll it around your rolling pin, then unroll it into your 10.5-inch pie dish (10.5″ Dia. x 2.36″ H). Let it drape down into the bottom and edges of the pan.
-
Gently press the dough into the walls of the pie dish, ensuring there are no gaps. Leave about 1 inch of overhang to prevent shrinking during baking. Cover the pie crust with a clean kitchen towel and place it back in the fridge while you roll out the second disk. Repeat the same rolling process with the second dough disk for the top crust, rolling it into a 14-inch circle. Transfer this to a cookie sheet, cover, and place in the fridge to chill while you prepare the pie filling.
Make the Apple Pie Filling
-
Peel 5 lbs of firm apples (a mix of Fuji, Honeycrisp, and Granny Smith is recommended for best flavor and texture). Slice the apples into uniform ¼-inch slices. Place the slices in a large bowl and toss with 1 tablespoon of fresh lemon juice to prevent browning.
Add the ground cinnamon, ground nutmeg, ground cloves, cane sugar, packed light brown sugar, and flour to the bowl with the apples. Gently mix until all the apple slices are thoroughly coated with the sugar and spice mixture.
Assemble
-
Retrieve the pie crust from the fridge. Using a slotted spoon, transfer the apple filling into the pie crust. Draining the excess apple juices with the slotted spoon is crucial for preventing a soggy pie bottom. Discard any remaining juice in the bowl.
Optional: Dice 1 tablespoon of cold vegan butter into small cubes and scatter them over the top of the apples for extra richness.
-
Remove the top pie dough disk from the cookie sheet in the fridge. Carefully place it over the apple filling. Trim off any excess dough if it’s more than 1 inch of overhang. Then, tuck the top crust under itself on the bottom crust’s overhang to create a thick, sturdy rim.
-
Use your fingers to crimp the edge of the pie crust, creating a beautiful decorative design. Cut a few small slits in the top crust to allow steam to escape during baking. Lightly brush the top and crust with unsweetened soy milk, then sprinkle generously with turbinado sugar for a gorgeous sparkle and delightful crunch!
Bake
-
Place the assembled pie dish directly on top of the preheated cookie sheet in the oven.
Bake at 425°F (220°C) for 15 minutes. Then, reduce the oven temperature to 375°F (190°C) and continue baking for 1 hour to 1 hour and 15 minutes, or until the crust is deeply golden brown and the filling is visibly bubbling. Your kitchen should be filled with an amazing aroma!
Chill to Set
-
This step is non-negotiable for a perfect pie! The filling needs time to set properly; otherwise, it will run out when sliced. Allow the pie to cool completely at room temperature for at least 2-4 hours before serving. Even better, make it the day before and let it chill overnight.
Serve
-
Slice and serve your magnificent vegan apple pie warm, ideally with a scoop of vegan vanilla ice cream or a dollop of coconut whipped cream. Enjoy!
More Irresistible Vegan Dessert Recipes You Might Like:
- Vegan Blueberry Pie
- One Bowl Fudgy Vegan Brownies
- Vegan Gingerbread Cake
- Fluffy Vegan Apple Muffins
- PB + J Chocolate Peanut Butter Cups