
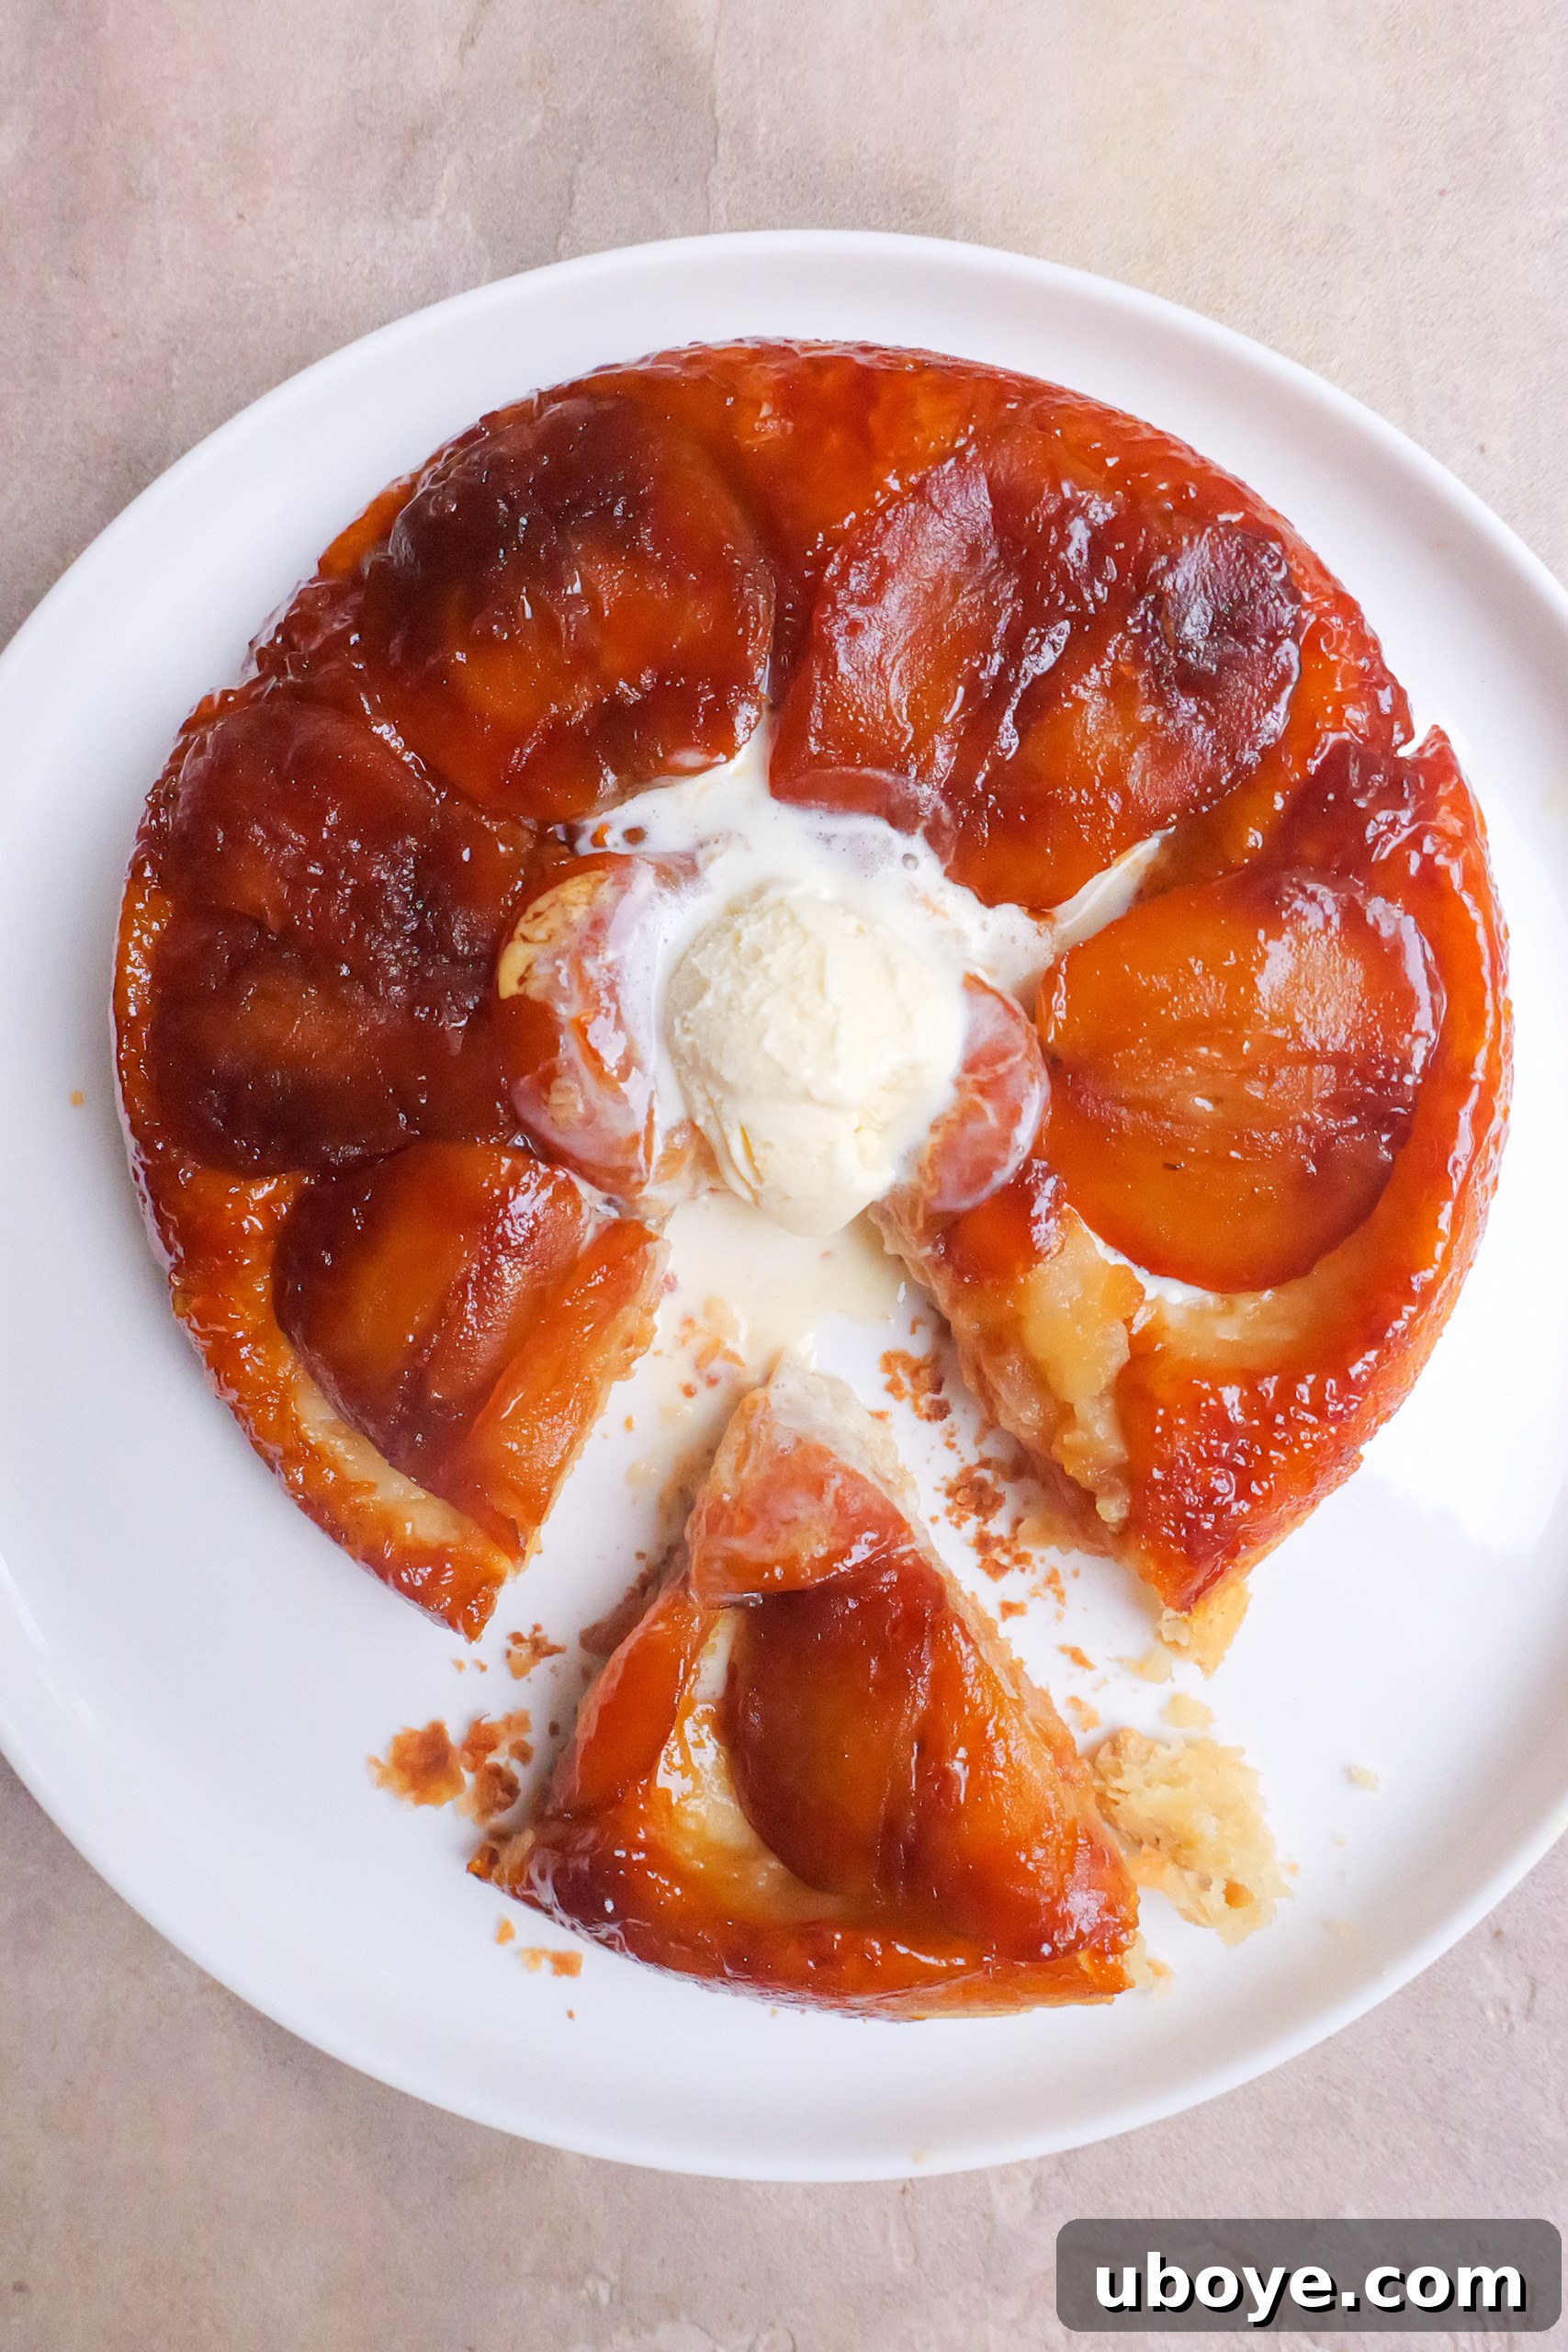
Classic Apple Tarte Tatin: Your Gateway to French Patisserie
With social media feeds brimming with sun-kissed European vistas, it’s easy to feel a pang of wanderlust. If a trip across the Atlantic isn’t on your immediate horizon, why not bring a piece of Europe to your kitchen? Today, we’re diving into the delightful world of the Apple Tarte Tatin, a quintessential French dessert that promises an authentic taste of Parisian charm without the flight ticket. This inverted tart, celebrated for its caramelized apples and flaky pastry, is surprisingly simple to master, making it a perfect project for bakers of all experience levels. Whether you prefer the satisfaction of a homemade rough puff pastry or the convenience of a high-quality store-bought option, our recipe ensures a delectable result every time.
Prepare to impress your friends and family with this elegant yet rustic tart that looks and tastes far more complex than it truly is. It’s a culinary secret weapon for those who love gourmet flavors with manageable effort.
Jump to Recipe
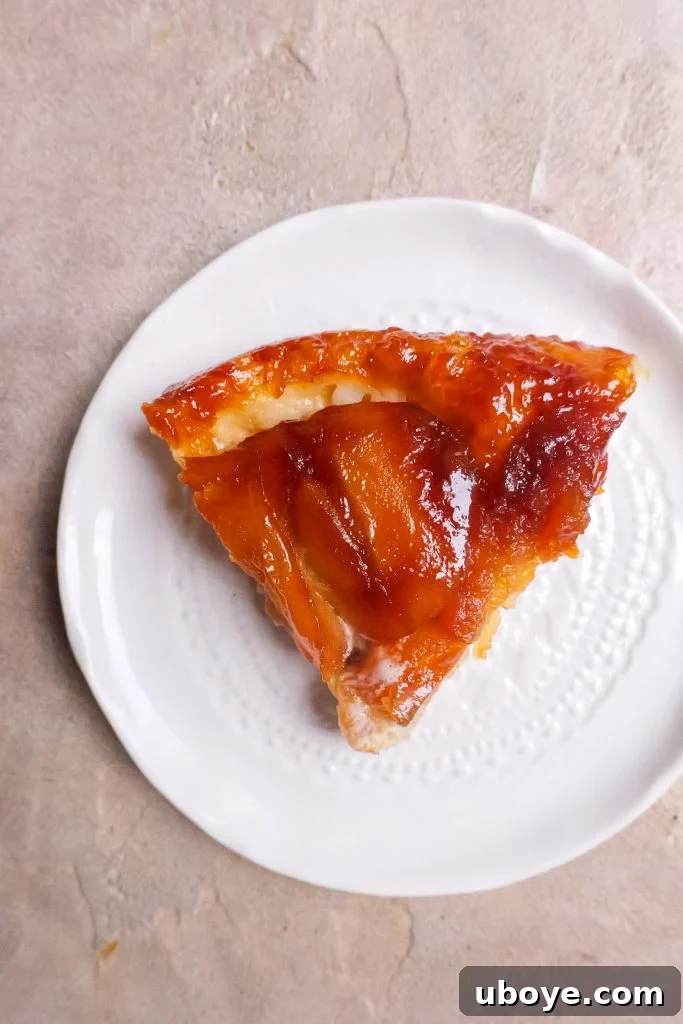
The Allure of Apple Tarte Tatin
There’s something inherently charming about an Apple Tarte Tatin. Its rustic beauty, combined with the intoxicating aroma of caramelized apples and warm pastry, creates an irresistible appeal. What I love most about it is its deceptive simplicity. It appears incredibly sophisticated, yet the process is straightforward, yielding spectacular results that consistently earn high praise. For my tarte tatin, I often opt for a homemade rough puff pastry. It strikes the perfect balance between ease of preparation and achieving that desirable flaky texture. However, I wholeheartedly endorse using a good quality frozen puff pastry if time is of the essence. It offers a delicious shortcut without compromising the essence of this classic dessert.
The beauty of this recipe lies in its adaptability. It’s designed to be approachable, ensuring that even novice bakers can achieve a “wow” factor. The combination of sweet, tender apples with a crisp, buttery crust makes for an unforgettable culinary experience that transports you straight to a quaint French patisserie.
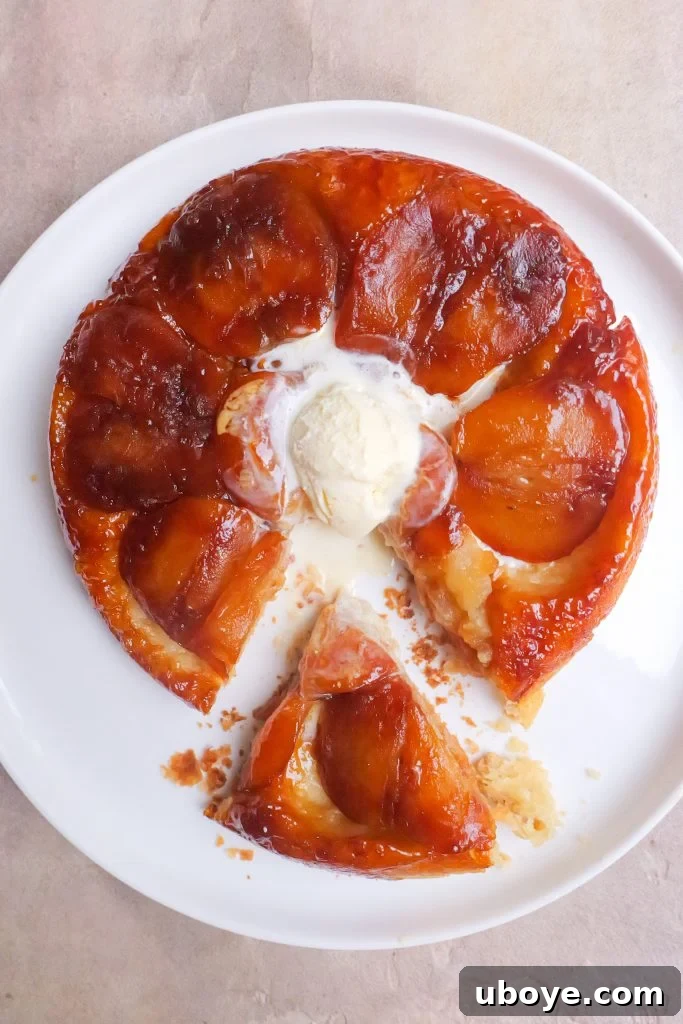
What Exactly is a Tarte Tatin? A Culinary Backstory
The Tarte Tatin boasts a delightful origin story, famously attributed to two sisters, Caroline and Stéphanie Tatin, who ran a hotel restaurant in Lamotte-Beuvron, France, in the late 19th century. Legend has it that Stéphanie, in a moment of rush or forgetfulness, accidentally overcooked apples in butter and sugar. To salvage the dish, she placed a pastry crust over them and baked it, later flipping the entire creation upside down to serve. The result was a spectacularly delicious, caramelized apple tart, which quickly became their signature dish.
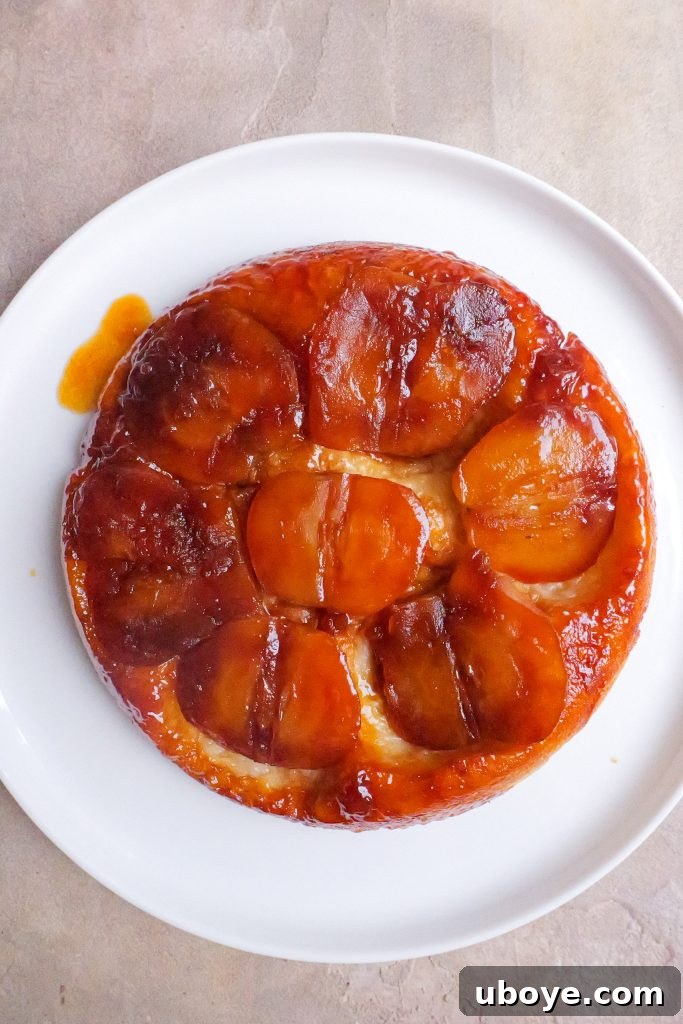
Thus, a Tarte Tatin is essentially an “upside-down” tart, traditionally made with apples, where the fruit is caramelized in butter and sugar at the bottom of a pan before being topped with a pastry crust and baked. Once cooked, it’s inverted onto a serving plate, revealing a glistening layer of caramelized fruit. It’s a testament to accidental genius and simple, wholesome ingredients coming together to create something truly magical. This apple tarte tatin is a sweet yet beautifully acidic treat that will make you feel like you’re strolling along the Champs-Élysées, even if you’re just in your own dining room. It’s a classic French dessert that exemplifies rustic elegance and timeless flavor.
The Star Ingredient: Choosing the Right Apples for Tarte Tatin
When it comes to Apple Tarte Tatin, not all apples are created equal. For this iconic dish, there’s truly only one champion: the crisp, tart green apple, typically Granny Smith. While I appreciate the sweetness of Pink Ladies and the familiar appeal of Red Delicious, their softer texture and lower acidity simply won’t yield the same spectacular results. We need the pronounced tartness of a green apple to cut through the rich caramel and buttery pastry, creating a harmonious balance of flavors that defines a perfect Tarte Tatin.
The firmness of green apples also ensures they hold their shape beautifully during the caramelization and baking process, preventing them from turning into an unappealing mush. This structural integrity is crucial for the visual appeal of the inverted tart. You can prepare them however you prefer – slices, wedges, or even halves – but I find that quartering them provides an ideal balance of size and even cooking, allowing them to absorb the caramel deeply while maintaining their distinct form. So, for a truly authentic and delicious Apple Tarte Tatin, reach for those vibrant green beauties!
Mastering the Crust: The Art of Rough Puff Pastry
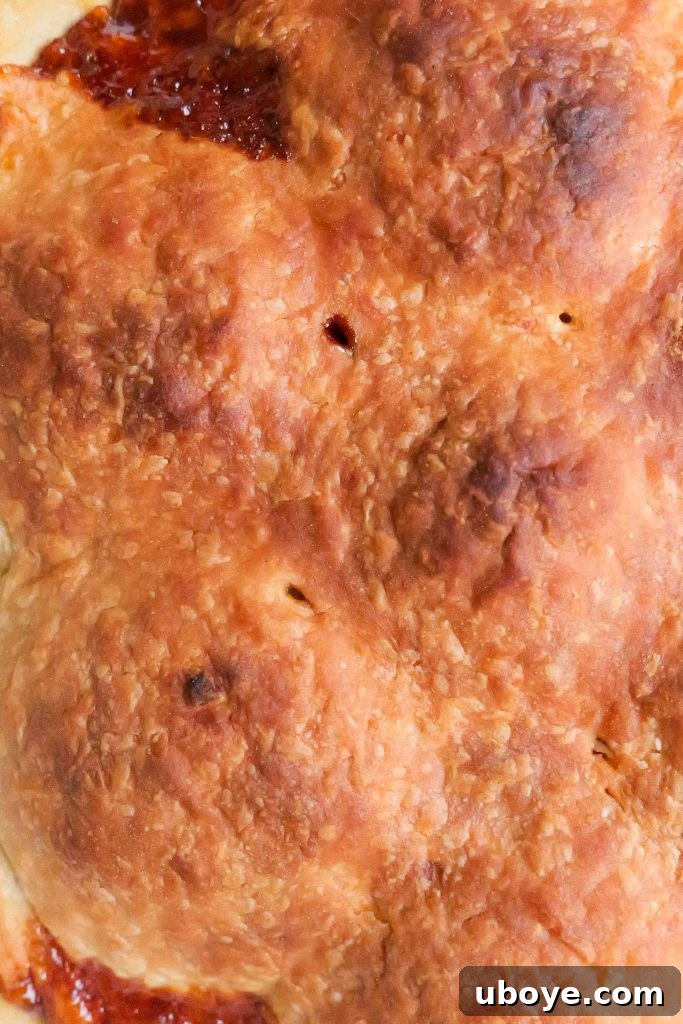
Pastry, for many, can be an intimidating undertaking. Its reputation for being difficult to master often deters even enthusiastic home bakers. However, rough puff pastry is a game-changer. It’s significantly easier to make than its name suggests and offers a wonderfully flaky, buttery result that rivals more complex puff pastries. While high-quality store-bought puff pastry is a perfectly acceptable and delicious alternative, I strongly encourage you not to shy away from attempting rough puff. It’s a rewarding experience that builds confidence in the kitchen.
The key to a successful rough puff lies in patience and attention to detail. The main requirement is ensuring your butter is consistently cold enough to grate and your touch is light when working the dough. This method relies on pockets of butter within the dough, which create those desirable flaky layers when baked. You’re not aiming for a perfectly smooth, uniform dough at first; rather, a slightly shaggy mixture with visible bits of butter. The folding technique, which we’ll cover in the recipe, is what develops the layers without the extensive labor of traditional puff pastry. Once you master this initial step, the rest of the tarte tatin recipe is surprisingly straightforward. It’s a fantastic introduction to pastry making that tastes and looks like a professional endeavor.
Your Step-by-Step Apple Tarte Tatin Recipe
Get ready to create a masterpiece! This recipe is designed for clarity and success, guiding you through each step to achieve a golden, caramelized Apple Tarte Tatin.
Apple Tarte Tatin
By Daen Lia
If you can’t make it to Europe, bring Europe to you, with Apple Tarte Tatin.
Prep Time: 4 hrs 10 mins
Cook Time: 25 mins
Servings: 6
Ingredients
Rough Puff Pastry
- 2 cups white all purpose flour
- 200 g unsalted butter, very cold
- 6 tbsp icy cold water
- 1/2 cup caster sugar
Apple Tarte Tatin
- 3-4 large green apples, peeled, cored and quartered
- 50 g unsalted butter
- 70 g caster sugar
- 1 puff pastry sheet (half of the homemade rough puff, or one store-bought sheet)
Instructions
-
Rough Puff Pastry
- Chill a large bowl, grater, and the butter (cut into cubes) in the freezer for 20 minutes before you begin making your pastry. Combine the flour and sugar in the chilled bowl and mix together with a fork.
- Grate the cold butter into the flour mixture using the chilled grater. Add to the flour. Using your fingertips, gently break the butter into the flour until you have a pebble-like, crumbly texture. This can be done by pinching and lightly rubbing the butter and flour between your fingers. The goal is to keep the butter bits somewhat intact, not fully incorporated.
- Create a well in the center of the flour mixture and pour in the icy cold water. Use a fork to combine the flour and water until most of the flour is moistened. Avoid overworking the dough at this stage.
- Lightly dust your kitchen bench or working surface with flour. Turn the dough out and gently mould it into a rough disc shape. The dough should be firm and moist but not sticky. You want just enough moisture so the dough barely sticks to itself. If it feels too dry, lightly moisten your hands while working it; if it’s too sticky, dust it with a little more flour. Wrap the dough tightly in plastic wrap and leave it to rest in the fridge for 1 – 2 hours, or ideally overnight.
- Once chilled, lightly dust your work surface and rolling pin with flour. Roll the dough out into a thick rectangle, about 2cm (approximately 0.8 inches) thick.
- Fold the dough into thirds, as if you were folding a letter to fit into an envelope. Rotate the dough 90 degrees clockwise. Roll it out again into a 2cm thick rectangle. Repeat this folding and rolling process 4 – 6 times until the dough becomes smoother and visibly layered. This creates the characteristic flakiness of puff pastry.
- Divide the dough into two equal pieces and wrap each piece in plastic wrap. You will only need half of this dough for one tarte tatin recipe. The remaining dough can be stored in the fridge for up to 2 days or in the freezer for up to 3 months. Allow the dough to rest for a minimum of 1 hour in the fridge, or ideally overnight, before using.
-
Apple Tarte Tatin Assembly
- Preheat your oven to 180 degrees Celsius (350°F).
- Take one portion of your rough puff pastry (or one store-bought sheet). Roll it out to a thickness of about 0.5 cm (0.2 inches). Using a 20cm (8-inch) diameter oven-safe pan (preferably cast iron or heavy-bottomed, with oven-safe handle), place the pan over the pastry sheet and cut a circle slightly larger than the pan base to perfectly fit the pan. Set aside.
- In the same oven-safe pan, place it on a medium heat on the stovetop. Scatter the 70g caster sugar evenly over the bottom of the pan. Leave it to cook undisturbed until it melts and turns into a rich amber color, beginning to caramelize. It’s crucial not to stir the sugar during this stage to prevent crystallization.
- Once the caramel is a deep amber, remove the pan from the heat. Carefully add the 50g unsalted butter to the pan. Stir it through the hot caramel until it is completely melted and combined, creating a smooth, luscious caramel sauce.
- Arrange the peeled, cored, and quartered green apples snugly over the caramel sauce in the pan. Try to fit as many as possible, arranging them in a decorative pattern, as this will be the top of your tart.
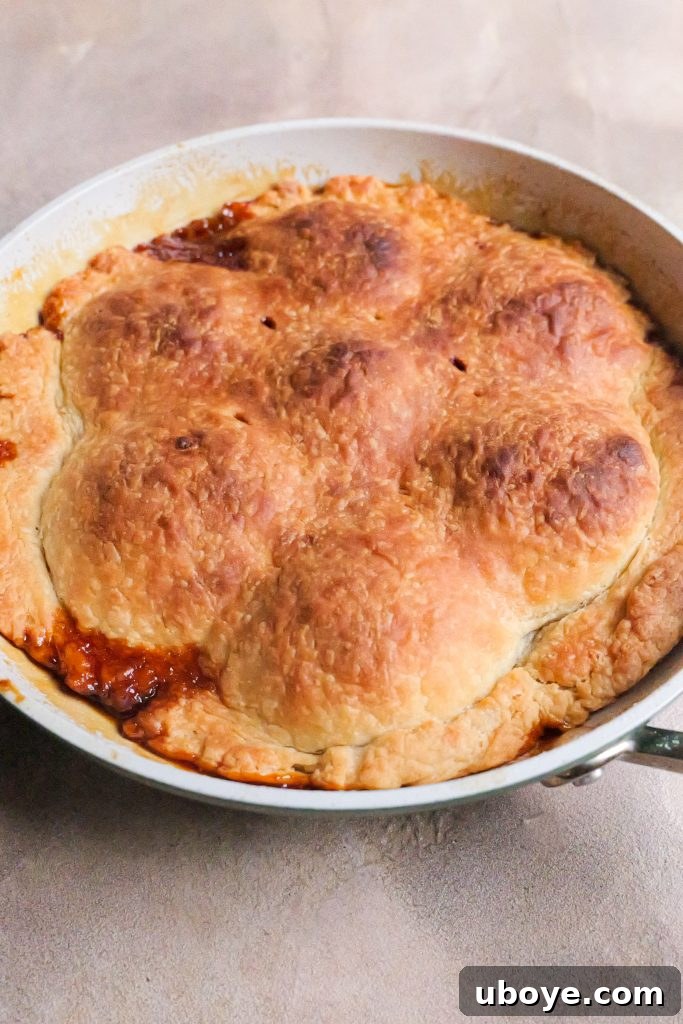
- Lay the prepared puff pastry circle over the apples, gently tucking the edges down around the fruit and into the sides of the pan. Poke the pastry with a sharp knife in 3-4 places to allow steam to escape during baking.
- Place the pan into the preheated oven and bake for 25 minutes, or until the pastry is golden brown and the caramel sauce is bubbling invitingly around the edges.
- Once baked, carefully remove the hot pan from the oven. Let it cool for about 5-10 minutes to allow the caramel to set slightly but remain fluid enough for easy release.
- To serve, place a large serving plate over the pan. Using oven mitts, carefully but confidently invert the pan onto the plate. The tarte should easily release itself from the pan, revealing the beautiful caramelized apples. If any apples stick, gently coax them out with a spoon and place them back onto the tart.
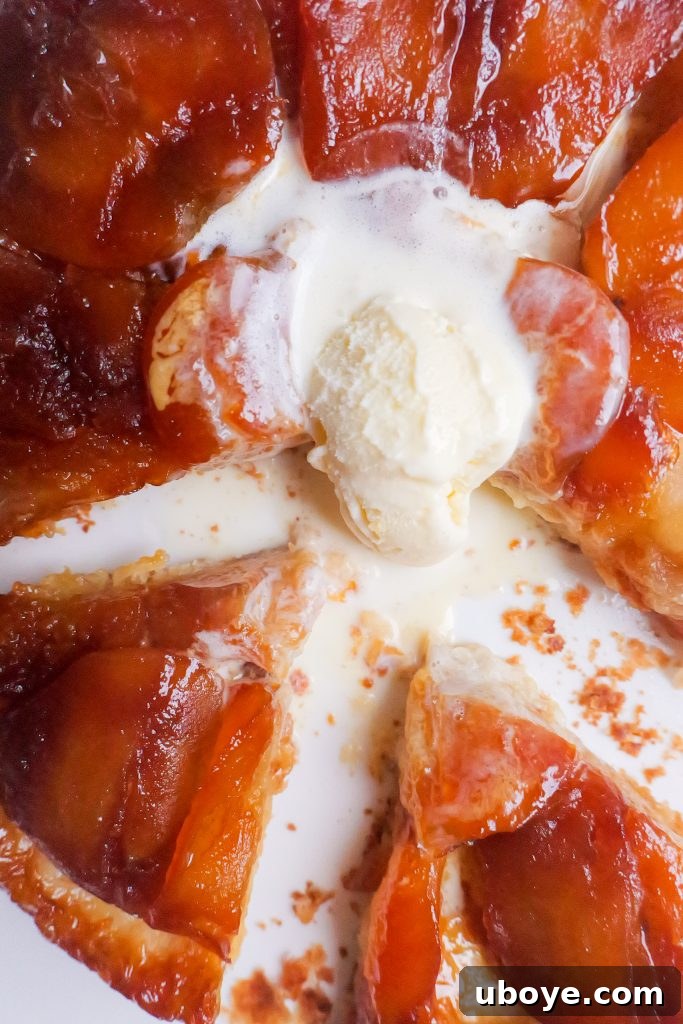
- Serve immediately with a generous dollop of vanilla bean ice cream or freshly whipped cream for an indulgent experience.
Expert Tips for a Flawless Apple Tarte Tatin
Achieving a perfect Tarte Tatin is a delightful journey, and a few insider tips can make all the difference:
- Cold Ingredients for Pastry: For rough puff, ensure your butter and water are ice-cold. This is paramount for creating those flaky layers. Warm butter will simply melt into the flour, resulting in a tough, less flaky crust.
- Don’t Overwork the Pastry: Handle the rough puff pastry as little as possible. Overworking the dough develops gluten, leading to a chewy, rather than tender, crust.
- Perfect Caramel: When making the caramel, resist the urge to stir the sugar until it has mostly melted and turned amber. Stirring too early can cause crystallization, leading to a grainy texture. Swirl the pan gently if needed.
- Even Apple Layer: Arrange the apple quarters tightly and evenly in the pan. This ensures a beautiful presentation when inverted and helps them caramelize uniformly.
- The Flip: The inversion can be daunting, but confidence is key. Let the tart cool for 5-10 minutes (no more!) after baking. This allows the caramel to firm up slightly without sticking excessively to the pan. Use a plate slightly larger than your pan, place it over, and flip quickly and decisively.
- Pan Choice: A heavy-bottomed, oven-safe pan, preferably cast iron or an anodized aluminum tart pan, is ideal for even caramelization and heat distribution.
Serving Suggestions and Creative Variations
The classic Apple Tarte Tatin is exquisite on its own, but it truly shines when paired with certain accompaniments. A scoop of rich vanilla bean ice cream melting into the warm, caramelized apples is heavenly. Alternatively, a dollop of crème fraîche or freshly whipped cream provides a delightful tangy contrast that balances the sweetness of the tart. For a touch of sophistication, consider a sprinkle of flaky sea salt over the finished tart to enhance the caramel notes.
While apples are traditional, the beauty of a Tarte Tatin lies in its versatility. You can absolutely experiment with other fruits!
- Stone Fruits: Peaches, apricots, or plums make fantastic alternatives, especially when in season. Their natural sweetness and slight tartness caramelize beautifully.
- Pears: Firm, ripe pears offer a slightly different texture and delicate flavor.
- Dates or Figs: For a more exotic and intensely sweet version, try arranging dates or figs.
- Spice It Up: Don’t hesitate to infuse your caramel with warming spices like a pinch of cinnamon, nutmeg, or even a star anise pod while it cooks for added depth of flavor. A splash of Calvados (apple brandy) or rum can also elevate the caramel.
This recipe provides an excellent foundation for a delicious fruity dessert that can be customized to your taste and the season’s bounty.
Frequently Asked Questions (FAQ) About Apple Tarte Tatin
Why use rough puff pastry instead of regular puff pastry?
Rough puff pastry is a fantastic choice for home bakers because it offers the incredible flakiness and buttery richness of traditional puff pastry but with significantly less effort and time. Unlike classic puff pastry, which requires numerous precise folds and extensive chilling periods (often hours or even days), rough puff is quicker to make and doesn’t demand the same level of technical precision. It’s an ideal beginner-friendly introduction to laminated pastries, allowing you to achieve impressive results without feeling overwhelmed. Essentially, it’s the home cook’s friendly version of classic puff pastry, yielding a delicious, crisp, and beautifully layered crust that perfectly complements the caramelized apples.
Can I use other fruit fillings for Tarte Tatin?
Absolutely! While apples are the traditional choice and undeniably delicious, Tarte Tatin is wonderfully versatile. You can certainly experiment with a variety of other fruits to create unique and equally delightful tarts. Popular alternatives include firm stone fruits like peaches, apricots, or plums, especially when they are in season and ripe. Pears, especially Bosc or Anjou, also work beautifully, offering a slightly different texture and subtle sweetness. For a more adventurous twist, consider figs or even bananas for a richer, more exotic flavor profile. The key is to choose fruits that can hold their shape during baking and caramelize well. This recipe provides a robust base for a myriad of delicious fruity desserts.
How do I store leftover Apple Tarte Tatin?
Leftover Tarte Tatin can be stored covered at room temperature for up to one day. For longer storage, transfer it to an airtight container and refrigerate for up to 2-3 days. The pastry might soften slightly in the fridge, but the flavors will remain wonderful.
Can I make Apple Tarte Tatin ahead of time?
Yes, to some extent! You can prepare the rough puff pastry ahead of time and store it in the fridge for up to 2 days or freeze it for up to 3 months. The apple filling, however, is best assembled and baked fresh. If you prepare the apples too far in advance, they might oxidize (turn brown) or release too much moisture. For best results, assemble and bake on the day of serving.
Share Your Apple Tarte Tatin Creation!
I hope you thoroughly enjoy making and sharing this exquisite Classic Apple Tarte Tatin. It’s a dessert that truly embodies the warmth and elegance of French baking.
If you make this Apple Tarte Tatin, please share your beautiful creations by tagging me on Instagram, TikTok, or Pinterest. I absolutely love seeing your culinary triumphs!
If you have any questions, tips to share, or would like to leave a review, please do so in the comments below! I always look forward to answering your food and recipe-related questions and hearing your valuable feedback on my recipes.