
Jump to Recipe Print Recipe
Exquisite Tomato, Mozzarella & Basil Galette with Homemade Garlic Confit Puff Pastry
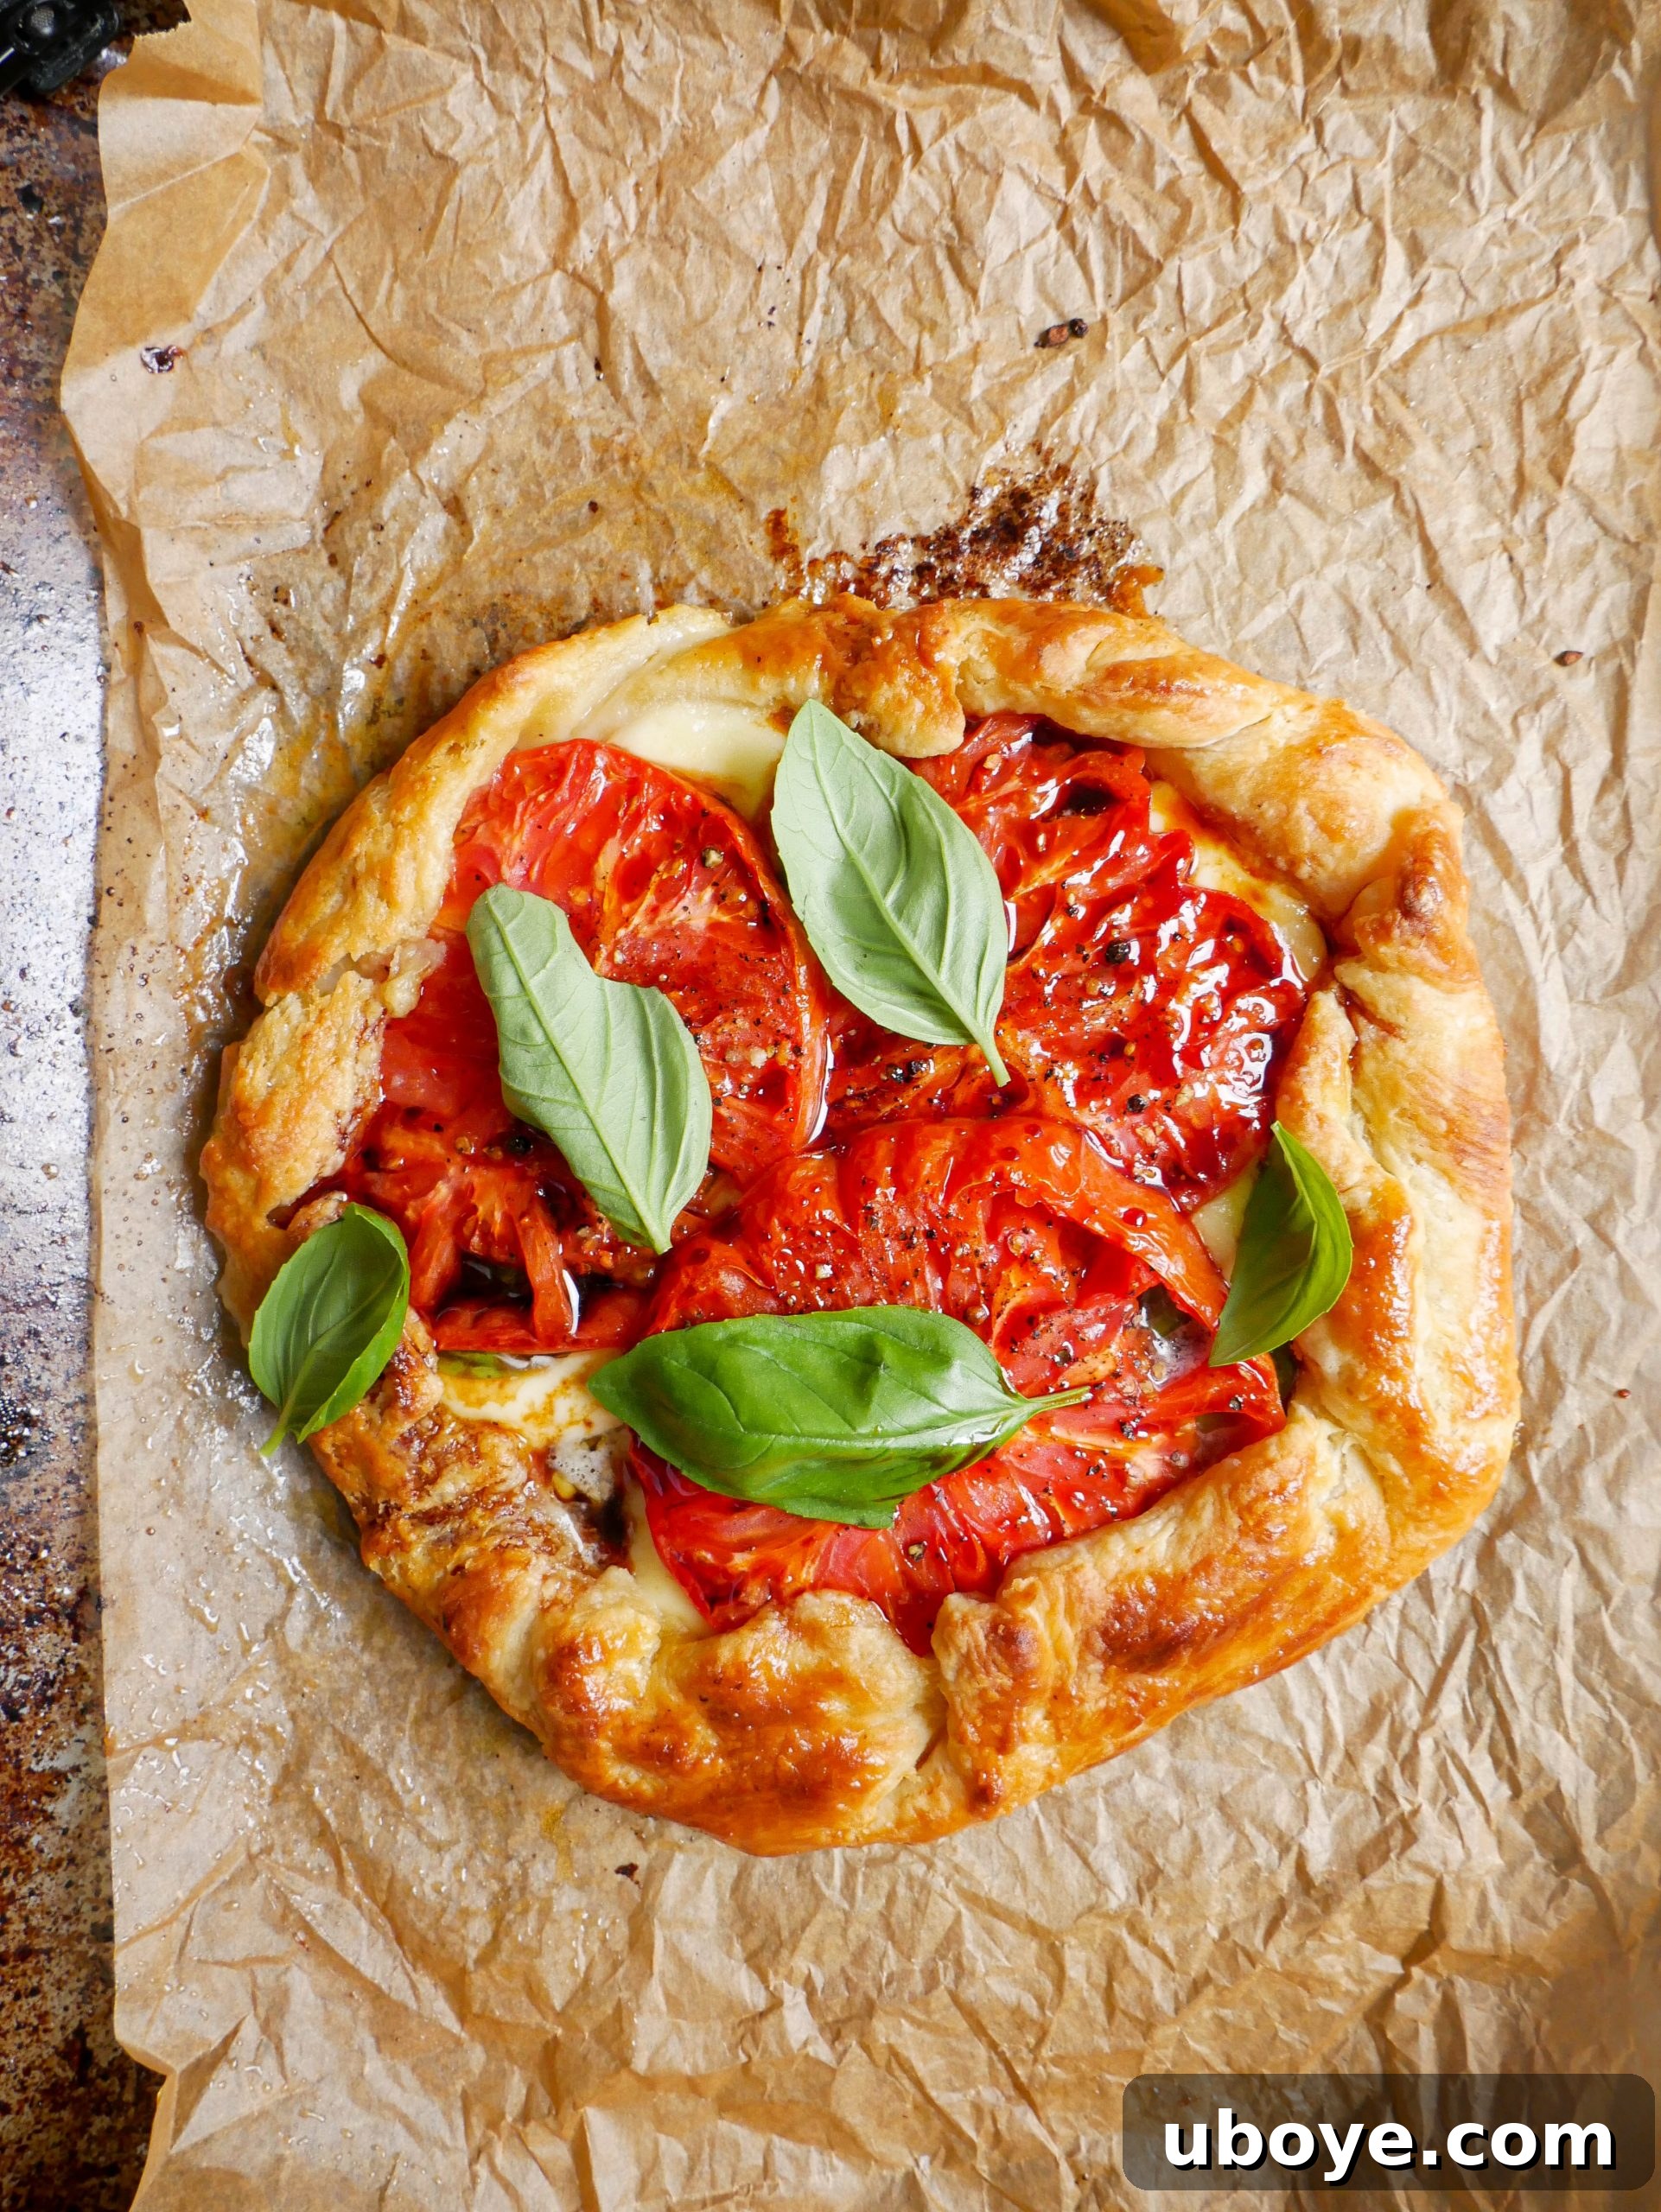
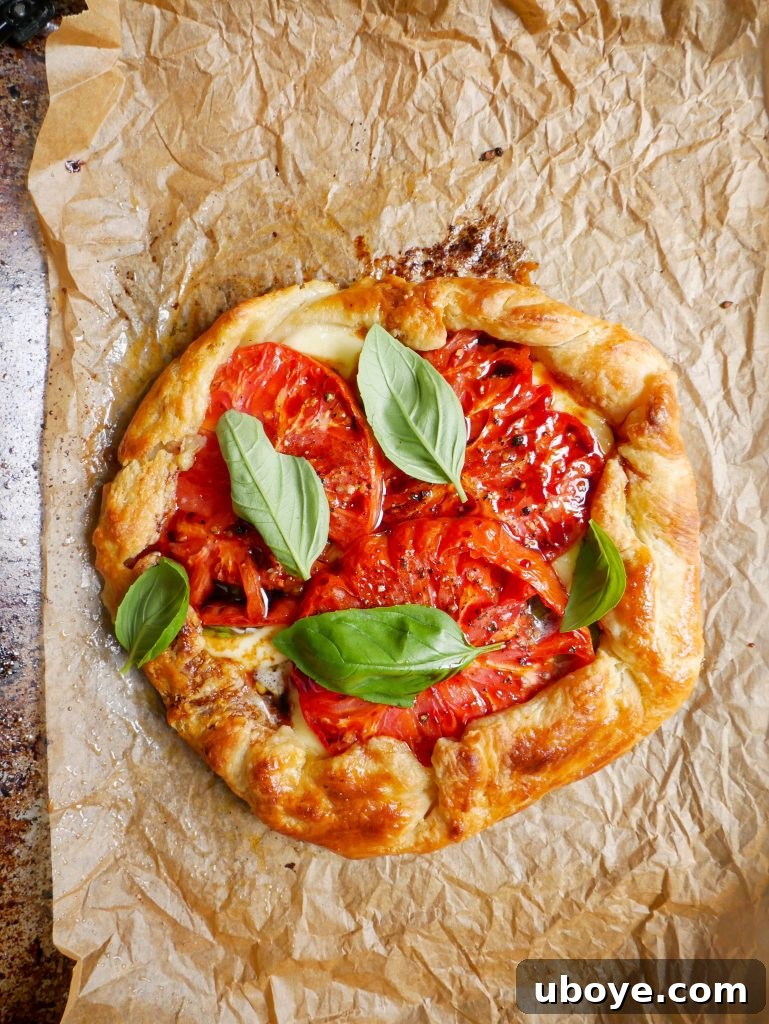
Imagine the vibrant, sun-kissed flavors of a classic Caprese salad, elegantly nestled within a golden, impossibly flaky pastry crust. This isn’t just any pie; it’s a Tomato, Mozzarella & Basil Galette, elevated by a unique garlic confit and sour cream puff pastry. Finished with a sweet and sticky balsamic glaze from Rich Glen’s, this galette is a testament to the fact that everything truly is made better with homemade puff pastry. It’s a dish that promises to impress with its sophisticated flavors and rustic charm, yet remains surprisingly simple to create.
The Allure of the Tomato, Mozzarella & Basil Galette
While summer might be winding down for some, for those in the Southern Hemisphere, tomato season is just hitting its peak. This galette perfectly captures the essence of summer, celebrating the sweetness of basil, the juicy ripeness of plump tomatoes, and the creamy richness of fresh mozzarella. A galette is, at its heart, an open-faced, free-form pie. It’s often referred to as the “lazy girl’s pie” because it foregoes the need for perfect crimping and intricate lattice work, embracing a beautifully rustic aesthetic instead. Don’t let the idea of making puff pastry from scratch intimidate you – once you master a few simple techniques, you’ll discover it’s far more achievable than you think.
The beauty of a galette lies in its versatility. While our focus here is on the delectable tomato, mozzarella, and basil filling, this pastry dough is a blank canvas for countless creations. You could explore savory options like a buttery mushroom and pecorino filling or a hearty cheesy potato tart. Whether served as an appetizer, a light lunch, or a stunning side dish, a galette, with its charmingly imperfect appearance, is guaranteed to be a showstopper at any dinner party or family gathering.
The Secret to Flaky Perfection: Garlic Confit & Sour Cream Puff Pastry
What truly elevates this galette to an extraordinary level is its secret weapon: garlic confit. And not just a little bit – we incorporate it generously, both in the vibrant filling and directly into the puff pastry itself. Garlic confit, with its incredibly smooth, mellow, and velvet-like texture, transforms ordinary garlic cloves into sweet, caramelized jewels. When rolled into the layers of buttery pastry, it ensures that every single bite delivers a subtle, aromatic whisper of garlic, adding an unparalleled depth of flavor.
This garlic confit and sour cream puff pastry isn’t just delicious; it’s remarkably versatile. The addition of sour cream lends a wonderful tenderness and richness to the pastry, making it easier to work with and even more delightful to eat. This unique dough is so adaptable that it can be paired with virtually any sweet or savory filling imaginable. Beyond this tomato masterpiece, consider using it for other incredible creations like my buttery mushroom tart or a comforting cheesy potato tart. Once you try this pastry, you’ll find yourself eager to experiment with its endless possibilities.
Mastering Homemade Puff Pastry: Tips for Success
The very thought of making puff pastry from scratch used to fill me with dread. Visions of dense, tough dough and melted butter were common nightmares! However, I can assure you it’s not nearly as difficult as it seems, especially when you follow these tried-and-true tips. With a little patience and these tricks up your sleeve, you’ll be creating beautifully flaky pastry in no time.
Keep it Cold: The Golden Rule of Puff Pastry
Brrr it’s cold in here – This isn’t just a suggestion; it’s the fundamental principle of puff pastry. For truly successful, flaky layers, your butter, ingredients, and even your tools need to be exceptionally cold. Approximately 20 minutes before you begin making your puff pastry, place your large mixing bowl, grater, and even your fork into the freezer. Cold temperatures are paramount because they prevent the butter from melting into the flour too quickly. By starting with thoroughly chilled butter and tools, you maximize the time the butter stays solid during the mixing process, ensuring those distinct pockets of butter that create incredible steam and rise in the oven.
The Grated Butter Technique: A Game Changer
Cheese graters aren’t just for cheese – Here’s a little trick I picked up that simplifies the butter incorporation immensely: grate your butter! Instead of cubing cold butter and trying to work it into the flour, grating it creates small, uniform pieces that are much easier to distribute evenly throughout the flour mixture. This method significantly reduces the effort required to break the butter into a “pebble-like crumbly texture” using your fingertips, minimizing the risk of overworking the dough and keeping the butter cold for longer.
The Art of Layering: Building Flakiness
Layering for beautiful flakes – To achieve those coveted, ethereal layers that define puff pastry, proper lamination (layering) is essential. After combining your ingredients, roll the dough out into a flat rectangle. Then, fold it into thirds, much like folding a letter. Place each layer precisely on top of the other, gently pressing the dough back into a flat square or rectangle. This folding and rolling process is repeated multiple times (typically three times for this recipe). Each fold creates more distinct butter and dough layers, which then steam and separate in the oven, resulting in that incredible, airy flakiness we all adore.
Work Swiftly: Beat the Clock
Work fast, stay cool – It’s a race against time and temperature when making puff pastry. Even with the coldest ingredients, the warmth of your hands and the ambient room temperature will inevitably cause the butter to warm up slightly. This is precisely why working quickly is crucial. The faster you can mix, fold, and roll your dough, the better you maintain the butter’s cold state, preserving its integrity for maximum flakiness. Don’t dawdle, but also don’t panic; a focused and efficient approach is key.
Crafting Your Delicious Tomato Galette: Assembly & Baking Tips
Once your beautiful garlic confit and sour cream puff pastry is ready, assembling the galette is the exciting final step. Here are my top tips to ensure your tomato galette turns out perfectly, bursting with flavor and featuring a delightfully crisp crust.
Choose Peak-Season Produce for Optimal Flavor
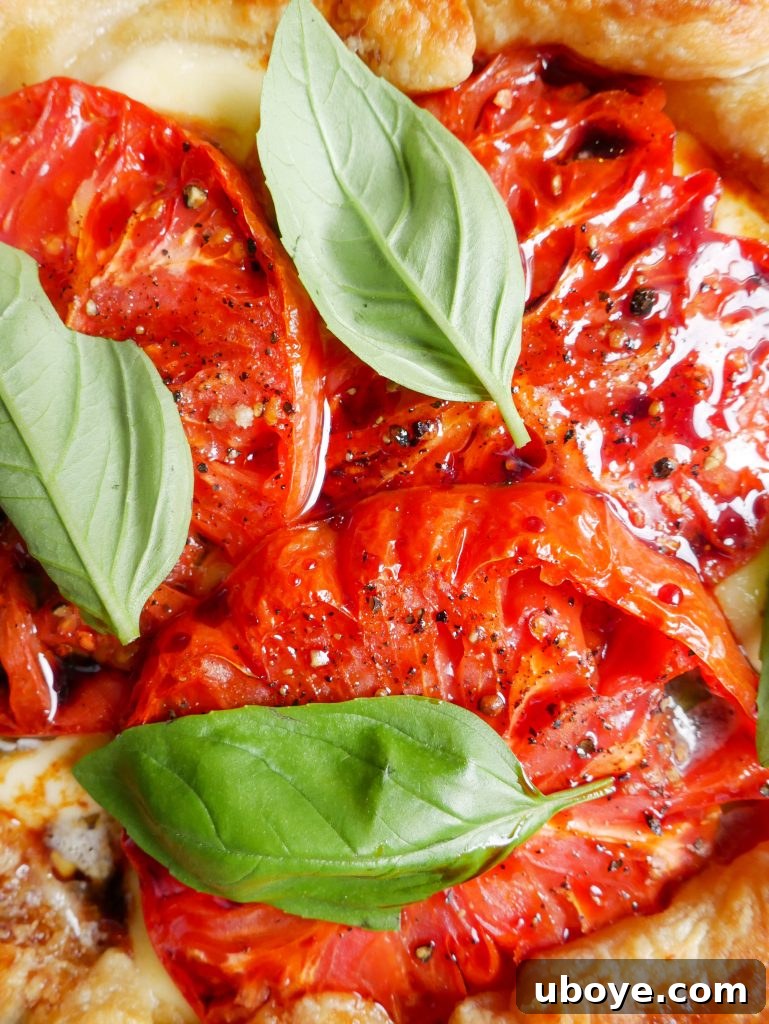
Use in-season produce – The simple elegance of this galette’s filling means that the quality of your ingredients truly shines. Since the flavors are not overly complicated, investing in peak-season produce will make all the difference. Seek out tomatoes that are plump, heavy for their size, and deeply juicy. Your basil should be vibrantly green and fragrant, offering a sweet, peppery aroma. I always recommend splurging on heirloom tomatoes if you can find them. Not only do their varied colors and shapes look incredibly impressive, but their complex, superior flavor profile will elevate your galette from great to unforgettable.
Build a Sturdy, Crispy Crust
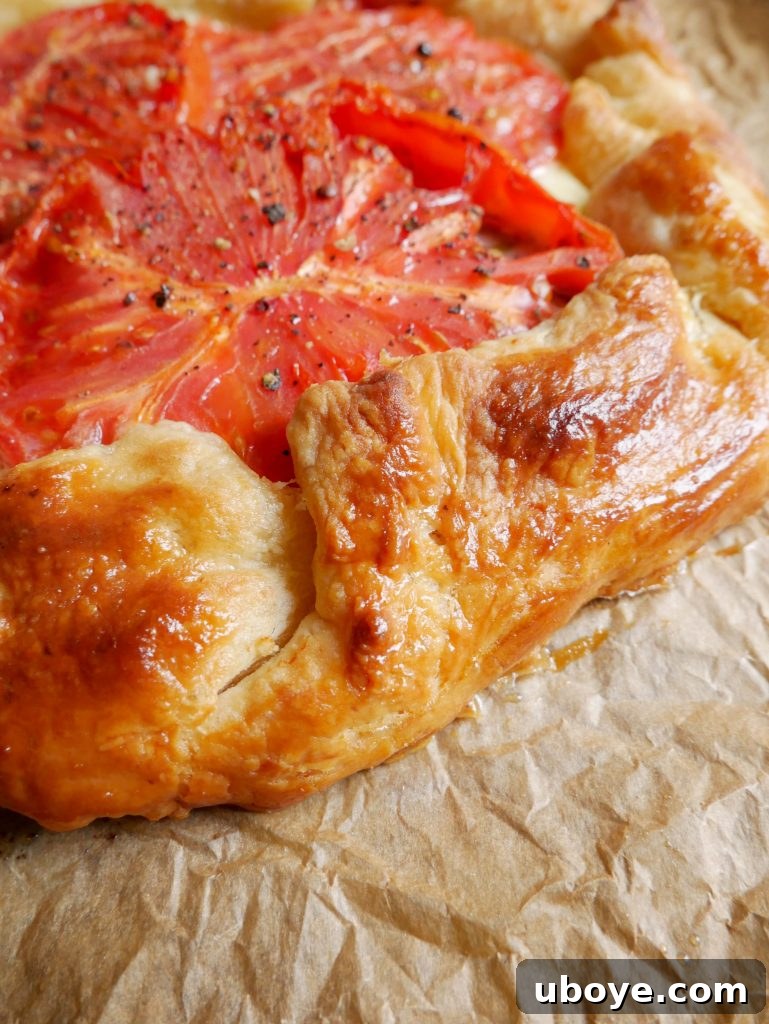
Create a generous border – When spreading your filling, it’s vital to leave a substantial border around the edge of your rolled-out dough – aim for about 4 centimeters. This generous margin is crucial for two reasons: firstly, it ensures that your galette will develop a thick, satisfyingly chunky, and wonderfully crispy crust, which is often my favorite part! Secondly, it prevents overfilling. An overfilled galette can lead to a barely-there crust, or even worse, the filling might seep out, making the pastry soggy and compromising its beautiful structure. A good border is your insurance policy for a perfect rustic edge.
The Golden Finish: Egg Wash Magic
Egg-cellent color – For that irresistible, deep golden-brown hue and a slight sheen that makes your galette look utterly professional, don’t skip the egg wash. Before baking, whisk one egg until smooth and then brush it generously over all exposed parts of the pastry dough. This simple step not only enhances the visual appeal but also contributes to an even crispier texture on the crust, locking in moisture and ensuring a beautifully caramelized exterior as it bakes.
The Ultimate Tomato, Mozzarella & Basil Galette Recipe
This recipe transforms fresh, simple ingredients into a show-stopping dish that’s perfect for any occasion. The homemade garlic confit puff pastry is truly a game-changer, providing a delicate yet robust base for the vibrant tomato, mozzarella, and basil filling. Prepare to impress!
Recipe Overview
Recipe Name: Tomato, Mozzarella & Basil Galette
By: Daen Lia
Summary: This galette takes all those delicious flavors from a Caprese salad and encases them in a golden and flaky garlic confit and sour cream puff pastry.
Prep Time: 1 hour
Cook Time: 2 hours 30 minutes
Servings: 6
Ingredients
Garlic Confit
- 6 heads garlic
- 3 cups Rich Glen Olive Oil
- 6 sprigs fresh thyme
Garlic Confit & Sour Cream Puff Pastry
- 2 cups white all-purpose flour
- 1 tsp flaky sea salt
- 150 g salted butter
- 200 ml sour cream
- 12 garlic confit cloves (from the recipe above)
- 1 egg, for brushing the pastry
Tomato Filling
- 8 garlic confit cloves (from the recipe above)
- 1 heirloom tomato (or 1 large tomato, or 2 medium-sized)
- 8 fresh basil leaves, plus extra for serving
- 125 g buffalo mozzarella
- 2 tsp Rich Glen Olive Oil
- 1 tsp flaky sea salt
- 1/2 tsp black pepper
- 1 tbsp Rich Glen Balsamic Glaze
Instructions
Garlic Confit
- Preheat your oven to a gentle 120 degrees Celsius. This low temperature ensures the garlic slowly cooks and sweetens without burning.
- Carefully peel the garlic. Break the heads into individual cloves and place them into a heatproof bowl. Pour boiling hot water over them and let them sit for 5 minutes. Drain the water; the skins should now be loose and easy to peel.
- Place the peeled garlic cloves and fresh thyme sprigs into an ovenproof dish. Pour enough Rich Glen Olive Oil over them to completely submerge the garlic. It is crucial that the garlic is fully covered to prevent it from burning.
- Bake for 2 hours, or until the garlic cloves have turned a beautiful golden brown and are incredibly soft.
- Allow the confit to cool slightly before transferring it, along with the oil, to an airtight container or jar. It will keep well in the fridge for up to several weeks.
Garlic Confit & Sour Cream Puff Pastry
- Begin by chilling a large mixing bowl, your grater, and the block of butter in the freezer for at least 20 minutes. This step is vital for a flaky pastry.
- In the chilled bowl, combine the all-purpose flour and flaky sea salt. Mix them together briefly with a chilled fork.
- Using the chilled grater, grate the cold butter directly into the flour mixture.
- With your fingertips, quickly work the grated butter into the flour until you achieve a texture resembling coarse pebbles. You can do this by gently pinching and rubbing the butter and flour between your fingers, aiming for small, distinct butter pieces.
- Create a well in the center of the flour mixture. Add the sour cream and the 12 garlic confit cloves. Using your fork, gently combine these wet ingredients with the flour until most of the flour is moistened and a rough dough forms.
- Lightly dust your clean kitchen counter or working surface with flour. Turn the dough out and gently mold it into a rough disc shape. The dough should feel firm and moist but not sticky. If it feels too dry, slightly wet your hands while working with it; if it’s too sticky, dust with a tiny bit more flour.
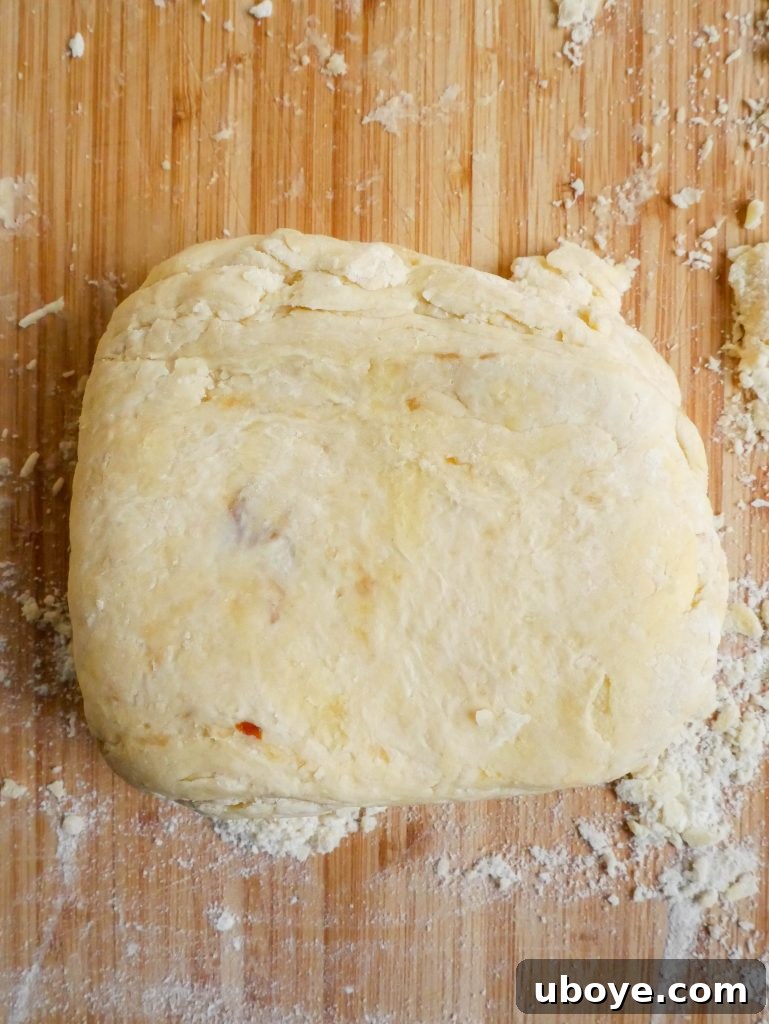
- Using a rolling pin, roll the dough into a thick rectangular shape. Cut this rectangle into three equal sections. Stack these three pieces of dough directly on top of each other. Gently roll them together with the rolling pin to form a single, flat rectangle again. Repeat this folding and rolling process two more times until the dough appears smooth and elastic. This layering process builds the flakiness.
- Divide the finished dough into two equal discs and wrap each piece tightly in plastic wrap. For this recipe, you will only need half of the dough. The remaining dough can be stored in the fridge for up to 2 days or frozen for up to 3 months for future use. Allow the dough you plan to use to rest in the fridge for a minimum of 1 hour, or ideally, overnight.
Tomato Filling & Galette Assembly
- Preheat your oven to 200 degrees Celsius (fan-forced) or 180 degrees Celsius (conventional).
- Prepare your tomatoes by slicing them. If your tomatoes are particularly juicy and have a lot of liquid, arrange the slices on absorbent paper towels and lightly sprinkle them with salt. Let them sit for about 10 minutes to draw out excess moisture, which helps prevent a soggy crust.
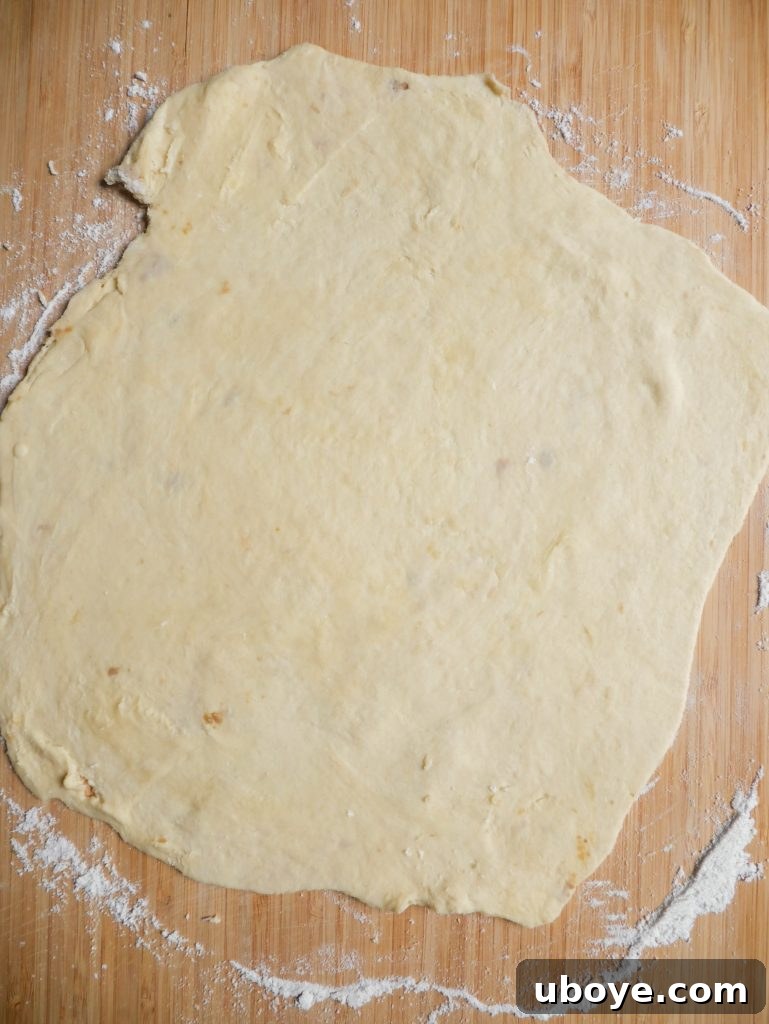
- Retrieve one disc of your prepared puff pastry dough from the fridge. Lightly flour your working surface. Using a rolling pin, roll the dough out into a large circular shape, approximately 4mm thick. Carefully roll the dough onto your rolling pin and then unroll it onto a baking tray that has been lined with parchment paper.
- Leave a generous 4cm border around the edge of the dough. Spread the 8 garlic confit cloves evenly over the center of the dough within this border.
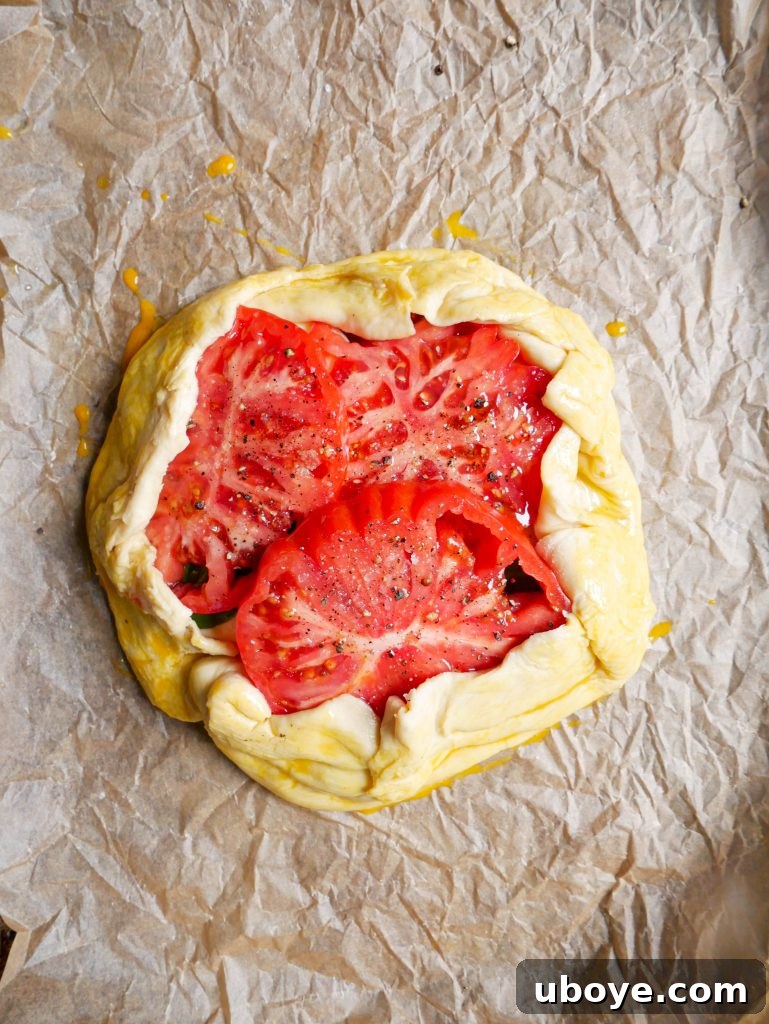
- Arrange the sliced mozzarella pieces in a circular pattern on top of the garlic confit. Follow this with the fresh basil leaves, and finally, artfully layer the tomato slices.
- Season the filling generously with flaky sea salt, black pepper, and a drizzle of Rich Glen Olive Oil.
- Carefully fold the overhanging pastry border inwards over the filling, pinching the dough together as you go to form a rustic, free-form circular shape.
- In a small bowl, whisk the remaining egg. Using a pastry brush, generously brush all visible parts of the dough with the egg wash. This will help create that beautiful, golden-brown color and crispy texture as the galette bakes.
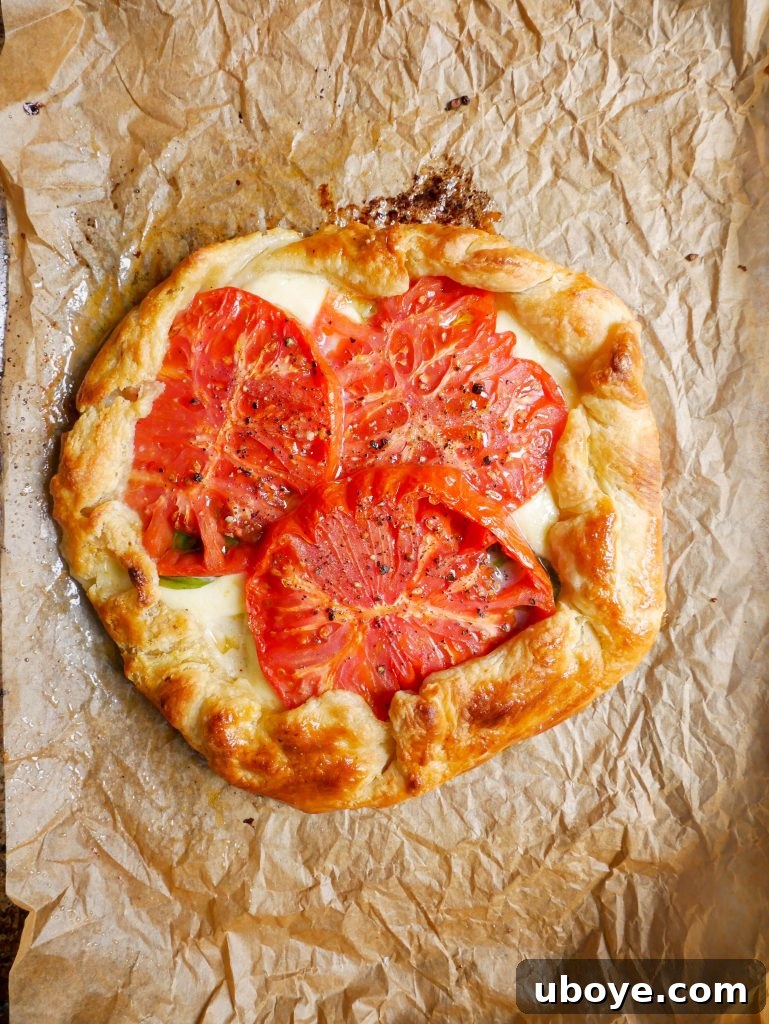
- Bake the galette for 30-40 minutes, or until the cheese is bubbling and molten, and the puff pastry is golden, puffed, and wonderfully crunchy.
- Once baked, remove the galette from the oven and allow it to rest for at least 15 minutes before slicing. This resting period allows the filling to set properly, ensuring clean slices.
- Before serving, garnish with a fresh sprinkling of extra basil leaves and a final drizzle of Rich Glen Balsamic Glaze for a touch of sweet tang.
Watch the Magic Unfold: Recipe Video
See how simple it is to create this stunning galette by watching the step-by-step video tutorial:
If you create this delicious Tomato, Mozzarella & Basil Galette, I would love to see your wonderful creations! Please share and tag me on Instagram, TikTok, or Pinterest.
Should you have any questions about the recipe or wish to leave a review, please feel free to do so in the comments below. Your feedback is always appreciated, and I enjoy answering all your food and recipe-related queries!
This exquisite recipe is proudly sponsored by Rich Glen Olive Oil, whose quality products helped bring these flavors to life.