
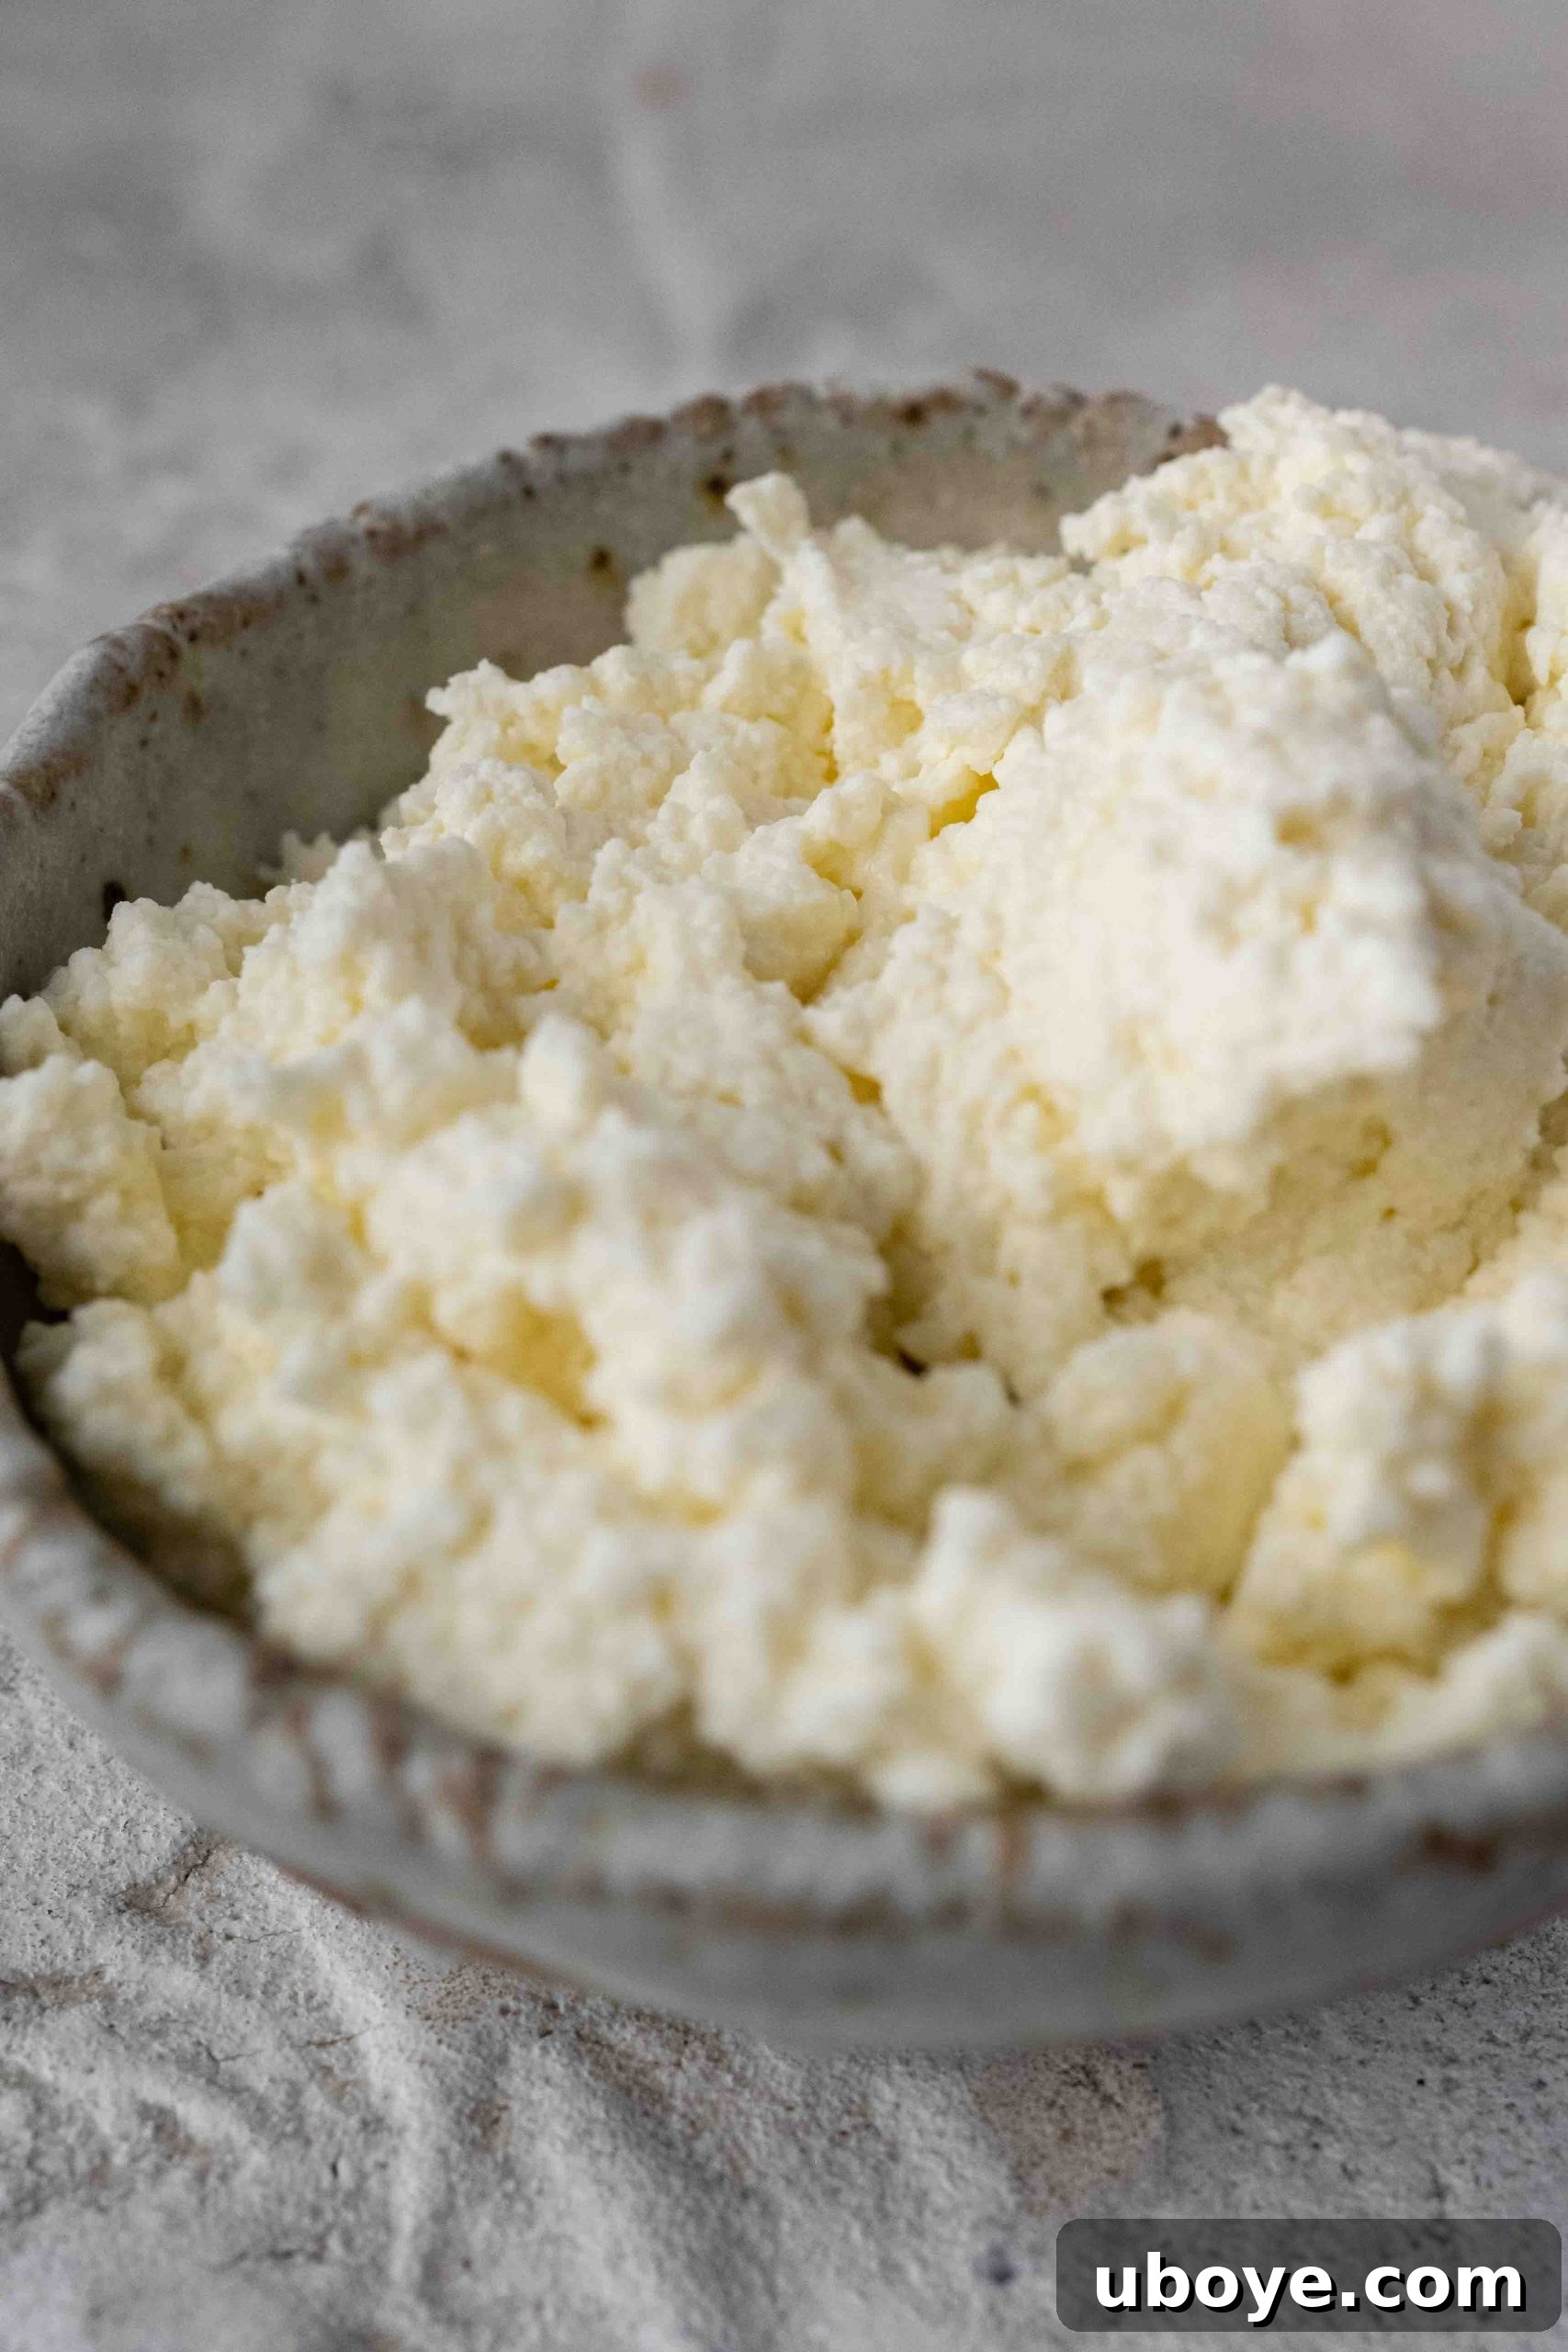
Making incredibly creamy homemade ricotta cheese is a surprisingly simple and profoundly rewarding culinary adventure that requires just three essential ingredients. With nothing more than good quality whole milk, a touch of fresh lemon juice (or white vinegar), and a pinch of salt, you can create a ricotta so luxurious and flavorful that you’ll wonder why you ever settled for store-bought versions. This comprehensive guide will walk you through every step, ensuring your homemade ricotta is not only perfect but also elevates countless dishes to new heights.
Jump to Recipe
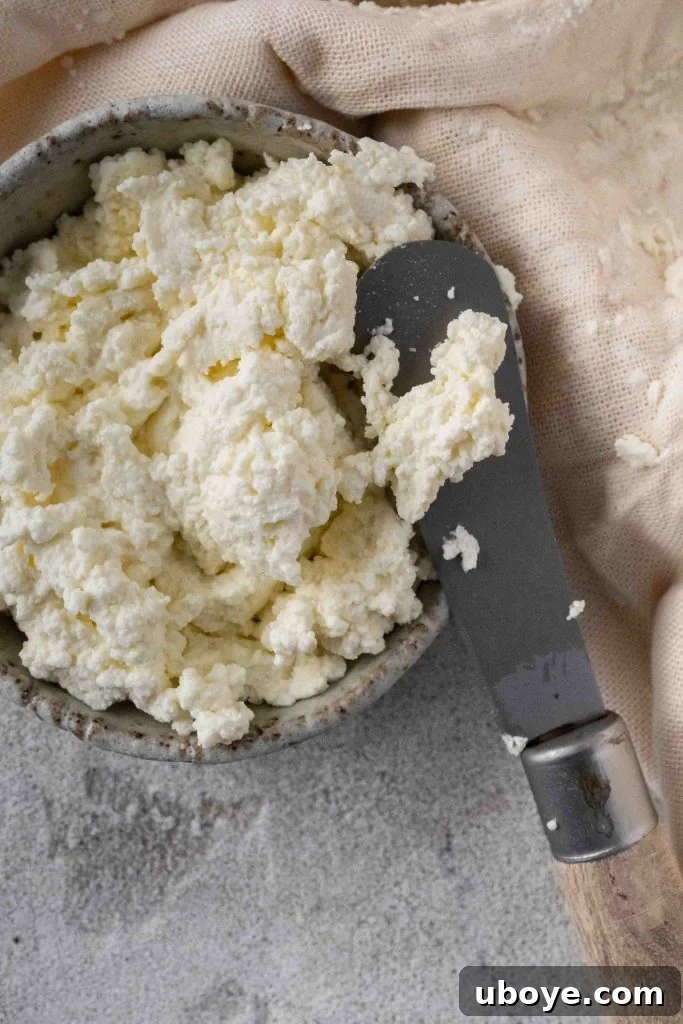
Is Making Your Own Ricotta Truly Worth It? An Enthusiastic Yes!
The short and resounding answer is a definitive yes! Once you experience the unparalleled taste and texture of freshly made ricotta, there’s simply no turning back to the commercial tubs from the grocery store. Homemade ricotta is a revelation – incredibly creamy, wonderfully smooth, and bursting with a delicate, milky flavor that store-bought varieties simply cannot match. There’s a profound comfort in eating fresh ricotta, especially when it’s still warm, right after it has been made, offering an experience that store-bought versions can never replicate.
For many, like myself, there’s a strong nostalgic connection to this simple culinary art. My nanna used to make homemade ricotta all the time, filling the kitchen with its comforting aroma and the promise of delicious meals. Being able to replicate that experience, eating it warm from the straining cloth, brings back cherished memories and creates new ones. Beyond the sentimental value, the quality difference is stark. Commercial ricotta often contains stabilizers, preservatives, and less fat, resulting in a grainier texture and a blander, sometimes chalky, taste. Your homemade version, however, will be pure, wholesome, and free from any unnecessary additives, offering a truly authentic Italian cheese experience right in your own home. It’s an easy project that delivers immense satisfaction, superior results, and an incredible sense of accomplishment, proving its worth with every delicious, fresh bite. Plus, the minimal effort required for such an extraordinary outcome makes it an absolute kitchen essential.
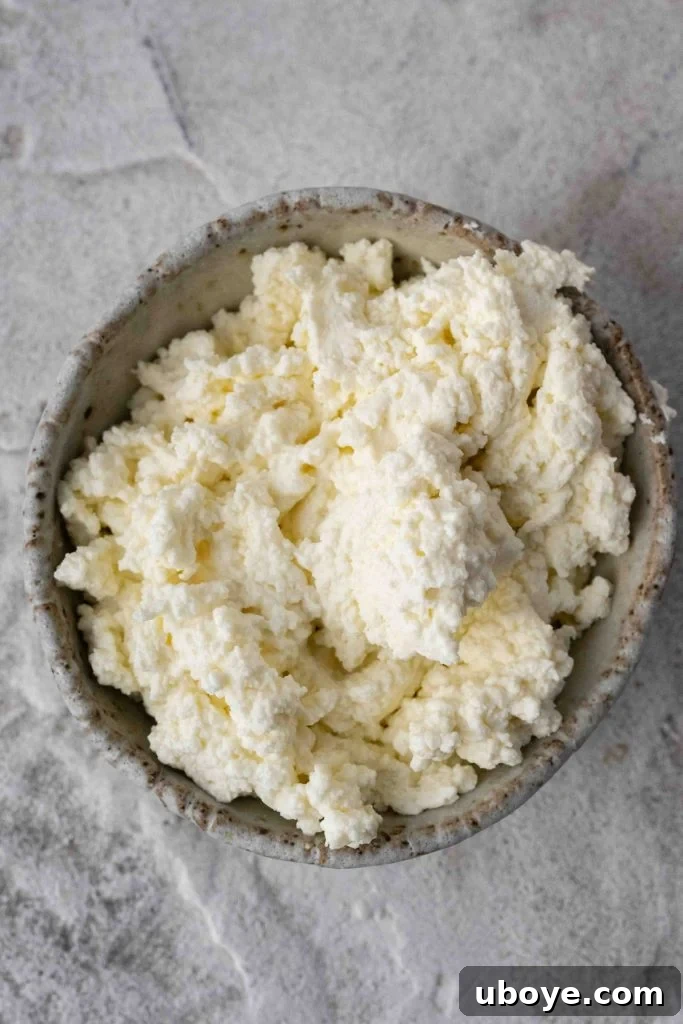
Essential Ingredients and Equipment for Perfect Homemade Ricotta
The beauty of this creamy ricotta recipe lies in its elegant simplicity. You truly only need three core ingredients, plus a few basic kitchen tools that most home cooks already possess. Gathering these before you begin will ensure a smooth, stress-free, and enjoyable cheese-making process from start to finish.
The Key Ingredients for Rich Ricotta:
- Whole Milk: This is the absolute cornerstone of creamy ricotta. It is paramount to use full-fat whole milk, and critically, it should *not* be ultra-pasteurized (often labeled UHT). While regular pasteurized milk (the kind found in the refrigerated dairy section) will curdle beautifully, ultra-pasteurized milk has undergone extreme heat treatment that denatures its proteins, rendering them unable to coagulate effectively into curds. Always double-check the label! Using whole milk ensures a rich, full-bodied flavor and that signature creamy, velvety texture we crave. Organic or grass-fed whole milk can further enhance the flavor profile and nutritional benefits, but any good quality whole milk will yield fantastic results. Avoid skim or low-fat milk entirely, as they simply won’t produce enough curds or the desired creaminess.
- Lemon Juice or White Vinegar: These are your acidic agents, the magical components responsible for separating the milk into fluffy curds and liquid whey. Both fresh lemon juice and standard white vinegar work equally well, and I’ve found no significant difference in the final ricotta’s texture or ability to curdle using either. Freshly squeezed lemon juice will impart a subtle, bright citrusy note, which can be particularly delightful, especially for sweet ricotta applications or lighter savory dishes. White vinegar, on the other hand, is a more neutral option if you prefer to avoid any additional flavoring and let the pure milky taste shine through. You can also experiment with other food-grade acids like citric acid powder dissolved in water, but lemon juice and white vinegar are readily available, economical, and perfectly effective for beginners and seasoned cheese makers alike.
- Salt: A crucial ingredient for seasoning and enhancing the flavor of your ricotta. You have the flexibility to add the salt at the beginning of the process with the milk, or gently stir it into the finished curds once they have drained. Kosher sea salt or fine sea salt are excellent choices, providing a clean, balanced flavor without any harshness. The salt helps to bring out the natural sweetness of the milk, creates a more complex flavor profile, and ensures your fresh ricotta isn’t bland.
Necessary Equipment for Success:
- Heavy-Bottomed Pot: A sturdy, heavy-bottomed pot (at least 4-quart capacity for a gallon of milk) is absolutely essential. Its thick base ensures even heat distribution, which is vital for preventing the milk from scorching on the bottom. Scorched milk will impart an unpleasant, burnt flavor to your entire batch of ricotta. A non-reactive material like stainless steel or enamel-coated cast iron is ideal.
- Food Thermometer: While not strictly mandatory if you are highly experienced in observing milk’s heating stages, a reliable food thermometer (such as a candy thermometer, instant-read thermometer, or a digital probe thermometer) is highly recommended. It takes the guesswork out of the process, ensuring the milk reaches the precise temperature needed for optimal curdling, typically between 175-180°F (80-85°C). This precision is key to consistently perfect, creamy ricotta.
- Fine Mesh Strainer: You will need this to effectively separate the delicate curds from the liquid whey. A good quality fine mesh strainer with a sturdy rim will hold the cheesecloth securely and allow the whey to drain efficiently.
- Cheesecloth: This is a crucial item for achieving smooth, well-drained ricotta with the ideal consistency. Look for unbleached, food-grade cheesecloth, ideally with a fine weave (Grade 90 is excellent). If you don’t have cheesecloth on hand, a clean, tightly woven kitchen towel (like a flour sack towel, a thin linen towel, or a new, unused Chux cloth) can serve as an emergency substitute. Ensure whatever you use is free of lint, has been thoroughly washed, and critically, has NOT been treated with fabric softener, which can impart unwanted flavors.
- Slotted Spoon or Ladle: For gently scooping the delicate curds from the pot into the prepared strainer. This minimizes breakage of the curds, ensuring a creamier final product.
- Large Bowl: To place under the strainer and collect the valuable leftover whey.
Ricotta Yield & Creative Uses for Nutrient-Rich Leftover Whey
One of the few “downsides” (if you can even call it that) when it comes to making homemade ricotta is the yield. Unfortunately, you won’t get a massive quantity of ricotta from a single gallon of milk. Typically, a gallon (approximately 3.78 liters) of whole milk will produce about 3 to 4 cups of fresh, creamy ricotta. This might seem like a modest amount for the initial investment of milk and effort, but the unparalleled quality, freshness, and exquisite flavor far outweigh the quantity. Remember, a little goes a long way when it’s this exceptionally good!
However, there’s a significant and often overlooked upside: the leftover whey. Whey is the nutrient-rich, yellowish liquid that naturally separates from the milk solids (the curds) during the cheese-making process. Far from being a waste product, whey is a fantastic, versatile ingredient with a myriad of culinary applications. It’s packed with beneficial proteins, minerals, and enzymes, making it a valuable and healthy addition to many recipes. Here are some incredible ways to utilize every last drop of your leftover whey, ensuring nothing goes to waste:
- Baking: Replace water or milk with whey in a wide range of baked goods. It works wonders in bread recipes, pizza dough, pancake batter, muffins, scones, or even cakes. It adds remarkable moisture, a subtle tang, a tender crumb, and a significant nutritional boost.
- Smoothies: Incorporate chilled whey into your morning smoothies for an extra punch of protein, electrolytes, and probiotics. Its subtle tangy flavor complements fruits and greens beautifully, making your smoothie even more invigorating.
- Cooking Grains: Use whey instead of water or broth when cooking oatmeal, quinoa, rice, polenta, or other grains. It enhances the flavor, adds creaminess, and boosts the nutrient content, making your side dishes more robust.
- Soups & Stews: Add whey to soups, stews, or even sauces as a flavorful and fortifying liquid base. It can deepen savory notes, add body, and provide a healthy enrichment to your comfort food.
- Brining Meats: Whey makes an excellent and tenderizing brine for chicken, pork, or other meats. The slight acidity and enzymes in the whey help to break down muscle fibers, resulting in incredibly juicy and flavorful cooked meats.
- Fermentation Projects: Use whey as a starter culture for lacto-fermented vegetables, like homemade sauerkraut, kimchi, or pickles. Its probiotic properties kickstart the fermentation process, enhancing flavor and preservation.
- Rethink Your Drinks: Mix chilled whey with fruit juice for a refreshing and hydrating beverage, or even use it as a base for homemade sodas.
- Gardening: Don’t forget your plants! Diluted whey can be used as a natural, nutrient-rich fertilizer, providing beneficial minerals to your garden soil and promoting healthy plant growth.
Always store your leftover whey in a clean, airtight container or sterilized jar in the fridge, just like your ricotta. It will last for a similar duration, approximately 4-5 days, ready for your next creative culinary endeavor.
Storing Homemade Ricotta: Maximizing Freshness and Quality
Homemade ricotta, being a fresh dairy product, has a relatively short shelf life, which is a testament to its natural purity and lack of preservatives. When stored correctly, your delicious, freshly made creation will maintain its optimal quality and flavor for approximately 4 to 5 days in the refrigerator. To ensure maximum freshness and prevent any premature spoilage, proper storage is absolutely key.
For any leftover ricotta you’re not planning to use immediately, transfer it as soon as possible to an airtight container or a clean, sterilised glass jar. Ensure the container is sealed tightly to prevent air exposure, which can accelerate spoilage and also allow the ricotta to absorb unwanted odors from other foods in your fridge. Place it directly into the coldest part of your refrigerator, typically the back of the bottom shelf. While it’s best enjoyed fresh within the first few days, it will safely maintain its quality for up to five days.
The same stringent storage guidelines apply to any valuable leftover whey you might have – keep it in a separate, sealed container in the fridge to preserve its freshness for its multitude of culinary uses. Treating both your ricotta and whey with care will ensure you get the most out of your homemade efforts.
If you find yourself with an abundance of ricotta and wish to store it for longer periods, freezing is an option, though it comes with a slight caveat. It’s important to note that the texture of ricotta may change slightly upon thawing. Freezing can cause the water content within the ricotta to crystallize, which can result in a slightly grainier or more crumbly texture once thawed. For this reason, frozen and thawed ricotta is generally best used in cooked dishes where the texture change won’t be as noticeable or is even desirable, such as baked pasta dishes (lasagnas, baked ziti), savory fillings for ravioli or manicotti, or incorporated into certain cakes and muffins where its structure will meld into the batter. To freeze, portion the ricotta into airtight containers or heavy-duty freezer bags, removing as much air as possible to prevent freezer burn. It can be stored effectively for up to 2-3 months. Always thaw frozen ricotta overnight in the refrigerator before use, and gently stir it to recombine any separated moisture.
Versatile Delights: What is Homemade Ricotta Cheese Mainly Used For?
The culinary possibilities for your exquisite homemade ricotta cheese are truly endless! Its mild, creamy, and subtly sweet flavor makes it an incredibly versatile ingredient, equally at home in hearty savory main courses, delectable desserts, and simple, elegant appetizers. Once you’ve tasted the fresh purity of homemade ricotta, you’ll find yourself constantly seeking new ways to incorporate it into your cooking. Here are some of my favorite and most popular ways to enjoy this fresh cheese:
Savory Applications for Ricotta:
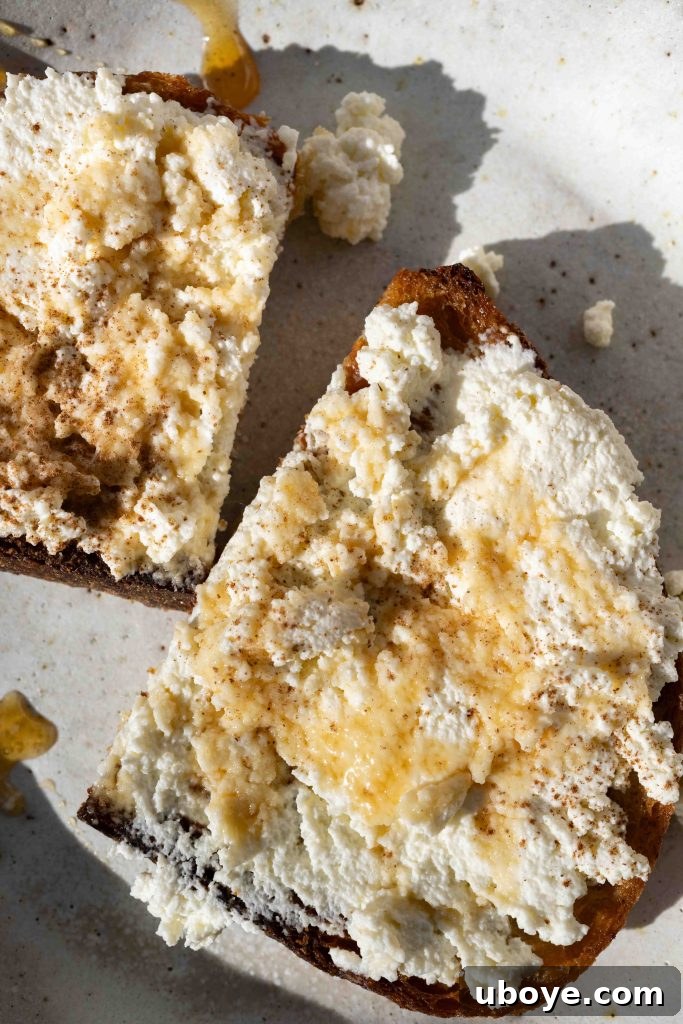
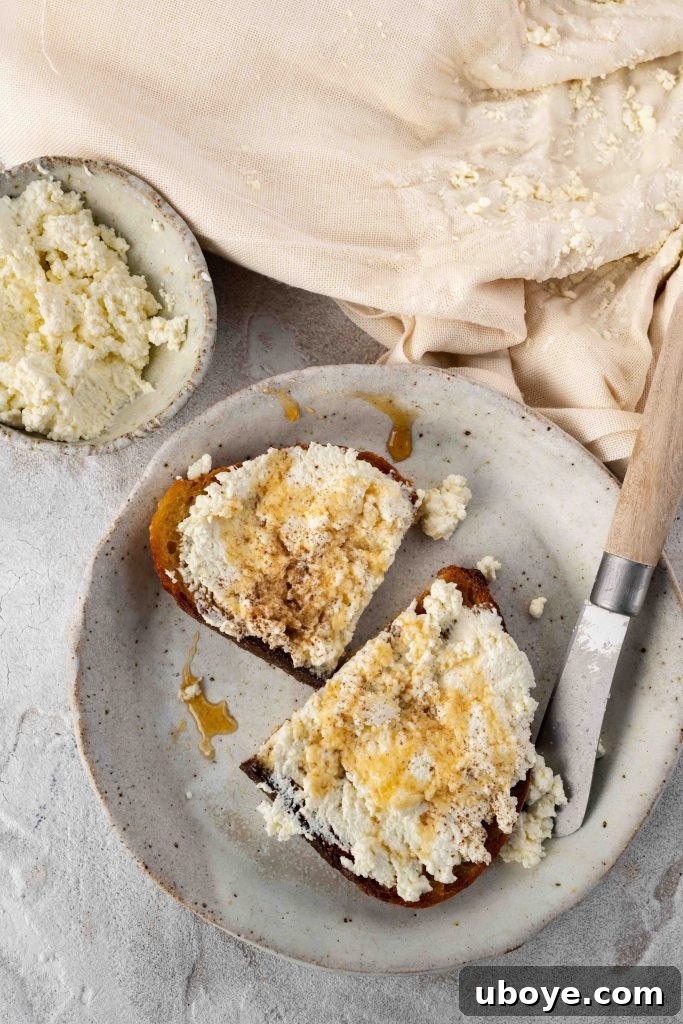
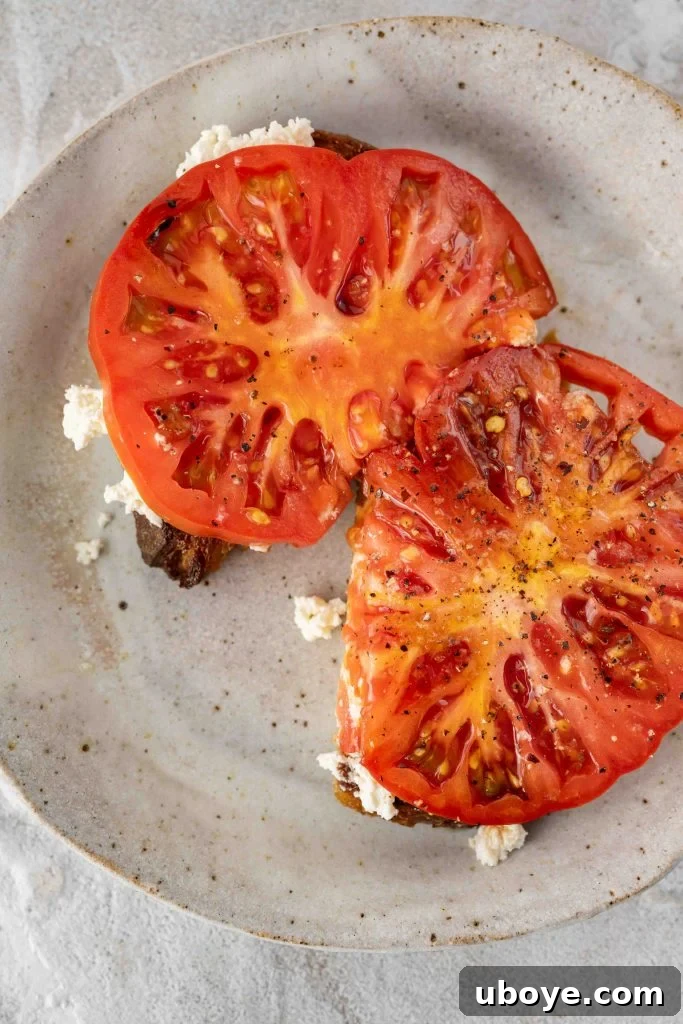
- Simple Spreads & Toast Toppings: My absolute favorite way to enjoy warm, fresh ricotta is spread generously on a piece of crusty olive oil-fried or perfectly toasted bread. A generous crack of freshly ground black pepper and a drizzle of good quality honey create a harmonious blend of sweet and savory notes. Alternatively, top it with vibrant, juicy heirloom tomatoes, a sprinkle of fresh basil, a touch of flaky sea salt, and a dash of olive oil for a refreshing and elegant bruschetta or crostini. It also makes a fantastic base for avocado toast, adding an extra layer of creaminess.
- Pasta Dishes & Fillings: Ricotta is an undeniable star in classic Italian pasta dishes. It adds unparalleled creaminess to sauces, can be folded into a simple marinara, or used as the foundational base for rich, comforting baked pasta like my own baked ziti. It is also the quintessential ingredient for creating rich and flavorful fillings for a myriad of pasta shapes, such as my delicate spinach & ricotta ravioli with lemon butter sauce, luscious stuffed shells, or hearty manicotti. Its soft texture is perfect for binding ingredients together.
- Pizza & Flatbreads: Dollops of creamy ricotta on a pizza after baking (or sometimes as a base layer) create delightful pockets of creamy goodness that melt in your mouth. It pairs wonderfully with roasted vegetables, spicy sausage, prosciutto, or simply a fresh marinara and basil. It elevates any simple flatbread into a gourmet experience.
- Tarts, Quiches & Frittatas: Its smooth, light texture makes it perfect for adding richness and a delicate creaminess to savory quiches, galettes, and tarts, like my delicate summer tomato tart. Fold ricotta into scrambled eggs, omelettes, or frittatas for an incredibly light, fluffy, and satisfying breakfast or brunch option.
- Dips & Spreads: Blend ricotta with fresh herbs (like chives, parsley, or dill), minced garlic, a splash of lemon juice, and a drizzle of high-quality olive oil for a quick, elegant, and creamy dip for crudités, pita bread, or crackers. It can also lighten up heavier dips like hummus or baba ghanoush.
- Salads: A generous spoonful of ricotta can add a creamy, cooling counterpoint to vibrant green salads, roasted vegetable salads, or even grain bowls, providing a delightful textural contrast.
Sweet Indulgences with Ricotta:
- Desserts & Cakes: Ricotta is a secret weapon for creating incredibly moist, tender, and flavorful baked goods. It provides remarkable richness and a delicate crumb to cakes, cookies, muffins, and even lighter cheesecakes. Try my irresistible blueberry, lemon and ricotta olive oil cake for a truly exceptional and surprisingly light treat.
- Fruit Toppings: A simple dollop of ricotta, perhaps lightly sweetened with honey, maple syrup, or a touch of vanilla extract, makes a delightful and healthy topping for fresh berries, grilled peaches, baked apples, or any seasonal fruit compote.
- Pancakes & Waffles: Incorporate ricotta directly into your pancake or waffle batter for incredibly light, fluffy, and moist results that have a subtly tangy depth of flavor.
- Cannoli Filling: While traditional cannoli primarily use sheep’s milk ricotta, homemade cow’s milk ricotta can be beautifully sweetened with powdered sugar, flavored with orange zest or vanilla, and mixed with mini chocolate chips to create a delicious and authentic-tasting filling for cannoli shells or even simply served in a bowl with chocolate shavings as a deconstructed dessert.
No matter how you choose to serve it, homemade ricotta will undoubtedly elevate your dishes with its superior flavor, unmatched freshness, and exquisite texture.
Your Detailed Step-by-Step Guide to Making Creamy Homemade Ricotta Cheese
Making ricotta cheese from scratch might sound like a gourmet endeavor, but it’s surprisingly simple and incredibly rewarding. With a few basic steps and a little patience, you’ll achieve perfect, creamy ricotta every single time. Follow this detailed guide, and you won’t mess it up!
-
Prepare Your Workstation and Gently Heat the Milk:
Before you begin, ensure you have all your ingredients measured and your equipment ready. Place your heavy-bottomed pot on the stove. Pour the full-fat whole milk into the pot, and add the salt. Stir gently with a wooden spoon to ensure the salt dissolves evenly. Turn the heat to low-medium. This gentle heat setting is absolutely crucial to prevent the milk from scorching on the bottom of the pot, which would impart an unpleasant burnt flavor to your ricotta and lead to a rubbery, undesirable texture. You’ll need to heat the milk slowly to a specific temperature range: between 175°F and 180°F (80°C and 85°C). Use a reliable food thermometer to monitor this closely for accuracy. If you don’t have a thermometer, look for visual clues: small bubbles will begin to form around the edges of the pot, and steam will rise from the surface, but the milk should definitely not be boiling vigorously. While the milk heats, stir it occasionally (every few minutes) with a wooden spoon in a figure-eight motion to ensure even heating and prevent any milk solids from sticking to the bottom.
-

-
Add the Acid and Allow Curds to Form:
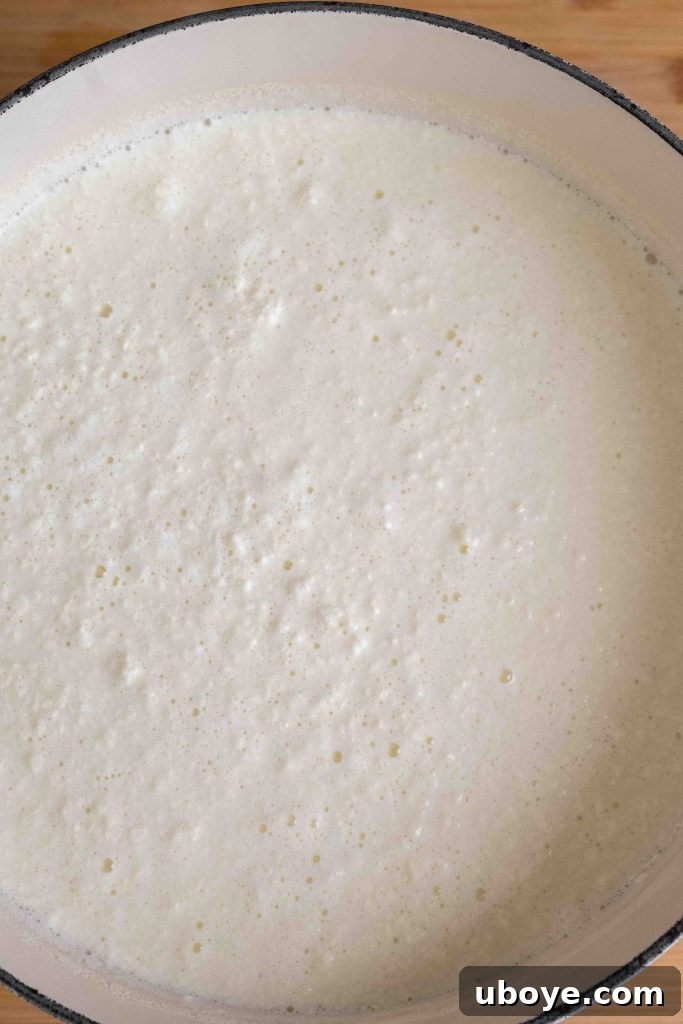
Once the milk reaches the precise target temperature of 175-180°F (80-85°C), immediately turn off the heat. If your burner retains heat for a long time, consider moving the pot off the heat completely. Now, gently pour in the measured lemon juice or white vinegar. Stir through the acid slowly and very gently with a wooden spoon, making only two or three full, deliberate rotations. The key here is minimal disturbance; over-stirring can break up the delicate curds as they form, leading to a poorer yield or a less cohesive texture. After stirring, place the lid back on the pot and leave it completely undisturbed for 20 to 30 minutes. During this vital resting period, the acid will work its magic, causing the milk proteins (casein) to coagulate and separate into distinct, fluffy white curds (the solids) and a greenish-yellow liquid (the whey). After the resting time, carefully lift the lid. You should clearly see a separation, with fluffy white curds floating in a translucent, greenish-yellow liquid. If you don’t see a clear separation, gently stir once more and let it sit for another 5-10 minutes.
-
Prepare to Strain and Separate Curds from Whey:
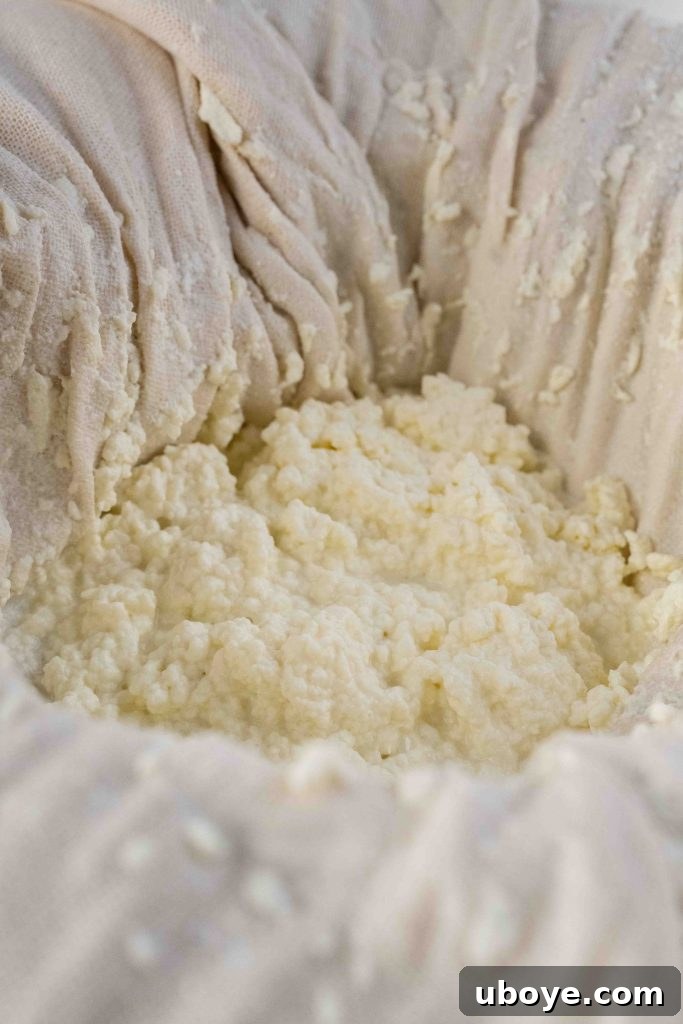
While your milk mixture is resting and the curds are actively forming, prepare your straining setup. Place a fine mesh strainer over a large bowl (this bowl will catch the valuable whey, so choose one big enough to hold about a gallon of liquid). Line the strainer with a double layer of unbleached cheesecloth, ensuring the cheesecloth hangs over the edges of the strainer for easy handling later. Once the curds have fully formed and separated, use a slotted spoon or a ladle to gently scoop the curds from the pot and carefully transfer them into the cheesecloth-lined strainer. Work slowly and patiently to avoid breaking up the delicate curds too much, as this helps maintain their creamy integrity. Allow the curds to drain for about 20 minutes. The duration of draining directly impacts the final consistency of your ricotta: the longer you let it drain, the drier and firmer your ricotta will be. For a super creamy, spreadable ricotta, drain for less time (around 15 minutes). For a firmer ricotta, which is ideal for stuffing pasta or baking, drain for the full 20 minutes or even slightly longer (up to 30 minutes). You can gently press the curds against the strainer with the back of a spoon to encourage more whey to drain, but avoid squeezing too hard unless you specifically desire a very dry cheese.
-
-
Serve or Store Your Fresh Ricotta:
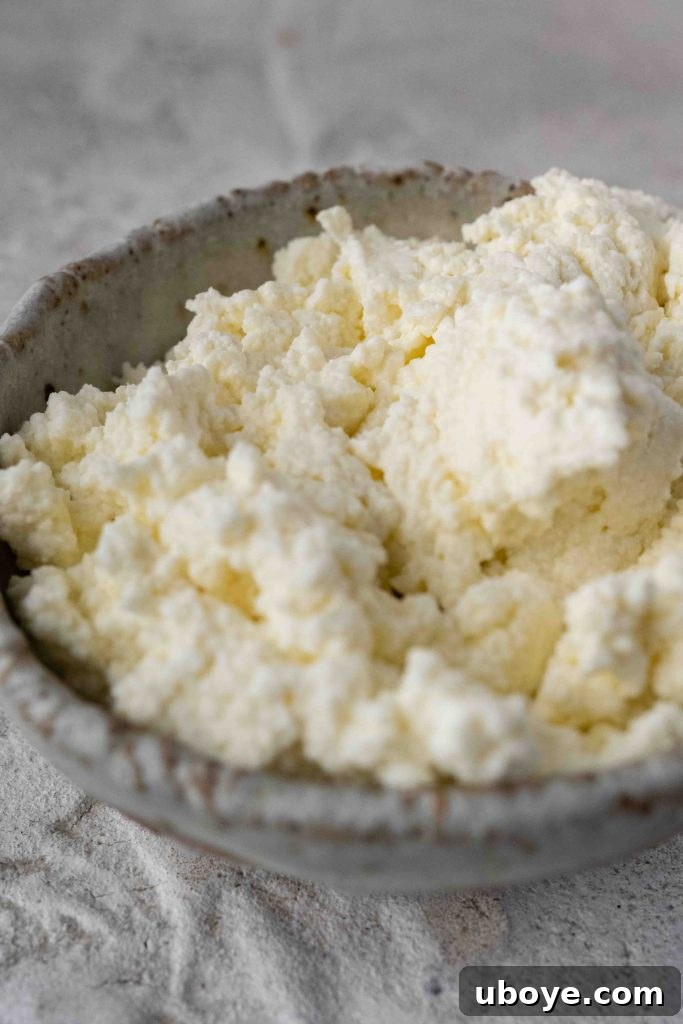
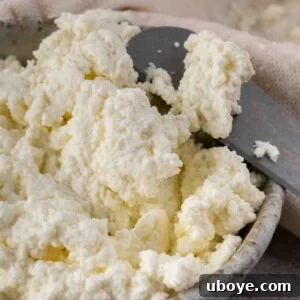
Your homemade ricotta is now ready to be enjoyed! It’s absolutely divine served warm, straight from the strainer, perhaps with a simple drizzle of olive oil or honey. For any ricotta you don’t plan to use immediately, allow it to cool slightly before transferring it to an airtight container or a clean, sterilised glass jar. Store it in the fridge for up to 5 days to maintain its freshness. Remember to also store the valuable leftover whey in a separate sterilised jar in the fridge for your next culinary project, as detailed in the section above.
Should you encounter any troubleshooting issues, such as the milk not curdling adequately, double-check your milk type (ensure it’s not ultra-pasteurized), verify the temperature with a thermometer (it’s often too low), and ensure you’ve added the correct amount of acid. A little troubleshooting goes a long way in perfecting this simple, yet profoundly satisfying, culinary art!
If you create this delicious homemade ricotta recipe, please consider sharing your wonderful creations and tagging us on your favorite social media platforms. Your feedback, tips, and questions are always welcome, as we love hearing about your culinary experiences and helping you perfect your recipes!
Images by Alanna Penna Photography.
Pin Recipe
Print Recipe
Creamy Homemade Ricotta
Ingredients
- 1 gallon whole milk, 3L
- 2 tbsp lemon juice or white vinegar
- 1 tsp kosher sea salt
Instructions
-
In a heavy based pot, add the whole milk and salt. Turn the heat to low-medium and gently bring the milk to a temperature of 175-180°F (80-85°C). Avoid a rapid boil to prevent the milk from burning and the ricotta from becoming rubbery. Stir gently with a wooden spoon in a figure-eight motion as it heats.
-
Once the milk reaches the correct temperature, turn off the heat and add the lemon juice or vinegar. Stir through the acid with a wooden spoon, making only two gentle stirs. Place the lid on the pot and leave it undisturbed to sit for 20-30 minutes, allowing the curds to fully form.
-
While the milk rests, line a fine mesh strainer with a cheesecloth and place it over a large bowl to catch the whey. Using a slotted spoon, gently separate the curds from the whey and carefully transfer them into the cheesecloth. Allow to drain for 20 minutes for a creamy consistency.
-
Serve the homemade ricotta warm, or store any leftovers in an airtight container or sterilised jar in the fridge for up to 5 days. Store the valuable whey in a separate sterilised jar in the fridge for other culinary uses.
 Like this? Leave a comment below!