
Jump to Recipe Print Recipe
The Ultimate Cheesy Roasted Garlic Bread Pizza: A Culinary Revolution for Your Pizza Night
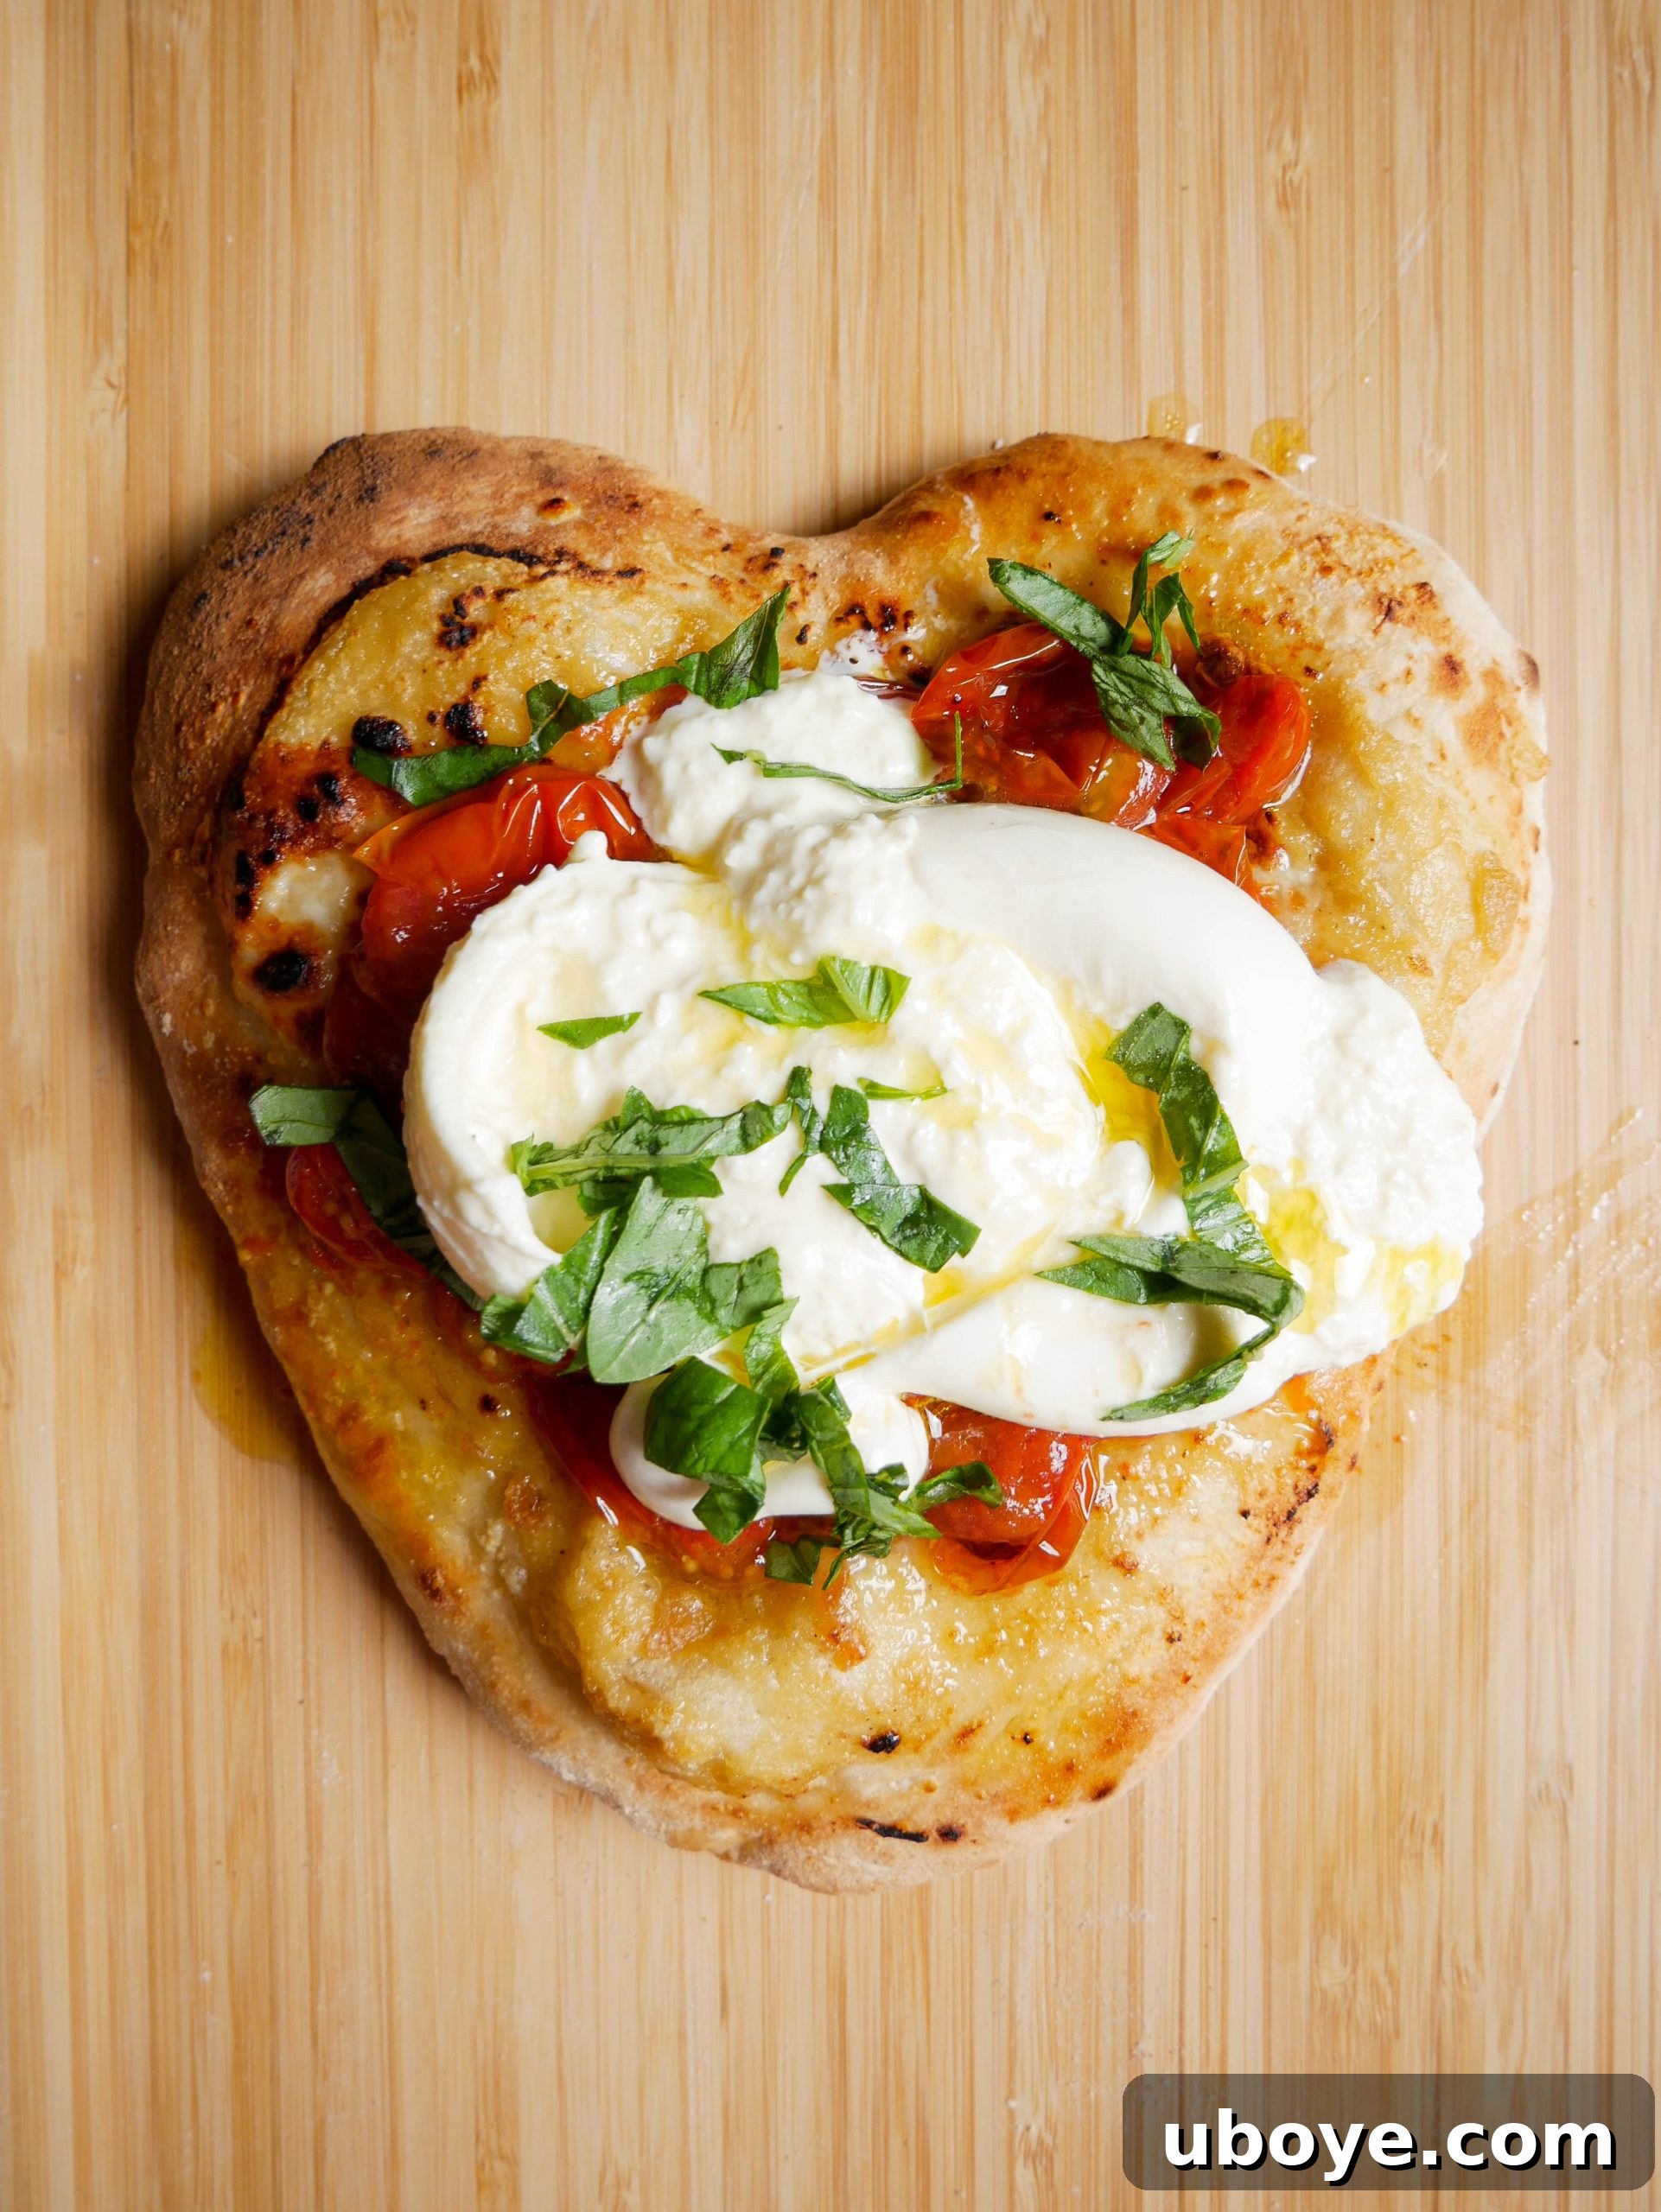
Prepare yourself for a pizza experience unlike any you’ve had before. This isn’t just a pizza; it’s a celebration of rich flavors and textures, featuring intensely savory roasted garlic, a trio of decadent cheeses, and luscious homemade tomato confit. Forget your standard takeaway – this Cheesy Roasted Garlic Bread Pizza is designed to elevate your pizza nights into extraordinary culinary events. Once you taste the depth of flavor from slow-roasted garlic infused into every bite, combined with the creamy melt of mozzarella, the sharp tang of parmesan, and the luxurious silkiness of burrata, your definition of perfect pizza will be forever changed. Get ready to embark on a delicious journey that promises to transform your perception of homemade pizza.
Why This Roasted Garlic Bread Pizza Will Transform Your Pizza Game
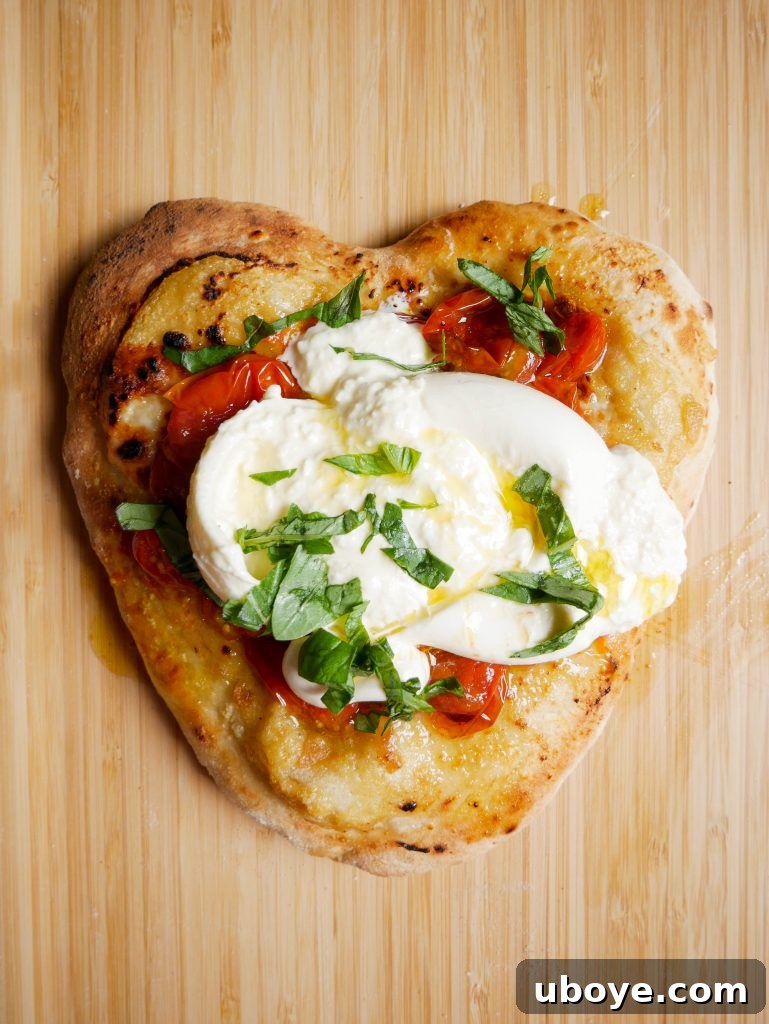
The concept of garlic bread pizza might sound deliciously straightforward, but our recipe takes it to an entirely new level of gourmet indulgence. It begins with an entire head of garlic, slow-roasted to sweet, mellow perfection, which forms the fragrant, spreadable base. This isn’t your average raw garlic kick; it’s a deep, caramelized sweetness that complements rather than overpowers. We then layer on three distinct cheeses – classic mozzarella for that irresistible stretch and gooey texture, robust parmesan for its salty, umami depth, and creamy burrata, added fresh after baking, for an opulent, melt-in-your-mouth finish that creates pockets of rich creaminess.
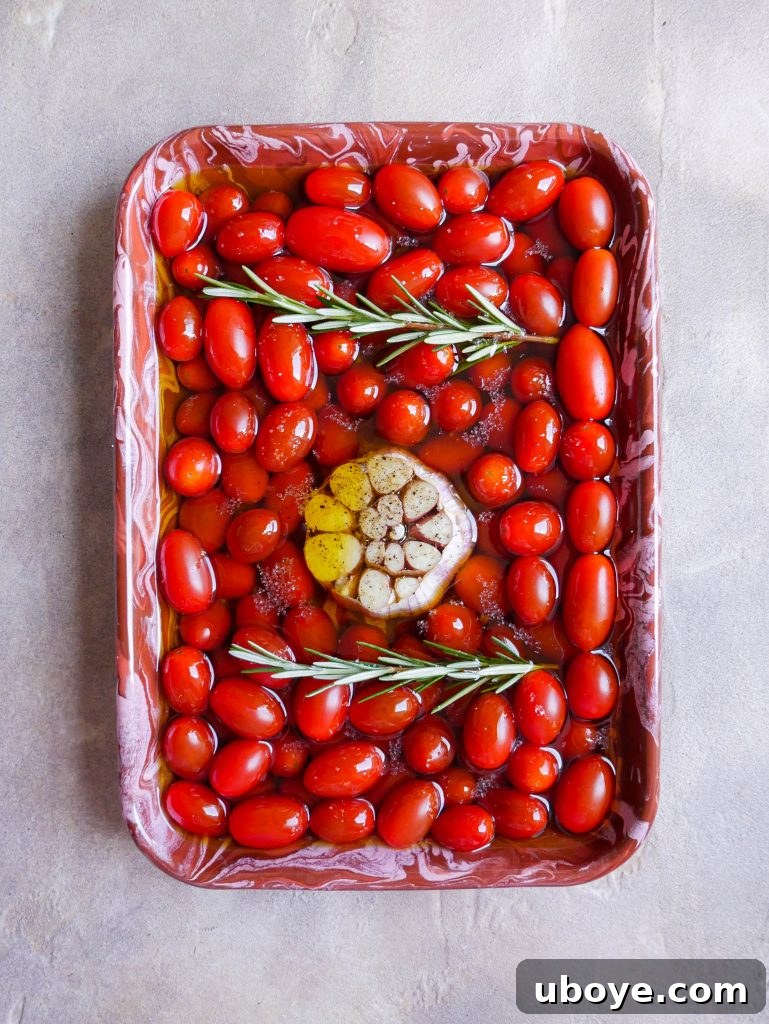
But the true secret weapon, a hallmark of exquisite Italian cooking, is the homemade tomato and garlic confit. I’ve long championed the versatility of tomato confit, using it to top everything from focaccia to bruschetta. Its sweet, concentrated tomato flavor and tender texture, infused with aromatic olive oil and herbs like rosemary, makes an ideal, sophisticated topping that turns a simple pizza into a truly luxurious meal. This isn’t just garlic bread on a pizza; it’s a meticulously crafted symphony of flavors and textures that promises to be a memorable dining experience. Prepare for rave reviews and requests for an encore!
Mastering the Art of Homemade Pizza Dough for Unforgettable Garlic Bread Pizza
For many years, like countless home cooks, I was a firm believer in the sheer convenience of store-bought pizza dough. “Why bother with the effort,” I reasoned, “when a perfectly acceptable option is readily available at the grocery store?” However, my deepening culinary journey eventually led me to an invaluable epiphany: homemade pizza dough is, without exaggeration, a thousand, if not a million, times superior. The transformation it brings to your pizza, in terms of texture, flavor, and overall satisfaction, is truly profound and worth every moment of effort. While crafting dough from scratch might initially seem daunting, demanding a little patience and perhaps a few practice runs to truly get the hang of it, your perseverance will undoubtedly pay off handsomely.
The result is a crust that boasts an incredible depth of yeasty flavor, a delightful combination of crispiness on the outside, and a soft, airy chew within – qualities that store-bought versions simply cannot replicate. I personally find that using a stand mixer fitted with a dough hook attachment streamlines the kneading process, making it significantly easier and less labor-intensive. However, please don’t be deterred if you don’t own a stand mixer! This versatile dough can absolutely be made by hand. If you opt for the manual approach, simply allow your hands to do the work, patiently kneading the dough for roughly double the amount of time compared to machine kneading, until it achieves the desired elasticity and smooth, supple texture. The warmth of your hands can even contribute to a beautiful rise.

Essential Tips for Crafting the Perfect Pizza Dough
Achieving a restaurant-quality pizza crust in your own kitchen is not only possible but incredibly rewarding, especially when armed with a few expert techniques. Follow these crucial tips to ensure your homemade pizza dough is consistently the best it can be, forming the perfect foundation for your Cheesy Roasted Garlic Bread Pizza:
- Ditch the Rolling Pin for a Superior Crust: When it comes to shaping your pizza bases, it’s imperative to resist the urge to use a rolling pin. The secret to a light, airy, and beautifully blistered crust lies in preserving the tiny air pockets that form within the dough during its fermentation process. Gently stretching the dough by hand, using your fingertips and the natural weight of the dough, allows these precious air bubbles to remain intact. A rolling pin, on the other hand, crushes these air pockets, resulting in a dense, tough, and overly chewy crust that lacks the desired texture and bounce. Embrace the tactile process of hand-stretching for an authentic experience.
- Room Temperature for Effortless Stretching: Before you even think about stretching your pizza dough, ensure it has come to a comfortable room temperature. Cold dough is stiff, resistant, and prone to snapping back, making it an exercise in frustration to achieve a uniform thickness. Allowing your dough to sit out at room temperature for approximately 30-60 minutes before shaping will relax the gluten structure, rendering it far more pliable, elastic, and easier to work with. Additionally, dough at room temperature cooks more evenly, preventing undesirable raw spots in the center or overly crisp, burnt edges.
- Hydration is the Cornerstone of Neapolitan Perfection: The world’s most celebrated pizza, the Neapolitan, owes its tender, light, and wonderfully moist crust to a precise hydration level. This refers to the ratio of water to flour by weight. Our recipe meticulously follows this principle, targeting a hydration ratio of 58-64% (meaning 58-64 grams of water per 100 grams of flour). This carefully calculated ratio is essential for achieving that sought-after delicate chew and beautiful internal structure. Understanding hydration also empowers you to make minor adjustments based on your specific flour brand or ambient humidity, ensuring consistent success.
- Patience with Proofing Yields Superior Flavor: Never rush the proofing process. Allowing your dough sufficient time to rise in a warm, draft-free environment (typically 3-4 hours, or until it has visibly doubled in size) is absolutely vital. This extended, slow fermentation not only contributes significantly to the development of complex flavors within the dough but also helps create that incredibly light and airy texture. A well-proofed dough is easier to digest and offers a much richer, more nuanced taste profile.
- Strategic Flour Application: While a lightly floured surface is necessary to prevent sticking, avoid over-flouring your work area when shaping the dough. Excessive flour can dry out the dough, making it tough and difficult to stretch smoothly. Instead, use just enough flour to keep it from adhering, and ensure your hands are also lightly dusted. Conversely, when forming tight dough balls after dividing, work on a non-floured surface. The friction created here is crucial for building tension on the surface of the dough, resulting in a smooth, taut ball that holds its shape beautifully during the final proof.
The Magic of a Pizza Oven: Elevating Your Pizza Experience
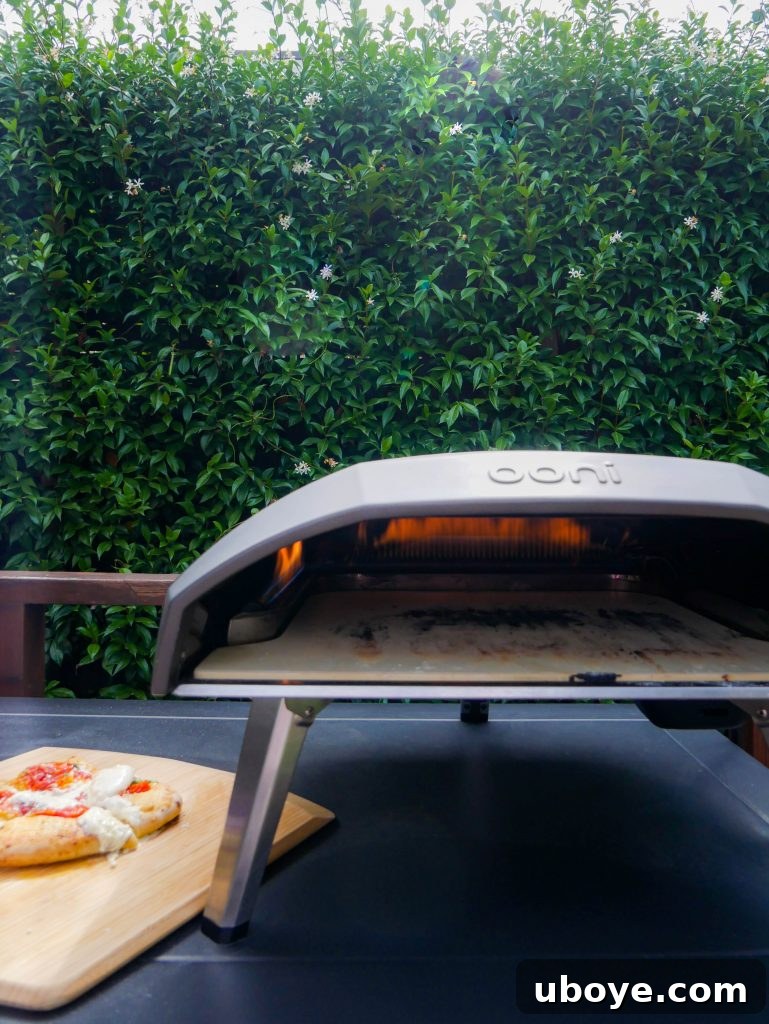
While it’s certainly possible to make delicious pizza in a conventional home oven, achieving that truly authentic, leopard-spotted, blistered crust and perfectly cooked toppings often demands the intense, blistering heat of a dedicated pizza oven. For this particular Cheesy Roasted Garlic Bread Pizza recipe, a specialized pizza oven truly shines, delivering results that are difficult to replicate by any other means. I’m absolutely thrilled to share that this post was proudly sponsored by my incredible friends at Ooni, whose fantastic oven I had the pleasure of using to craft this very pizza. After years of dreaming about owning one, I can confidently tell you: they are worth every single cent!
An Ooni oven can cook a gourmet pizza in a mere 60 seconds, instantaneously transporting your taste buds to the sun-drenched streets of Italy with its perfectly charred crust and bubbling cheese. The extreme temperatures, often exceeding 400°C (750°F), rapidly cook the crust, creating that signature puffy, blistered “cornicione” (edge) and perfectly melted, slightly browned cheese that defines a truly great pizza. This level of rapid, high-heat cooking simply cannot be matched by a standard kitchen oven.
If investing in a dedicated pizza oven isn’t an option for you right now, please don’t despair! You can still make wonderfully delicious pizza in your home oven. To get the best possible results, preheat your oven to its absolute highest setting (typically 250°C / 480°F – 260°C / 500°F) with a pizza stone or baking steel placed inside for at least an hour before you plan to cook. This extended preheating ensures the stone or steel gets intensely hot, helping to mimic some of the intense heat of a pizza oven and giving you a much crispier base. While it might take longer than 60 seconds to cook, you can still achieve a wonderfully satisfying and flavorful pizza. The key is maximizing your oven’s heat capacity and using a preheated surface.
Sharing Your Creations & Feedback
I absolutely adore seeing your culinary adventures! If you try this incredible Cheesy Roasted Garlic Bread Pizza recipe, please remember to tag me on Instagram, TikTok, or Pinterest. I can’t wait to admire your wonderful creations and hear about your experience. Your feedback is invaluable to me, as it helps me continue to share recipes that you love and find useful. If you have any questions about the recipe, need clarification on a step, or simply want to share your thoughts and a review, please don’t hesitate to leave a comment below. I always enjoy connecting with fellow food enthusiasts and answering your recipe-related queries. Happy cooking!

Pin Recipe
Print Recipe
Cheesy Roasted Garlic Bread Pizza
Daen Lia
5 hrs
2 hrs 1 min
4
Ingredients
For the Pizza Dough
- 600 g 00 flour
- 385 g lukewarm water, (64% hydration)
- 3 g active dry yeast
- 1 tsp honey
- 10 g flakey sea salt
- 20 g olive oil
For the Tomato & Garlic Confit
- 400 g cherry tomatoes
- 1 whole bulb garlic
- 3 – 4 cups olive oil (enough to submerge)
- 2 sprigs fresh rosemary
- Flakey sea salt and freshly cracked black pepper, to taste
For Assembling the Garlic Bread Pizza
- 1 bulb roasted garlic (from confit)
- 3 slices fresh mozzarella
- 1 tbsp grated parmesan cheese
- 2 tbsp tomato confit (from confit)
- 1 fresh burrata ball
- Fresh basil leaves, for garnish
Instructions
Preparing the Pizza Dough
-
Combine the lukewarm water, honey, and yeast in a medium bowl. Whisk gently until fully combined and allow it to sit for 5-10 minutes until the yeast is activated and a foamy layer of bubbles forms on the surface. This indicates your yeast is alive and ready to work!
-
In the bowl of a stand mixer fitted with a dough hook attachment, combine the 00 flour and sea salt. With the mixer on the lowest speed, slowly pour in the activated yeast mixture. Continue mixing for 5 minutes until the flour and water are fully incorporated and a shaggy dough forms. Turn off the mixer, cover the bowl with a damp tea towel, and let the dough rest for 30 minutes. This resting period, known as autolyse, allows the gluten to begin developing without extensive kneading.
-
Remove the tea towel and add the olive oil to the dough. Increase the mixer speed to medium and knead for another 5-7 minutes. The dough should become smooth, elastic, and pull away cleanly from the sides of the bowl.
-
Lightly flour a clean work surface. Tip the dough out and divide it into 4 equal sections. For precise results, use a kitchen scale to ensure each piece weighs approximately 250g.
-
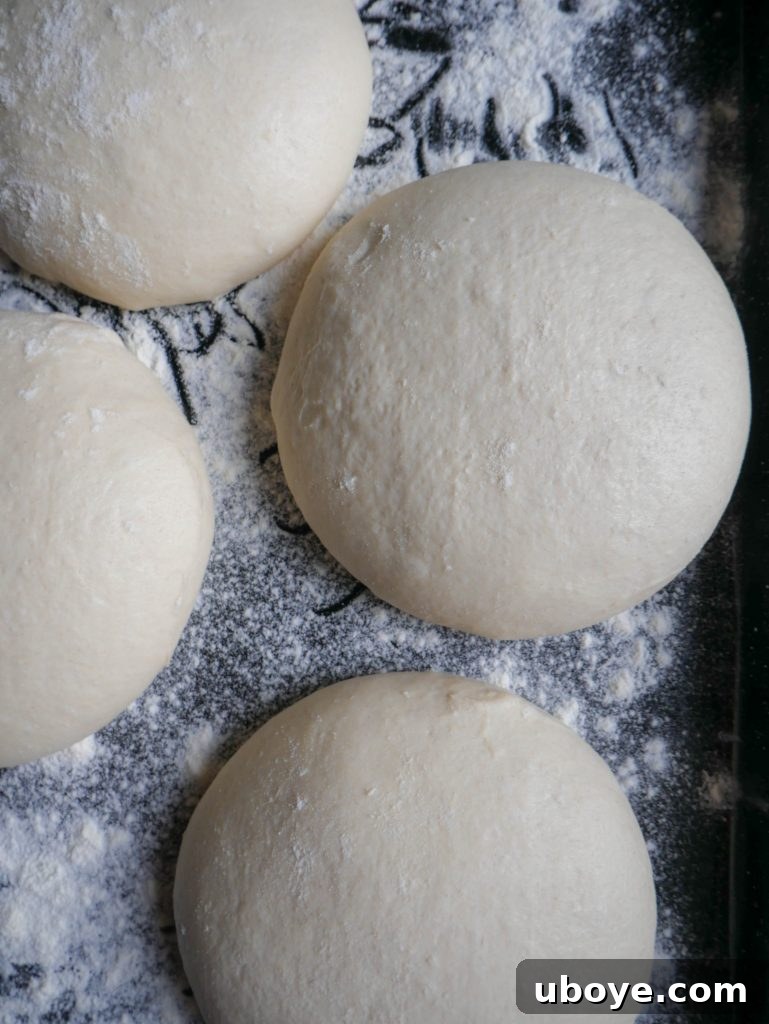
Take one piece of dough and, on a non-floured surface (friction is important here!), gently fold the sides towards the center to create a rough circle. Flip the dough over so the seam is facing down. Cup your hand in a ‘C’ shape around the dough ball and roll it back and forth on the surface, creating tension on the top and forming a tight, smooth ball. Repeat this process for the remaining dough pieces.
-
Place each perfectly formed dough ball onto a heavily floured baking tray, ensuring they have enough space between them to expand. Cover the tray with a damp tea towel or plastic wrap to prevent drying. Allow the dough to proof in a warm spot for 3-4 hours, or until each ball has visibly doubled in size. This slow proofing develops incredible flavor and a superior texture.
Making the Tomato & Garlic Confit
-
Preheat your oven to a low 120 degrees Celsius (250 degrees Fahrenheit). The goal is a gentle, slow roast, not a quick bake.
-
Prepare the whole garlic bulb by slicing off the top 2-3 cm (about an inch) to expose the raw cloves within. This allows the olive oil and heat to penetrate and gently roast each clove.
-
Arrange the cherry tomatoes, the prepared garlic bulb, and fresh rosemary sprigs in an ovenproof dish. Pour enough olive oil over them to completely submerge all the ingredients. Season generously with flakey sea salt and freshly cracked black pepper.
-
Bake in the preheated oven for approximately 2 hours. The olive oil should be gently bubbling, and the tomatoes should be soft and slightly shriveled, while the garlic cloves should be deeply caramelized and tender enough to squeeze out easily.
-
Once cooked, allow the confit to cool slightly. The roasted garlic cloves can be gently squeezed out of their skins and mashed into a paste. Store any remaining tomato and garlic confit, submerged in its flavorful oil, in an airtight container or jar in the refrigerator for up to several weeks. It’s fantastic on toast, pasta, or as a dip!
Assembling and Cooking the Garlic Bread Pizza
-
If using an Ooni pizza oven (highly recommended for this recipe!), turn it on and allow it to preheat for at least 10-15 minutes, or until the internal temperature reaches above 400 degrees Celsius (750 degrees Fahrenheit). This intense heat is crucial for a perfectly cooked crust. If using a conventional oven, preheat it to its highest possible setting (250-260°C / 480-500°F) with a pizza stone or baking steel inside for at least one hour.
-
Take one portion of your proofed pizza dough and place it onto a lightly floured surface. Using your fingertips, gently press down around the outer edge, about 2 cm (1 inch) from the perimeter, to form a distinct crust. Then, starting from the center, gently press outwards and use the sides of your hands to stretch the dough, rotating it as you go, until it reaches your desired size and thickness (aim for about 10-12 inches). Be careful not to create any holes.
-
Heavily flour your Ooni pizza peel (or a regular pizza peel/baking sheet). Carefully transfer the stretched dough onto the peel. Squeeze the soft, roasted garlic cloves from the confit and spread them evenly over the pizza base, creating a rich, aromatic garlic base. Sprinkle with grated parmesan cheese, then lay the fresh mozzarella slices over the top.
-
Carefully launch the pizza into the preheated Ooni pizza oven. Cook for approximately 60-90 seconds, rotating the pizza halfway through with the peel to ensure even cooking and a beautifully charred crust. If using a conventional oven, slide the pizza onto the preheated stone/steel and bake for 8-15 minutes, or until the crust is golden and the cheese is bubbly and slightly browned.
-
Once cooked, remove the pizza from the oven and transfer it to a wooden cutting board. Finish this masterpiece by generously spooning over the homemade tomato confit and scattering fresh basil leaves over the top. Finally, tear the fresh burrata ball into rustic pieces and strategically place them across the hot pizza. The residual heat will gently warm the burrata, making it incredibly creamy. Slice into 4 generous portions and serve immediately. Enjoy your gourmet pizza night!
Video Guide

Like this recipe? Leave a comment below!