
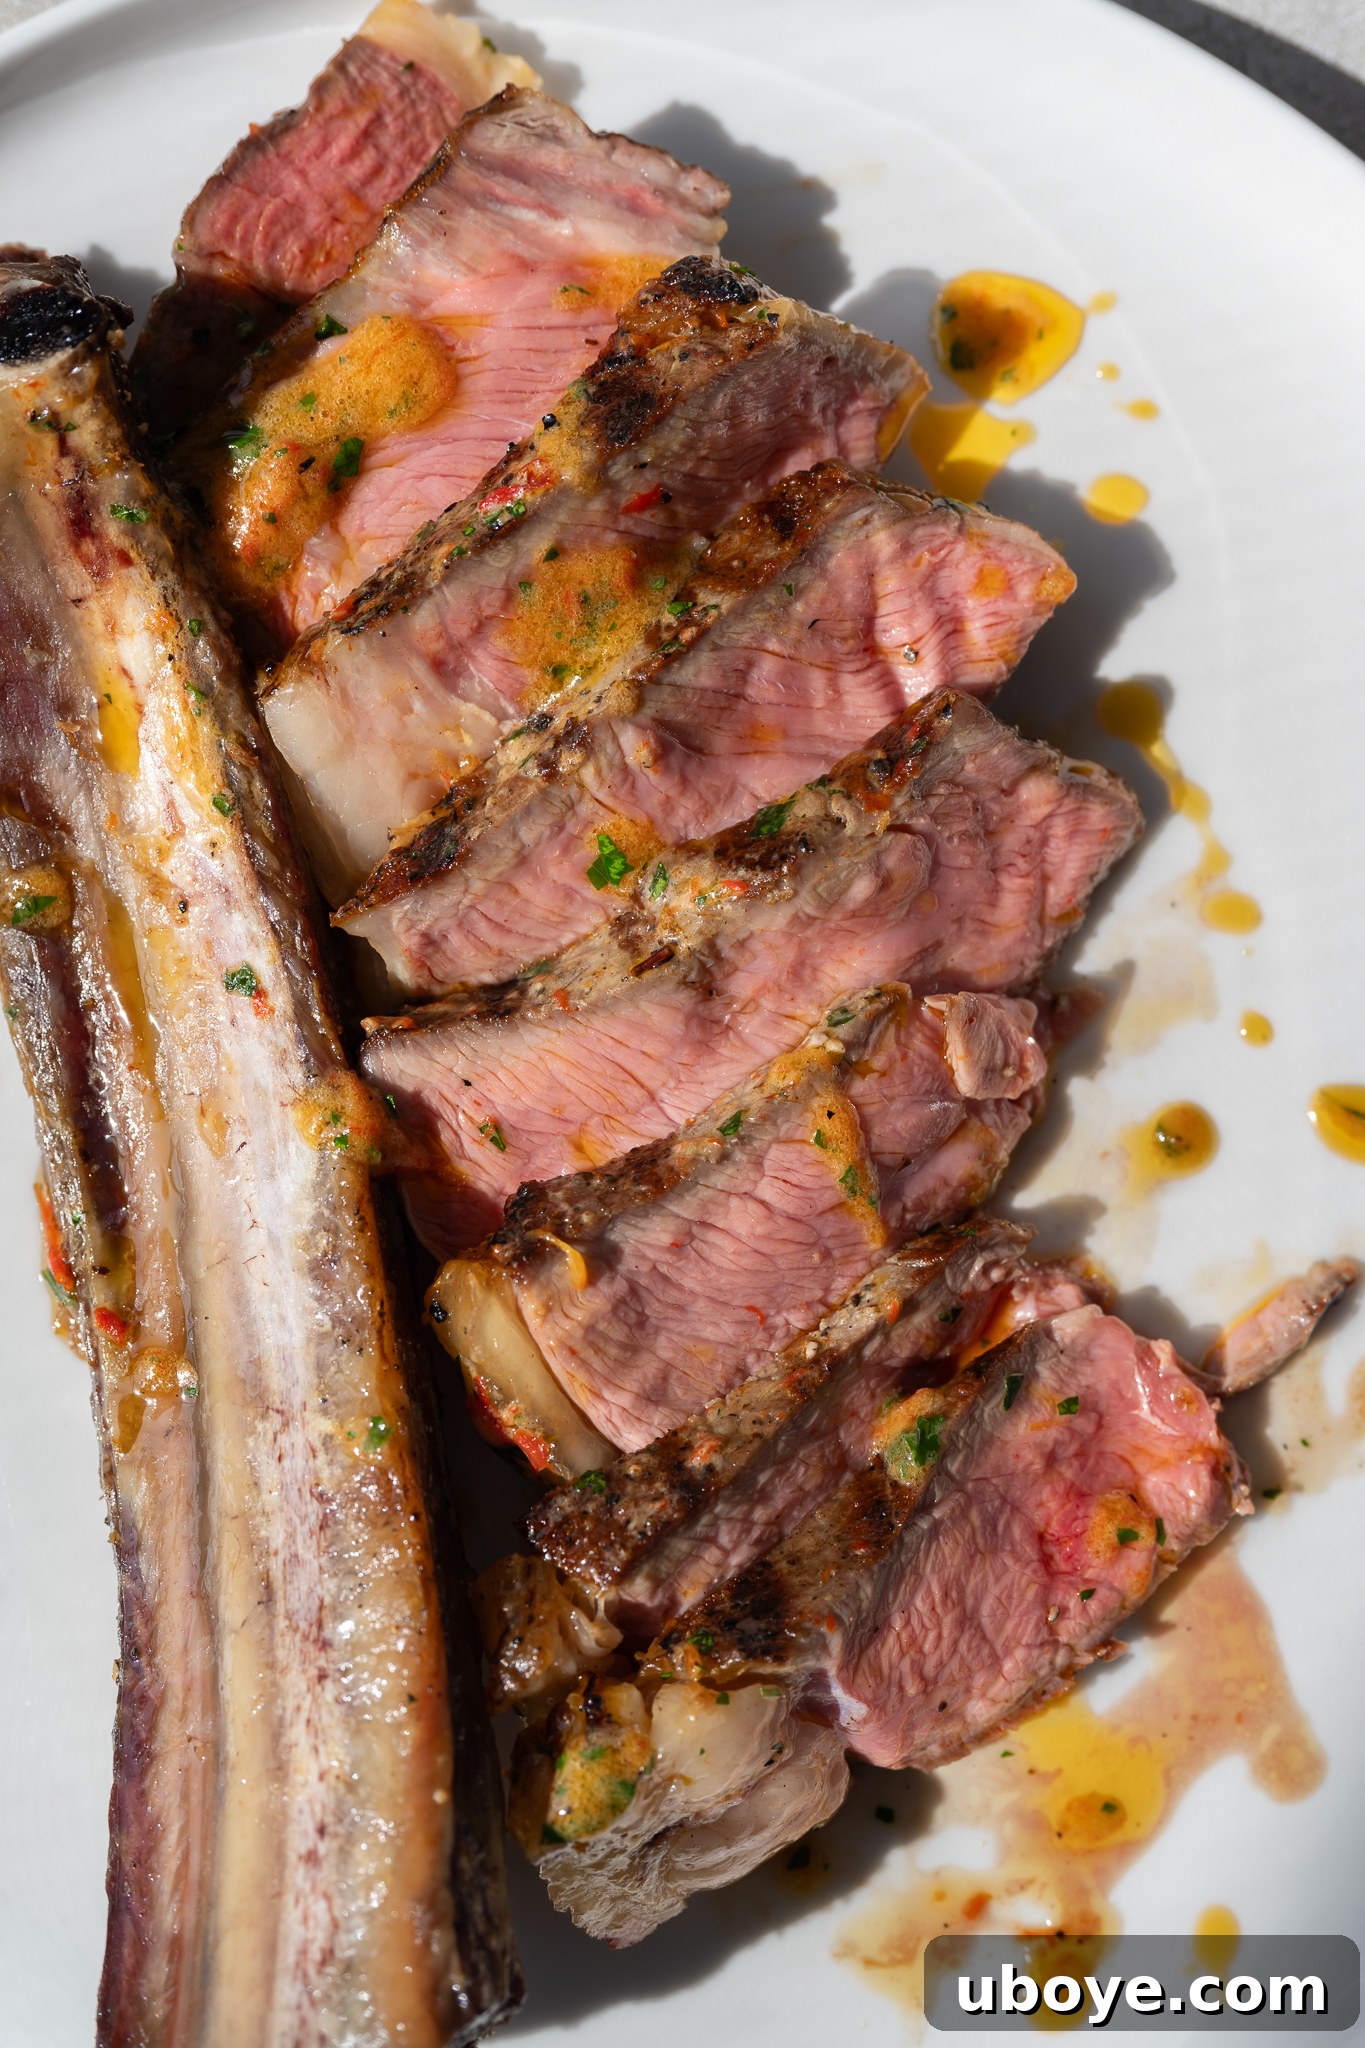
Mastering the Perfect Reverse Seared Ribeye: Your Ultimate Guide
As the sun graces the Australian skies, signalling the glorious arrival of summer, it’s time to dust off the grill and embrace the quintessential outdoor lifestyle. For many, this means bringing life back to expansive verandas and flourishing gardens, and central to this seasonal transformation is the art of the barbeque. Over the past winter months, I’ve been dedicated to refining a technique on my trusty Weber grill that promises an unparalleled culinary experience: the reverse seared ribeye, impeccably paired with a rich garlic and burnt pepper butter. This isn’t just a meal; it’s a celebration of flavour and a testament to patient cooking. I’m thrilled to share my insights and perfected methods so you can elevate your summer gatherings with this truly delicious and impressive dish.
Unveiling the Reverse Sear Method
What Exactly is a Reverse Sear?
For those new to the world of advanced steak cooking, let’s begin with the fundamental question: what defines a reverse sear? This innovative method challenges traditional steak preparation by flipping the cooking sequence. Instead of starting with high heat, the reverse sear begins with a low-temperature cook, gently bringing the steak to near-perfect doneness. This initial phase ensures a uniformly cooked interior from edge to edge, eliminating the grey band often associated with conventional searing. The process then culminates in a rapid, high-heat sear, which is crucial for developing that coveted, deeply browned, and incredibly flavourful crust that truly distinguishes a professional-grade steak.
The beauty of the reverse sear lies in its ability to deliver superior control over doneness, especially for thicker cuts of meat like a ribeye. While the age-old argument for searing first posits that it “locks in the juices,” modern culinary science suggests otherwise. High heat at the beginning can often lead to a less even cook, pushing moisture out and creating an undesirable gradient of doneness. The reverse sear method, however, prioritises an even internal temperature first, followed by a finishing sear that creates an irresistible Maillard reaction on the surface, producing complex flavours and a delightful textural contrast. The primary objective when mastering a reverse sear is undeniably that exquisite, crispy, and delicious crust.
Understanding the Ribeye Cut: A Chef’s Favourite
Why the Ribeye Reigns Supreme
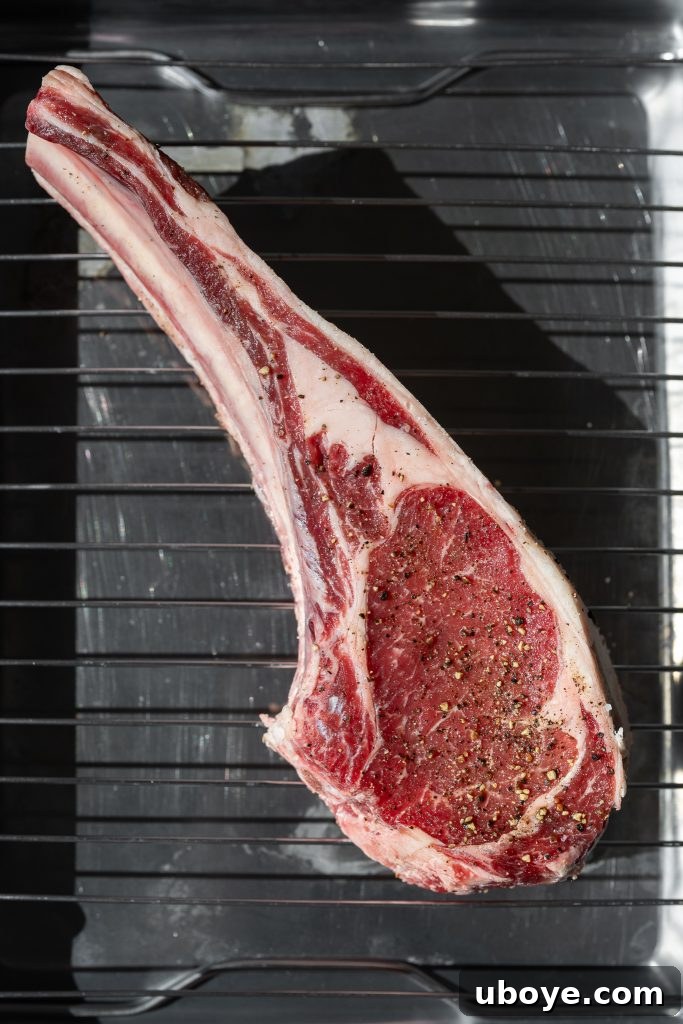
The ribeye is, without a doubt, a favourite amongst steak enthusiasts and chefs alike, and for very good reason. It’s my personal go-to cut due to its exceptional tenderness and incredibly rich flavour profile. What makes the ribeye so special is its generous amount of inter-muscular fat, visible as delicate white marbling woven throughout the meat. This marbling is a key indicator of quality, as fat, in the culinary world, directly translates to flavour and juiciness. As the steak cooks, this intramuscular fat slowly renders, basting the meat from within, resulting in a succulent, moist, and intensely flavourful bite every single time.
When selecting your ribeye, always aim for a cut with the most abundant marbling you can find – it’s a guarantee of a superior eating experience. Ribeyes are commonly available both bone-in and boneless. In Australia, the boneless version is often referred to as a “scotch fillet,” a term that highlights its popularity and distinct regional appreciation. Regardless of its name, a well-marbled ribeye is a promise of gastronomic delight.
The Allure of Bone-In Ribeye
While some culinary myths persist, it’s generally understood that the bone in a bone-in ribeye does not significantly alter the inherent flavour of the steak itself. However, the presence of the bone does offer distinct advantages. Primarily, the bone acts as a natural insulator, shielding the adjacent meat during cooking. This insulation helps to retain moisture and can contribute to a noticeably juicier outcome, particularly around the bone. Beyond its practical benefits, a bone-in ribeye also boasts an impressive visual appeal, making for a dramatic presentation that instantly elevates any meal. For many, myself included, there’s an undeniable primal satisfaction in savouring every last bit of meat from the bone, a testament to its rich texture and depth of flavour.
Mastering the Reverse Sear: Step-by-Step Techniques
Embarking on the journey to cook a perfect, large bone-in steak can seem daunting at first. I certainly recall feeling intimidated by these magnificent cuts. However, through diligent practice and invaluable taste-testing (much to my husband’s delight!), I’ve discovered that with just a few straightforward rules and a keen understanding of the process, anyone can achieve spectacular results. Let’s walk through the essential techniques to ensure your reverse seared ribeye is nothing short of perfection.
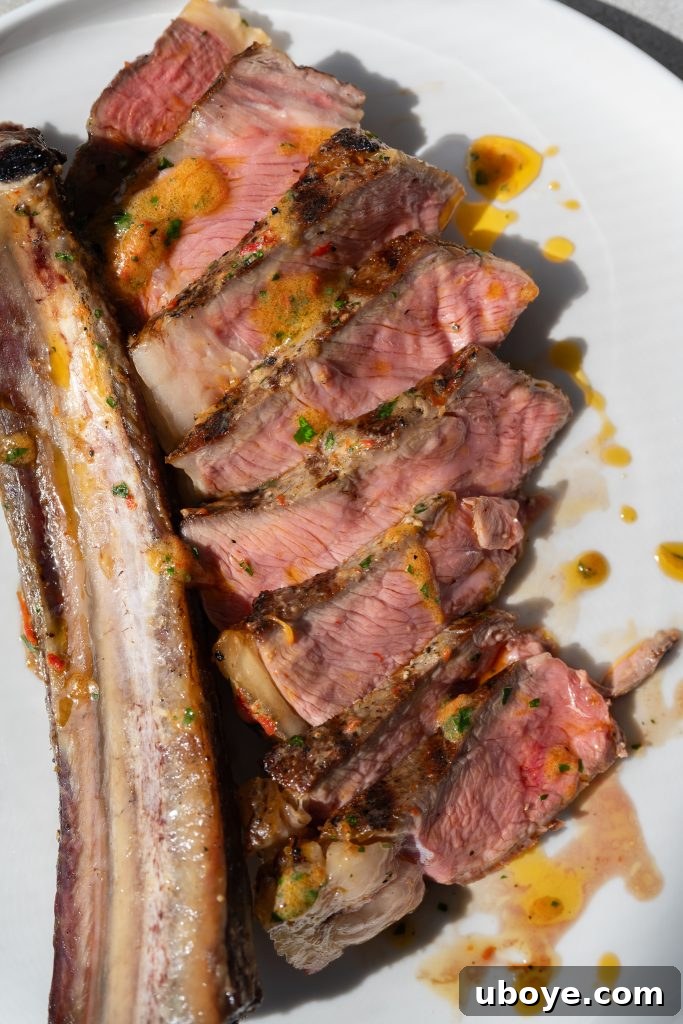
Step 1: The Transformative Power of Dry Brining
For any steak, and particularly for a premium cut like ribeye, the practice of dry brining is non-negotiable. This crucial step is a game-changer for several reasons: it tenderises the meat, infuses it with profound flavour, and most importantly, it helps to draw moisture out of the steak’s surface. This external dehydration is vital for achieving that deep, golden-brown, and ultimately crispy crust during the searing phase. To dry brine effectively, begin by thoroughly patting your steak dry with absorbent paper towels. Then, generously season both sides and all edges with a high-quality kosher or flaky sea salt. Don’t be timid with the salt; a substantial amount is necessary for the process to work its magic. Once salted, place the steak on a rimmed baking sheet, uncovered, and refrigerate it for a minimum of 1 hour, or ideally, up to 24 hours. This extended period allows the salt to penetrate the meat and activate the tenderising and drying effects.
Step 2: Debunking the Room Temperature Myth
There’s a persistent myth in steak cooking that meat must be brought to room temperature before it hits the heat. While this advice has been widely disseminated, extensive research and practical experimentation have shown that cooking a steak straight from the fridge versus one that has sat out for an hour makes a surprisingly negligible difference to the final internal temperature distribution or overall cooking time. However, I still advocate for allowing your steak to come to room temperature for a period (around 30-60 minutes). This isn’t about altering the cook, but rather about creating a more predictable and controlled cooking environment. This small window allows me to provide more precise timings and temperatures, ultimately helping you achieve that perfect medium-rare doneness with greater confidence.
Step 3: The Gentle Initial Cook – Low and Slow
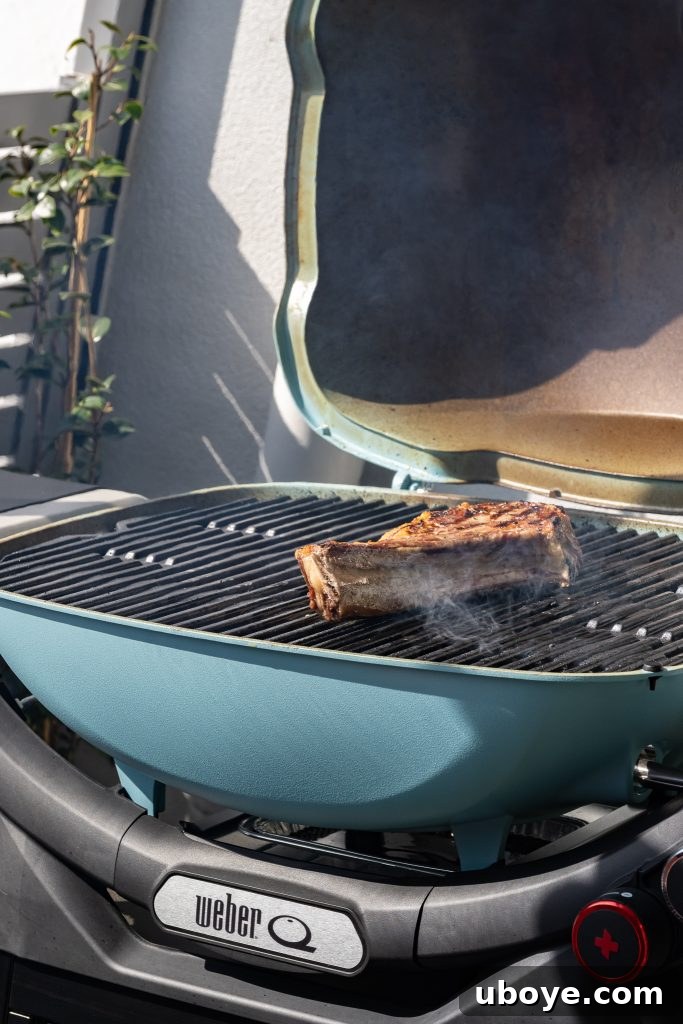
The essence of the reverse sear lies in this foundational step: the initial low-heat cook. Unlike traditional methods that blast the steak with high heat first, we’re doing things in reverse. Instead of searing on the grill and then finishing in the oven, we start in a low-temperature environment. Place your prepared steak into an oven or Weber grill preheated to a gentle 220°F (105°C). The duration for this phase is typically between 40-45 minutes, or until the steak achieves an internal temperature of 115°F (46°C) for a perfect medium-rare. If your preference leans towards a slightly more cooked steak, aim for 125°F (51°C). The absolute key to success here is a reliable meat thermometer. Without one, achieving precise doneness will prove challenging. Monitoring the internal temperature is not just important; it’s absolutely critical for mastering your reverse seared ribeye.
Step 4: The Searing Spectacle – Achieving the Perfect Crust
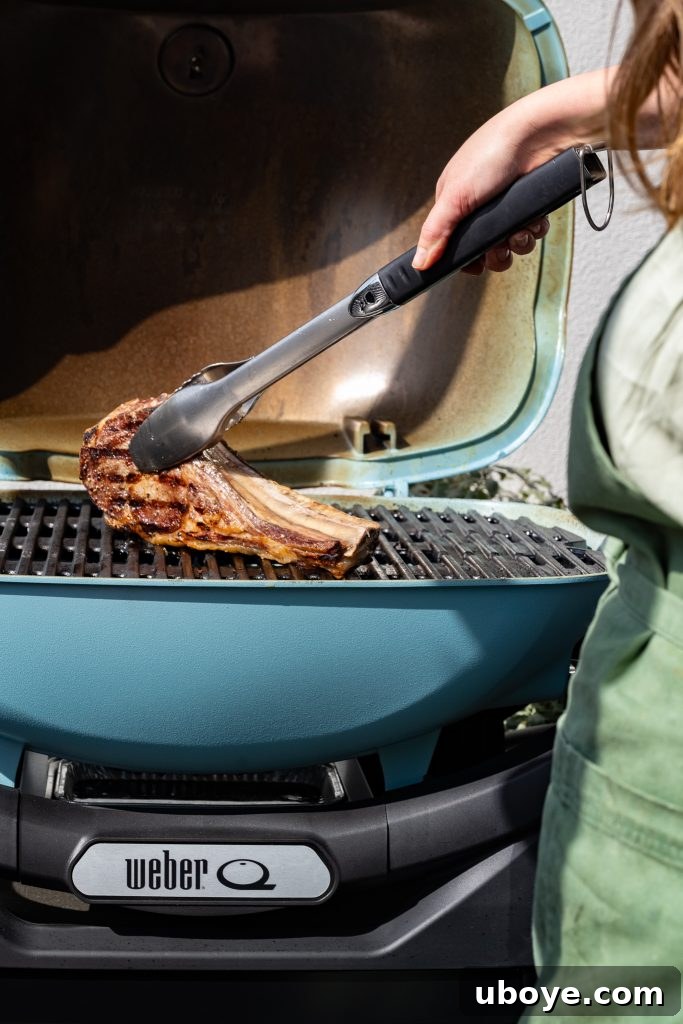
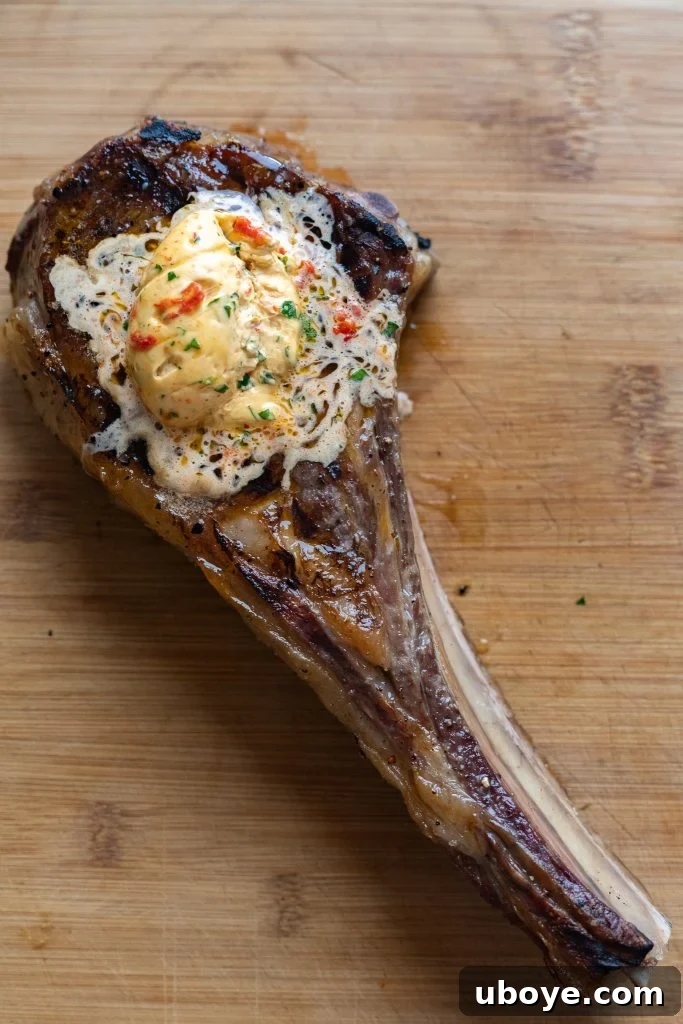
Once your ribeye has reached its target internal temperature from the low-heat cook, it’s time for the grand finale: searing. This step is where that gorgeous, flavourful crust develops, transforming the steak’s exterior. To achieve this, you need a searing surface that is intensely hot—either a cast iron pan brought to smoking temperatures or, my preferred method, a grill preheated to its highest setting. The high heat initiates the Maillard reaction, a complex chemical process that creates hundreds of new flavour compounds and the rich brown colour we associate with perfectly cooked meat.
Before searing, it’s paramount to brush both sides of your steak with clarified butter. Clarified butter, also known as ghee, is butter that has had its milk solids removed. These milk solids have a low smoke point and would burn and create bitter flavours at the high temperatures required for searing. In contrast, clarified butter boasts a significantly higher smoke point of approximately 450°F (230°C), compared to regular butter’s 350°F (175°C). This allows you to achieve a dark, crisp crust without the risk of burning, ensuring pure, unadulterated flavour. If clarified butter isn’t available, high smoke point oils like grapeseed, avocado, or canola oil can also be used effectively.
Step 5: The Essential Rest – For Maximum Juiciness
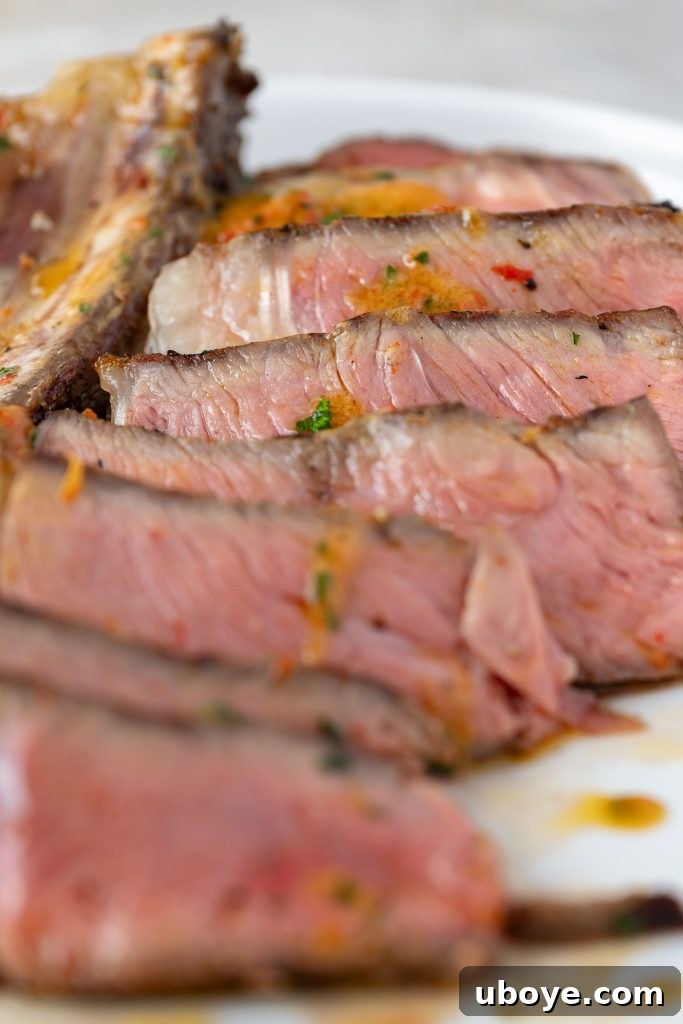
I understand the immense temptation to slice into a beautifully seared steak the moment it comes off the heat. However, resisting this urge is absolutely vital for a truly juicy and tender result. The resting period is not merely a suggestion; it’s a critical step that allows the juices, which have been driven to the centre of the steak during cooking, to redistribute throughout the entire cut. If you cut into the steak too soon, those precious juices will simply run out onto your cutting board, leaving you with a drier, less flavourful experience.
For a steak that has just been seared, a rest of 5-10 minutes is sufficient. After the initial low-heat cook in the oven or on the indirect grill, before searing, a longer rest of at least 15-20 minutes is recommended. This allows the internal temperature to stabilise and the muscle fibres to relax, ensuring every bite is as succulent as possible. Patience truly is a virtue when it comes to cooking the perfect steak.
The Perfect Accompaniment: Garlic and Burnt Pepper Butter
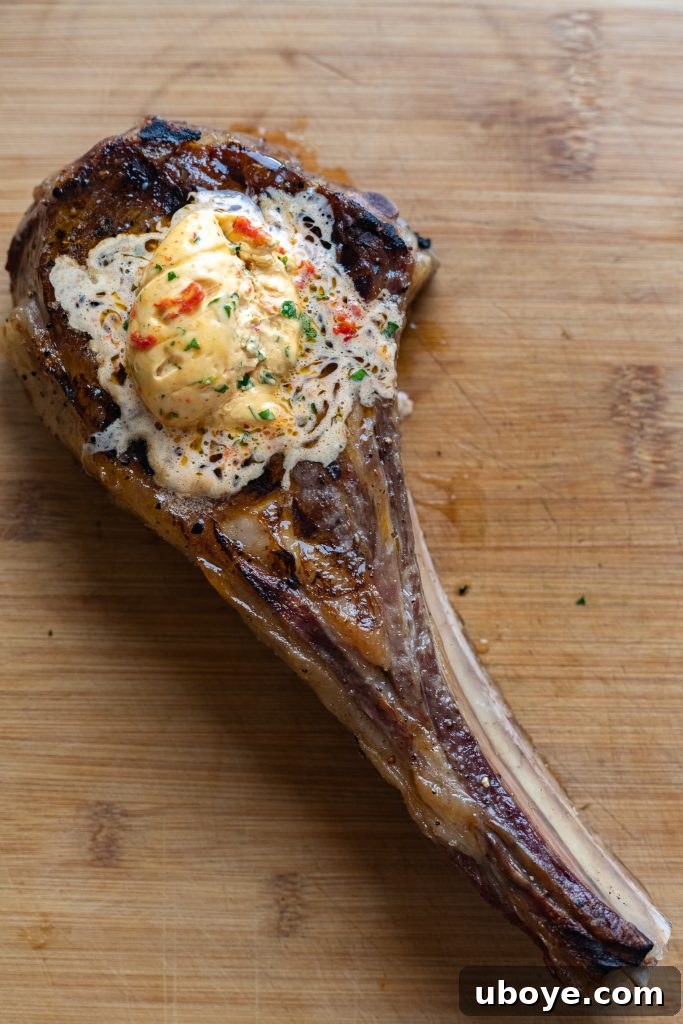
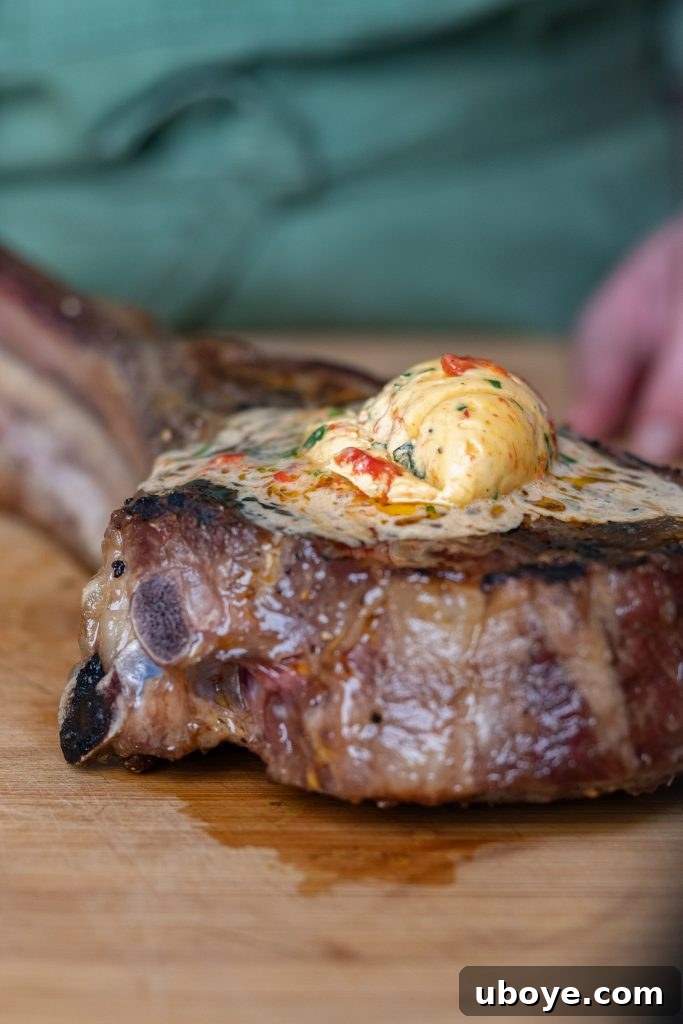
Having successfully prepared a magnificent Reverse Seared Ribeye, thanks to the precision of the Weber and a healthy dose of patience, the next step is to crown this masterpiece with an equally impressive accompaniment. Enter the Garlic and Burnt Pepper Butter – a compound butter bursting with an incredible depth of flavour. This isn’t just a garnish; it’s an integral part of the experience, offering a creamy, aromatic, and slightly smoky counterpoint to the rich steak.
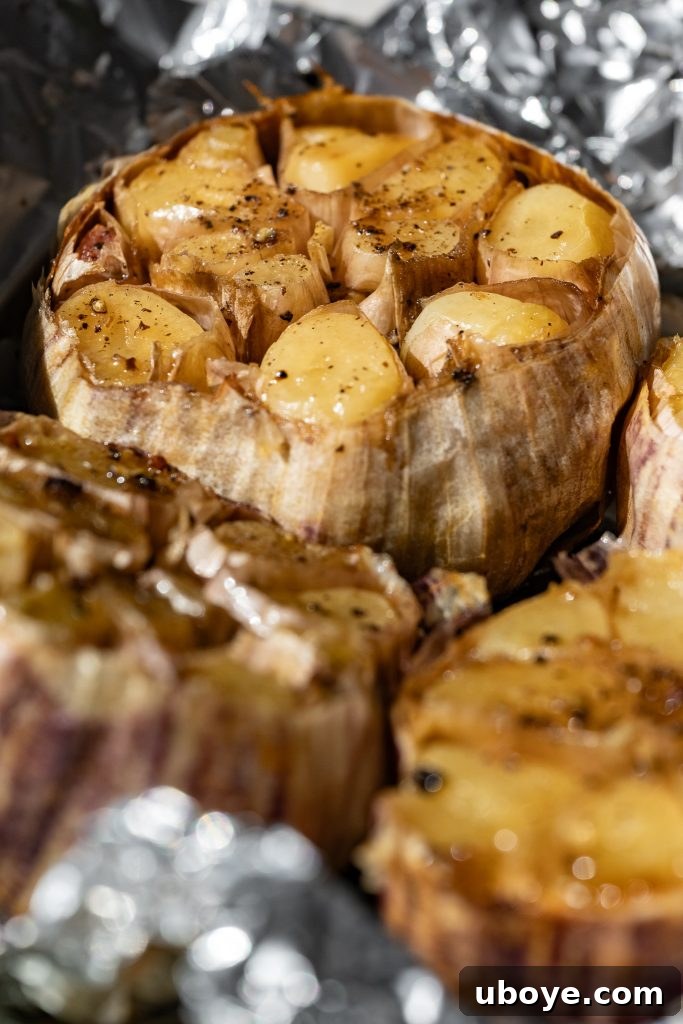
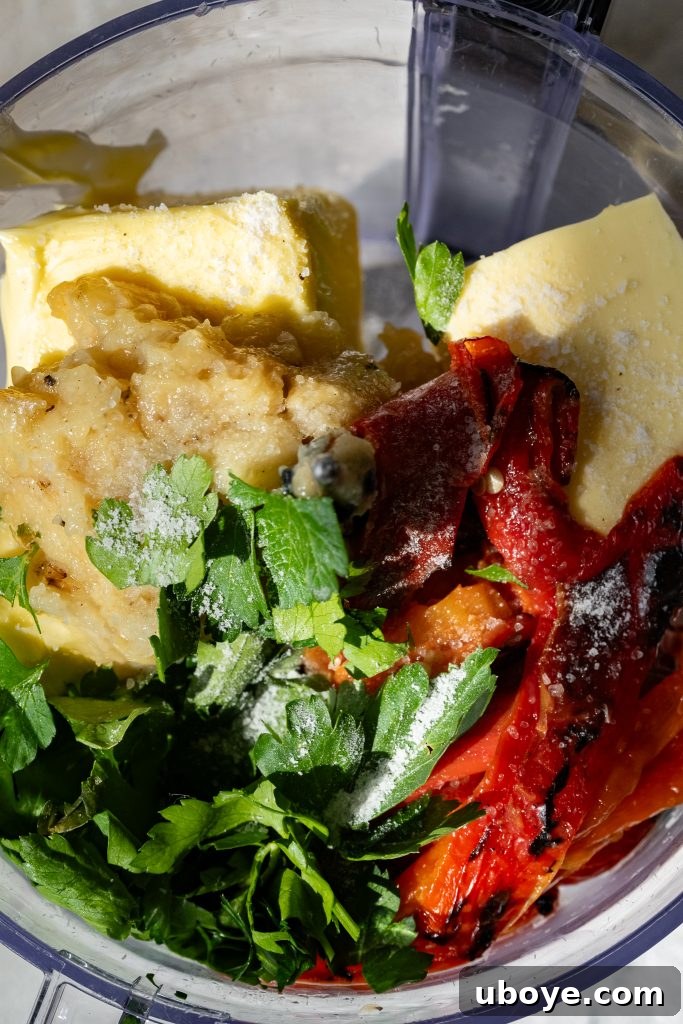
Preparing this compound butter is straightforward. If you have a food processor, it makes quick work of blending all the ingredients into a smooth, cohesive mixture. However, a simple fork can achieve a wonderfully chunky texture by mashing everything together, with finely chopped parsley and burnt pepper. And for those wondering if you can confit garlic on the BBQ, the answer is a resounding yes! The smoky nuances from the grill only enhance the sweetness of the slow-cooked garlic, adding another layer of complexity to this already phenomenal butter.
Reverse Seared Ribeye with Garlic and Burnt Pepper Butter Recipe
Ingredients
- 800 g bone-in ribeye (approx. 1.7lb)
- 4 garlic cloves
- 2 tbsp olive oil
- 400 g butter, room temperature (approx. 14oz)
- 4 bullhorn or sweet peppers
- 1/4 cup parsley, roughly chopped
- 1/4 cup clarified butter, melted
- Kosher sea salt
- Black pepper
Instructions
- Dry Brine (Day Ahead): Heavily season the ribeye with kosher sea salt on both sides and the edges, patting the salt into the meat. Lay the seasoned ribeye onto a wire baking rack and place it uncovered in the fridge for 24 hours. This dry brining process is essential for creating the juiciest and most flavourful steak with an incredible crust.
- Bring to Room Temperature: When you are ready to cook, remove the steak from the fridge 30-60 minutes prior to cooking. This helps ensure a more controlled and even cook.
- Prepare Garlic Confit: Preheat your Weber grill to the Roasting Setting on a low heat. Slice the top off the garlic bulbs and place them onto a large sheet of aluminium foil. Sprinkle the garlic with salt and pepper, then drizzle with olive oil. Tightly wrap the garlic in the foil and place it onto the Weber. Close the lid and cook for 1 hour, or until the garlic cloves are soft and caramelised. Remove from the Weber and allow to cool. Once cool enough to handle, squeeze out the soft garlic cloves and mash them with the back of a knife or spoon. Set aside.
- Low-Heat Roast: Continue using the roast setting on your Weber. Place the ribeye on the grill and roast for 45 minutes, or until the internal temperature of the meat reaches 115°F (46°C) for medium-rare, or 125°F (51°C) for medium. Use a meat thermometer for accuracy. Remove the steak from the BBQ and let it rest for 15-20 minutes. While the steak rests, preheat your Weber grill to its highest temperature setting for searing.
- Roast Peppers: While the BBQ is on high heat, place the sweet peppers directly onto the grill. Close the lid and cook for 5 minutes on each side, or until they are blackened and charred. Remove the peppers from the Weber. Using a sharp knife, carefully scrape off the black char and remove the seeds.
- Prepare Compound Butter: Place the mashed garlic confit, room temperature butter, roasted peppers, chopped parsley, and a pinch of salt into a food processor and blend until all ingredients are well combined. For a more rustic, chunky texture, you can simply mash all the ingredients together with a fork.
- High-Heat Sear: Once the steak has rested, brush both sides generously with melted clarified butter. Place it onto the super-hot grill and sear for 2 minutes on each side, or until a beautiful, deep brown crust has formed.
- Final Rest and Serve: Remove the steak from the grill and let it rest for a final 5-10 minutes before slicing. Spoon a generous amount of the garlic and burnt pepper butter onto the hot steak and spread it evenly over the surface. Slice the steak against the grain and serve immediately, allowing the rich butter to melt into the warm, juicy meat.
Should you embark on this culinary adventure and prepare this reverse seared ribeye at home, please share your magnificent creations! Tag me on Instagram, Tik Tok, or Pinterest. I love seeing your cooking successes and hearing your feedback. If you have any questions or would like to leave a review, feel free to do so here. Your comments and questions are always welcomed and cherished!
This exquisite recipe was proudly sponsored by Weber Australia. All stunning images were captured by Alanna Penna photography.
 Like this? Leave a comment below!